Easy Drop Biscuits
/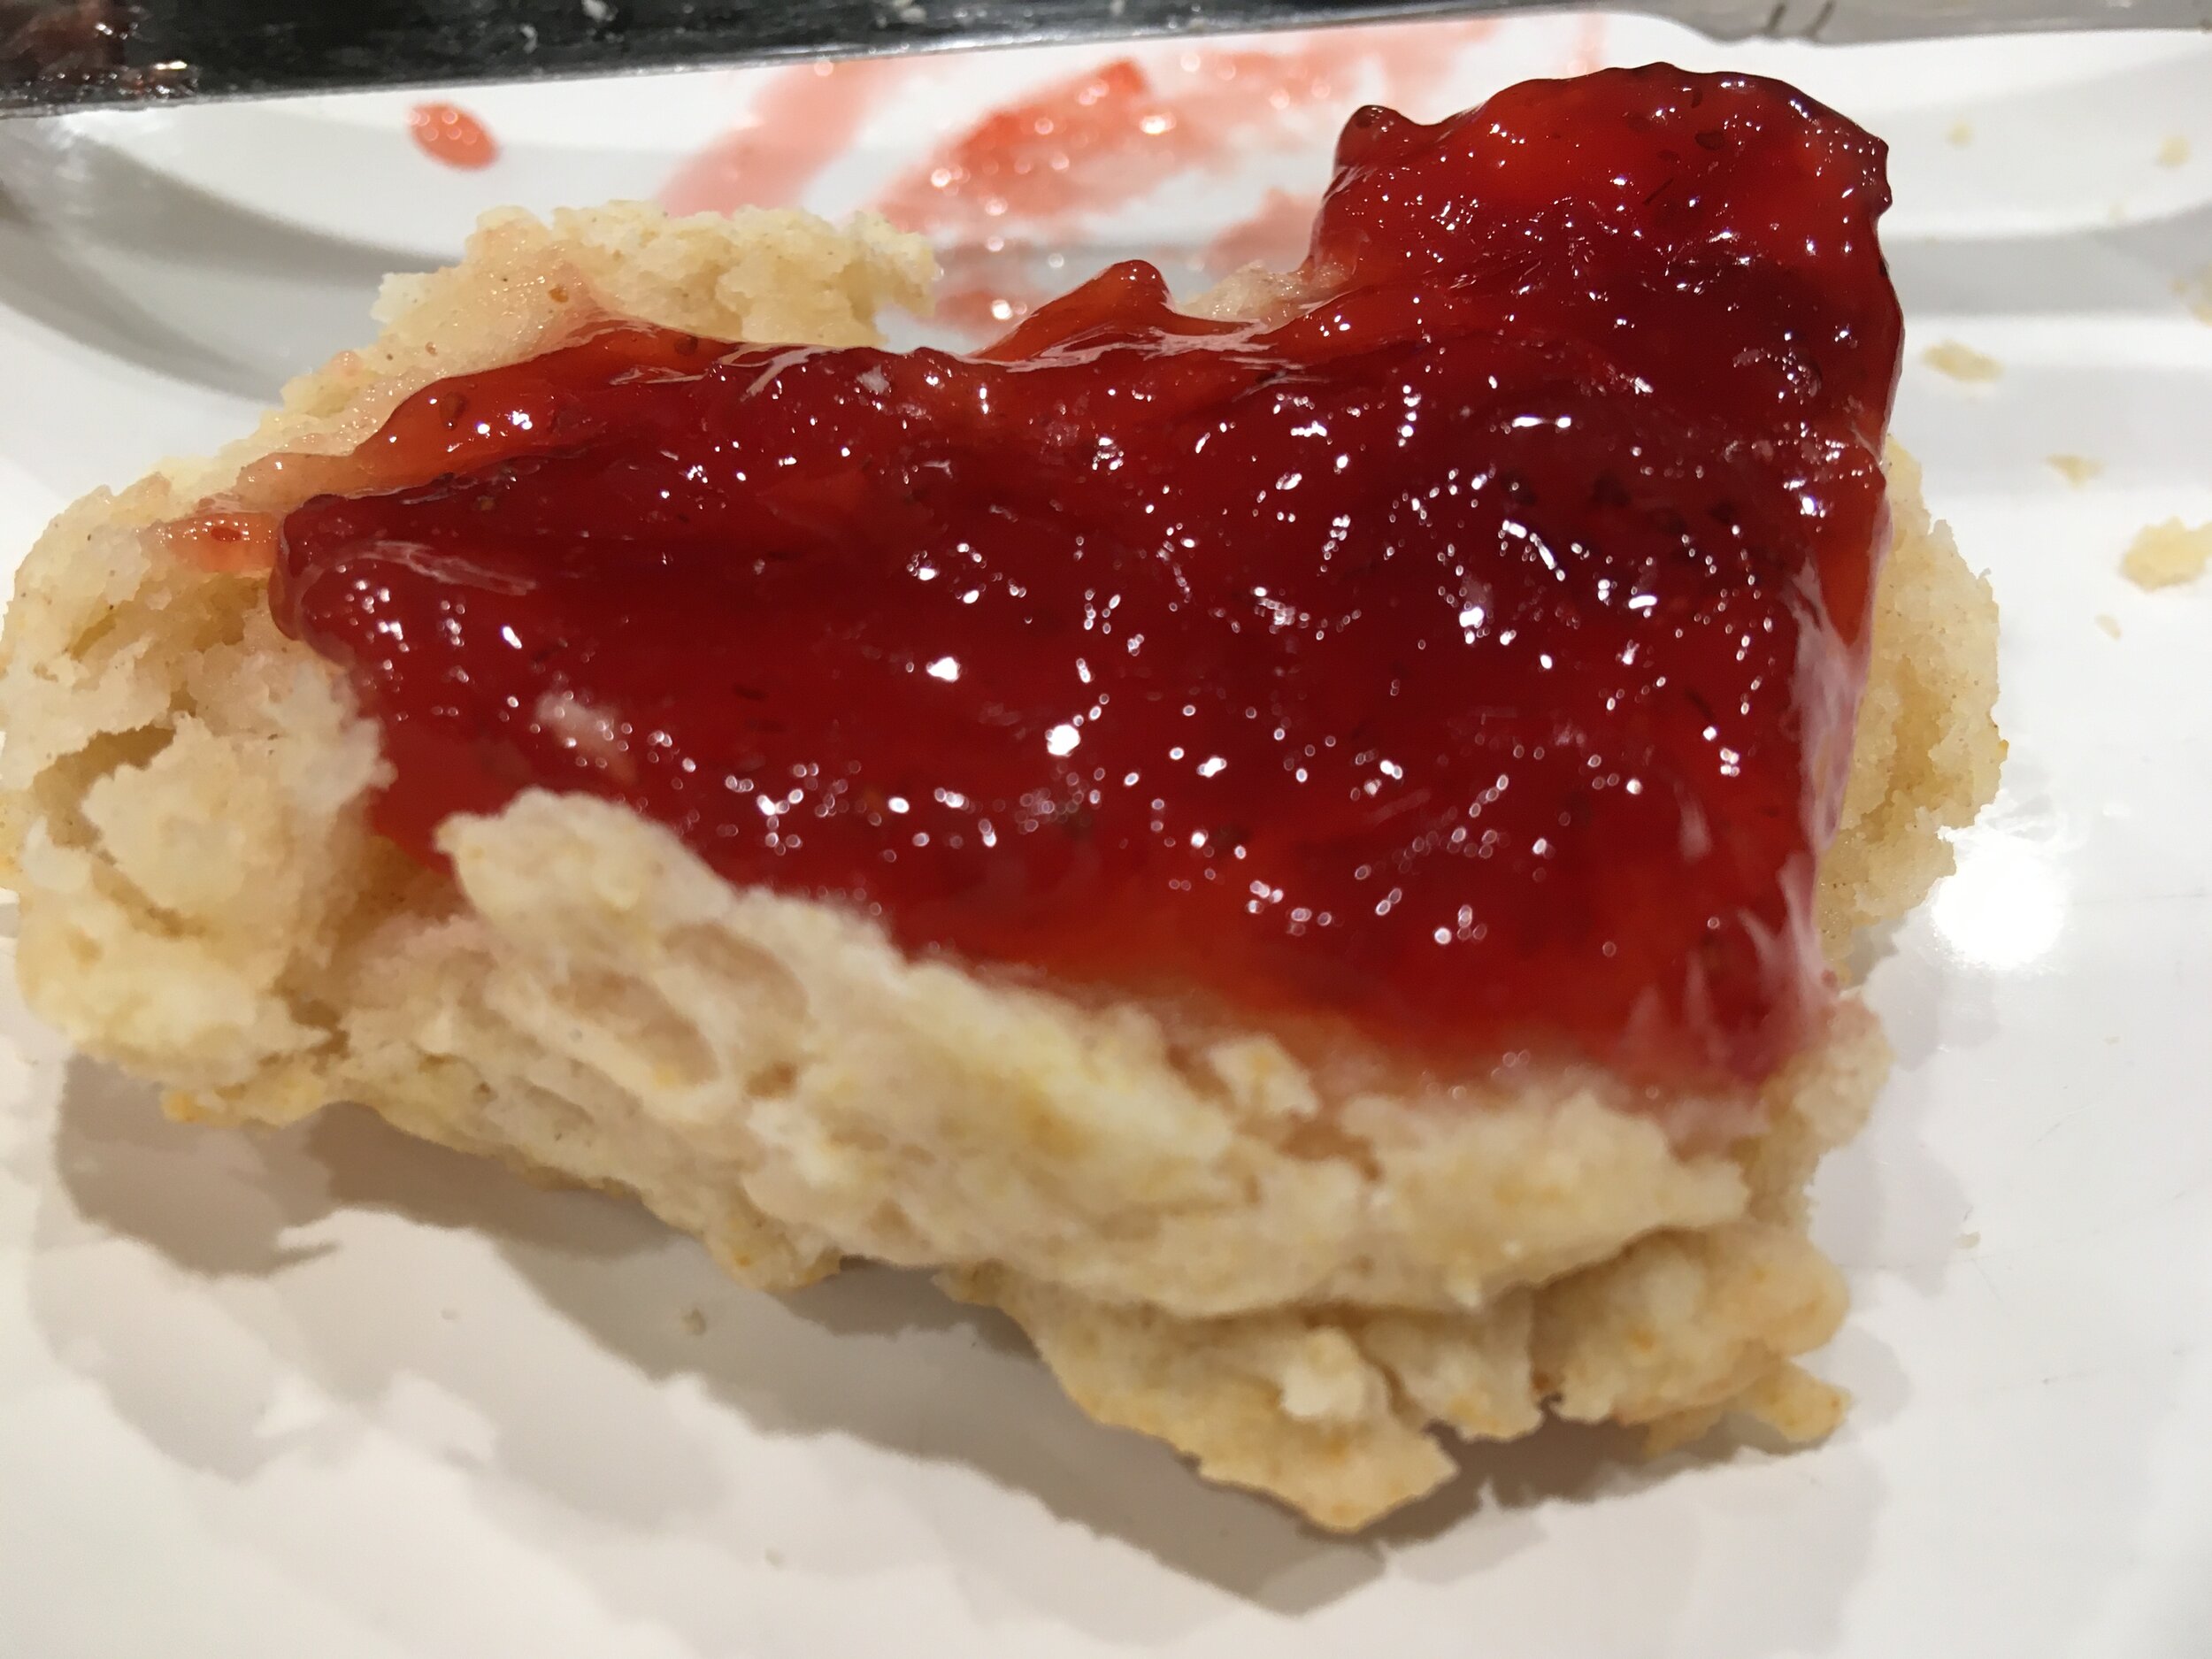
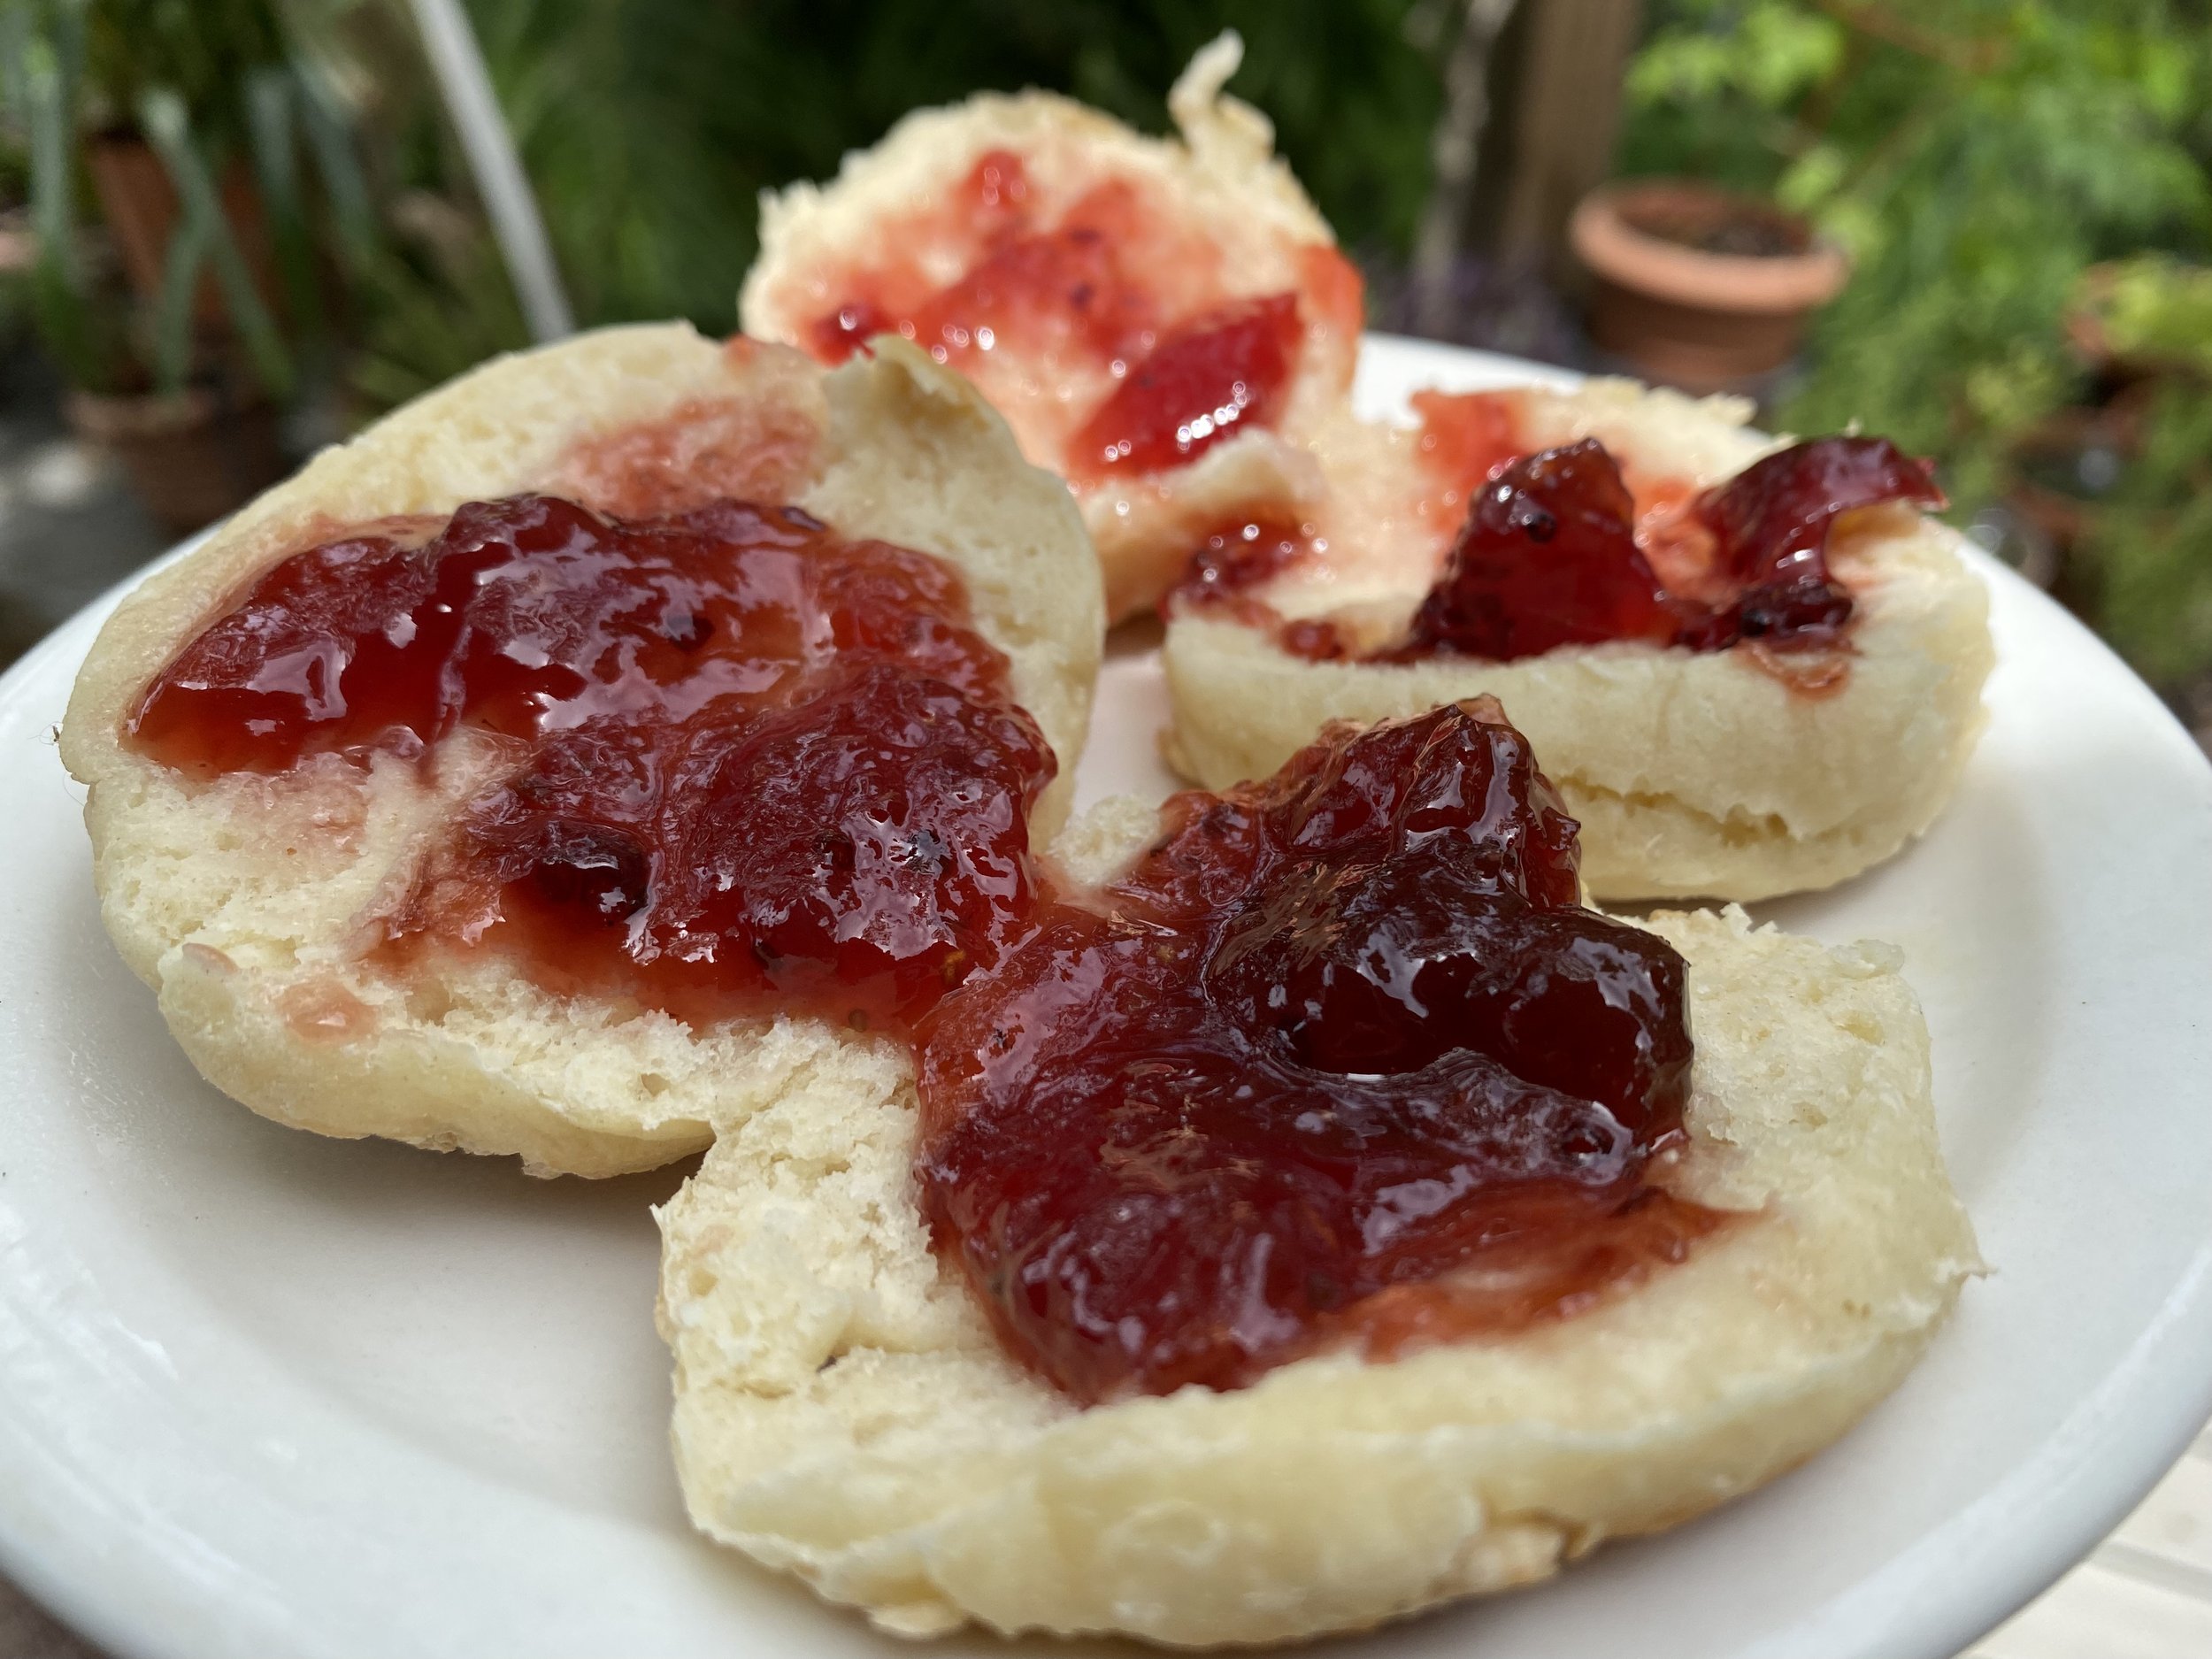
Strawberry jam on one of my easy drop biscuits. (Photo by Charlotte Ekker Wiggins)
Easy Drop Biscuits
It’s been a sweater day most of the day. Oh, it’s spring but we have freezing lows and snow in the forecast, a perfect time to whip up this ever so easy drop biscuit recipe. From beginning to ready to eat, 20 minutes max. And they are delicious still warm!
This is a very old family favorite easy biscuit recipe. There’s no waiting for the dough to rise, no flour to roll out and make a kitchen mess. You can easily change it up to your personal preference and freeze them for later consumption.
Let me put this another way, this is as easy as baking homemade biscuits can get!

Easy Drop Biscuits Recipe
You will need:
2 cups flour
3 teaspoons baking powder
1 teaspoon salt
1/2 cup shortening, 1/2 cup butter or a mixture of both*
1 cup milk
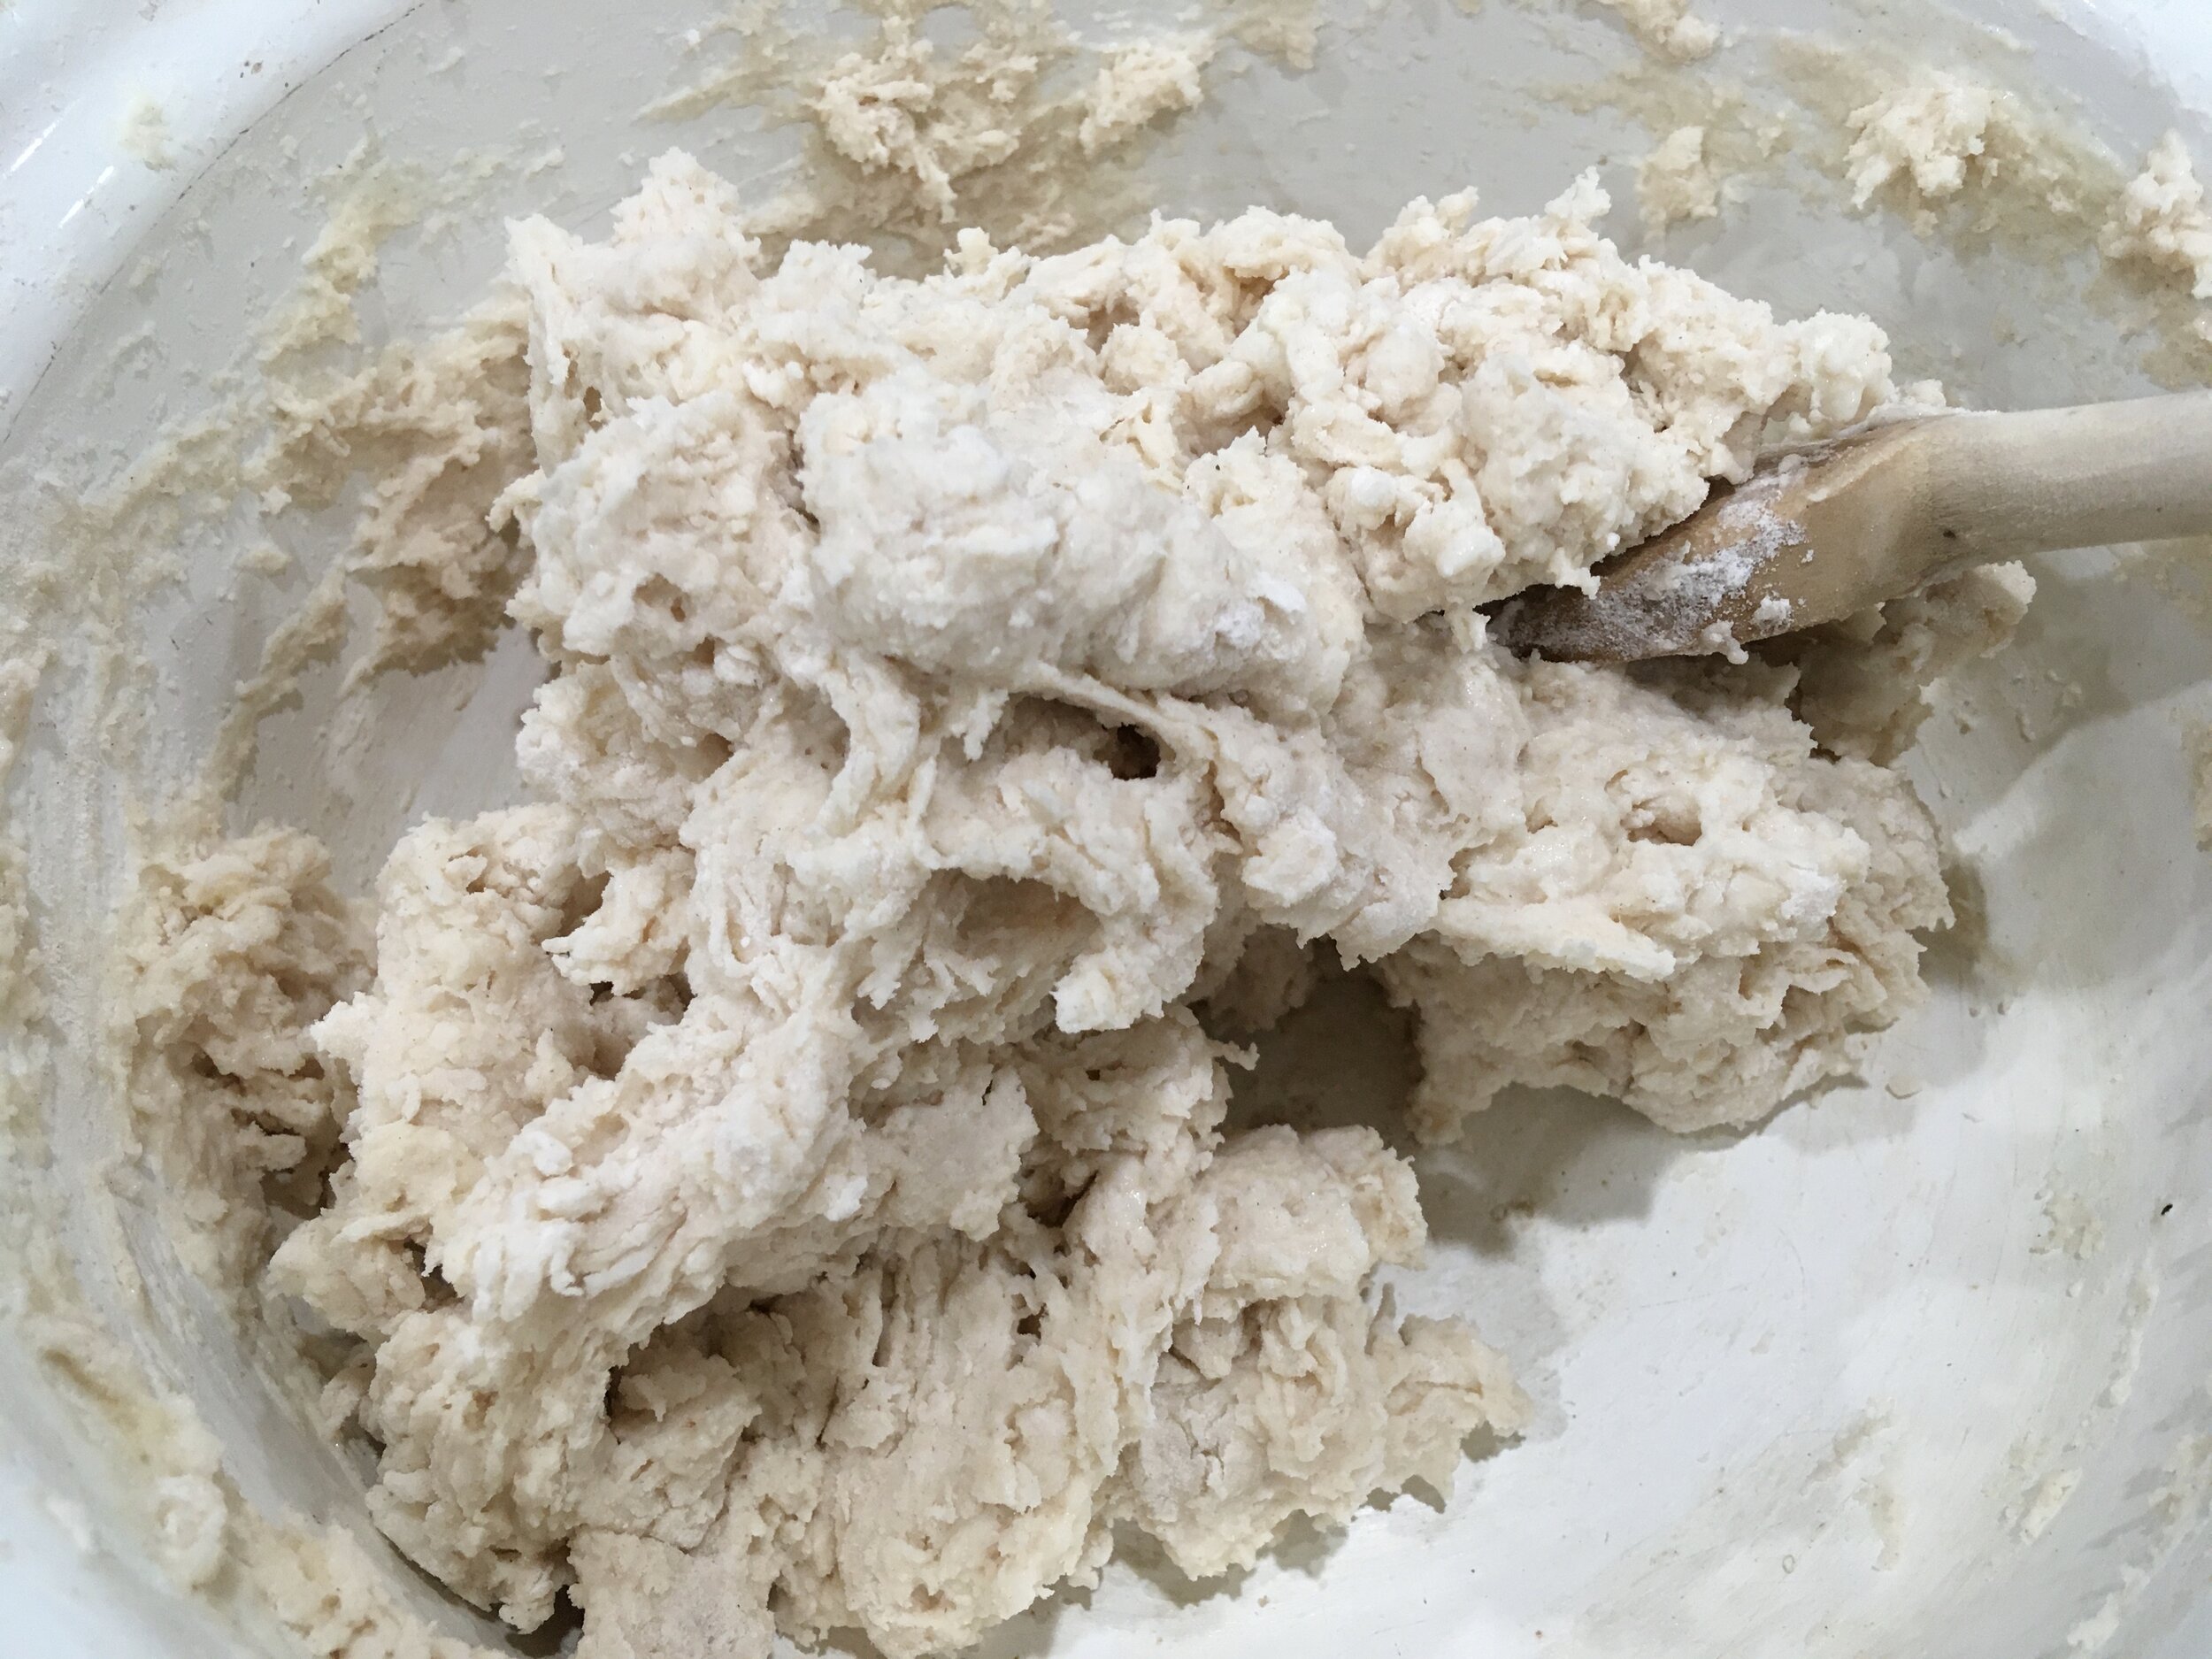
All easy drop biscuit ingredients mixed and ready to plop on cookie sheet. (Photo by Charlotte Ekker Wiggins)
To make:
Sift or stir the dry ingredients.
Cut in the shortening and/or butter.
Add the milk; mix.

I shaped these in my hand prior to placing on cookie sheet. (Photo by Charlotte Ekker Wiggins)
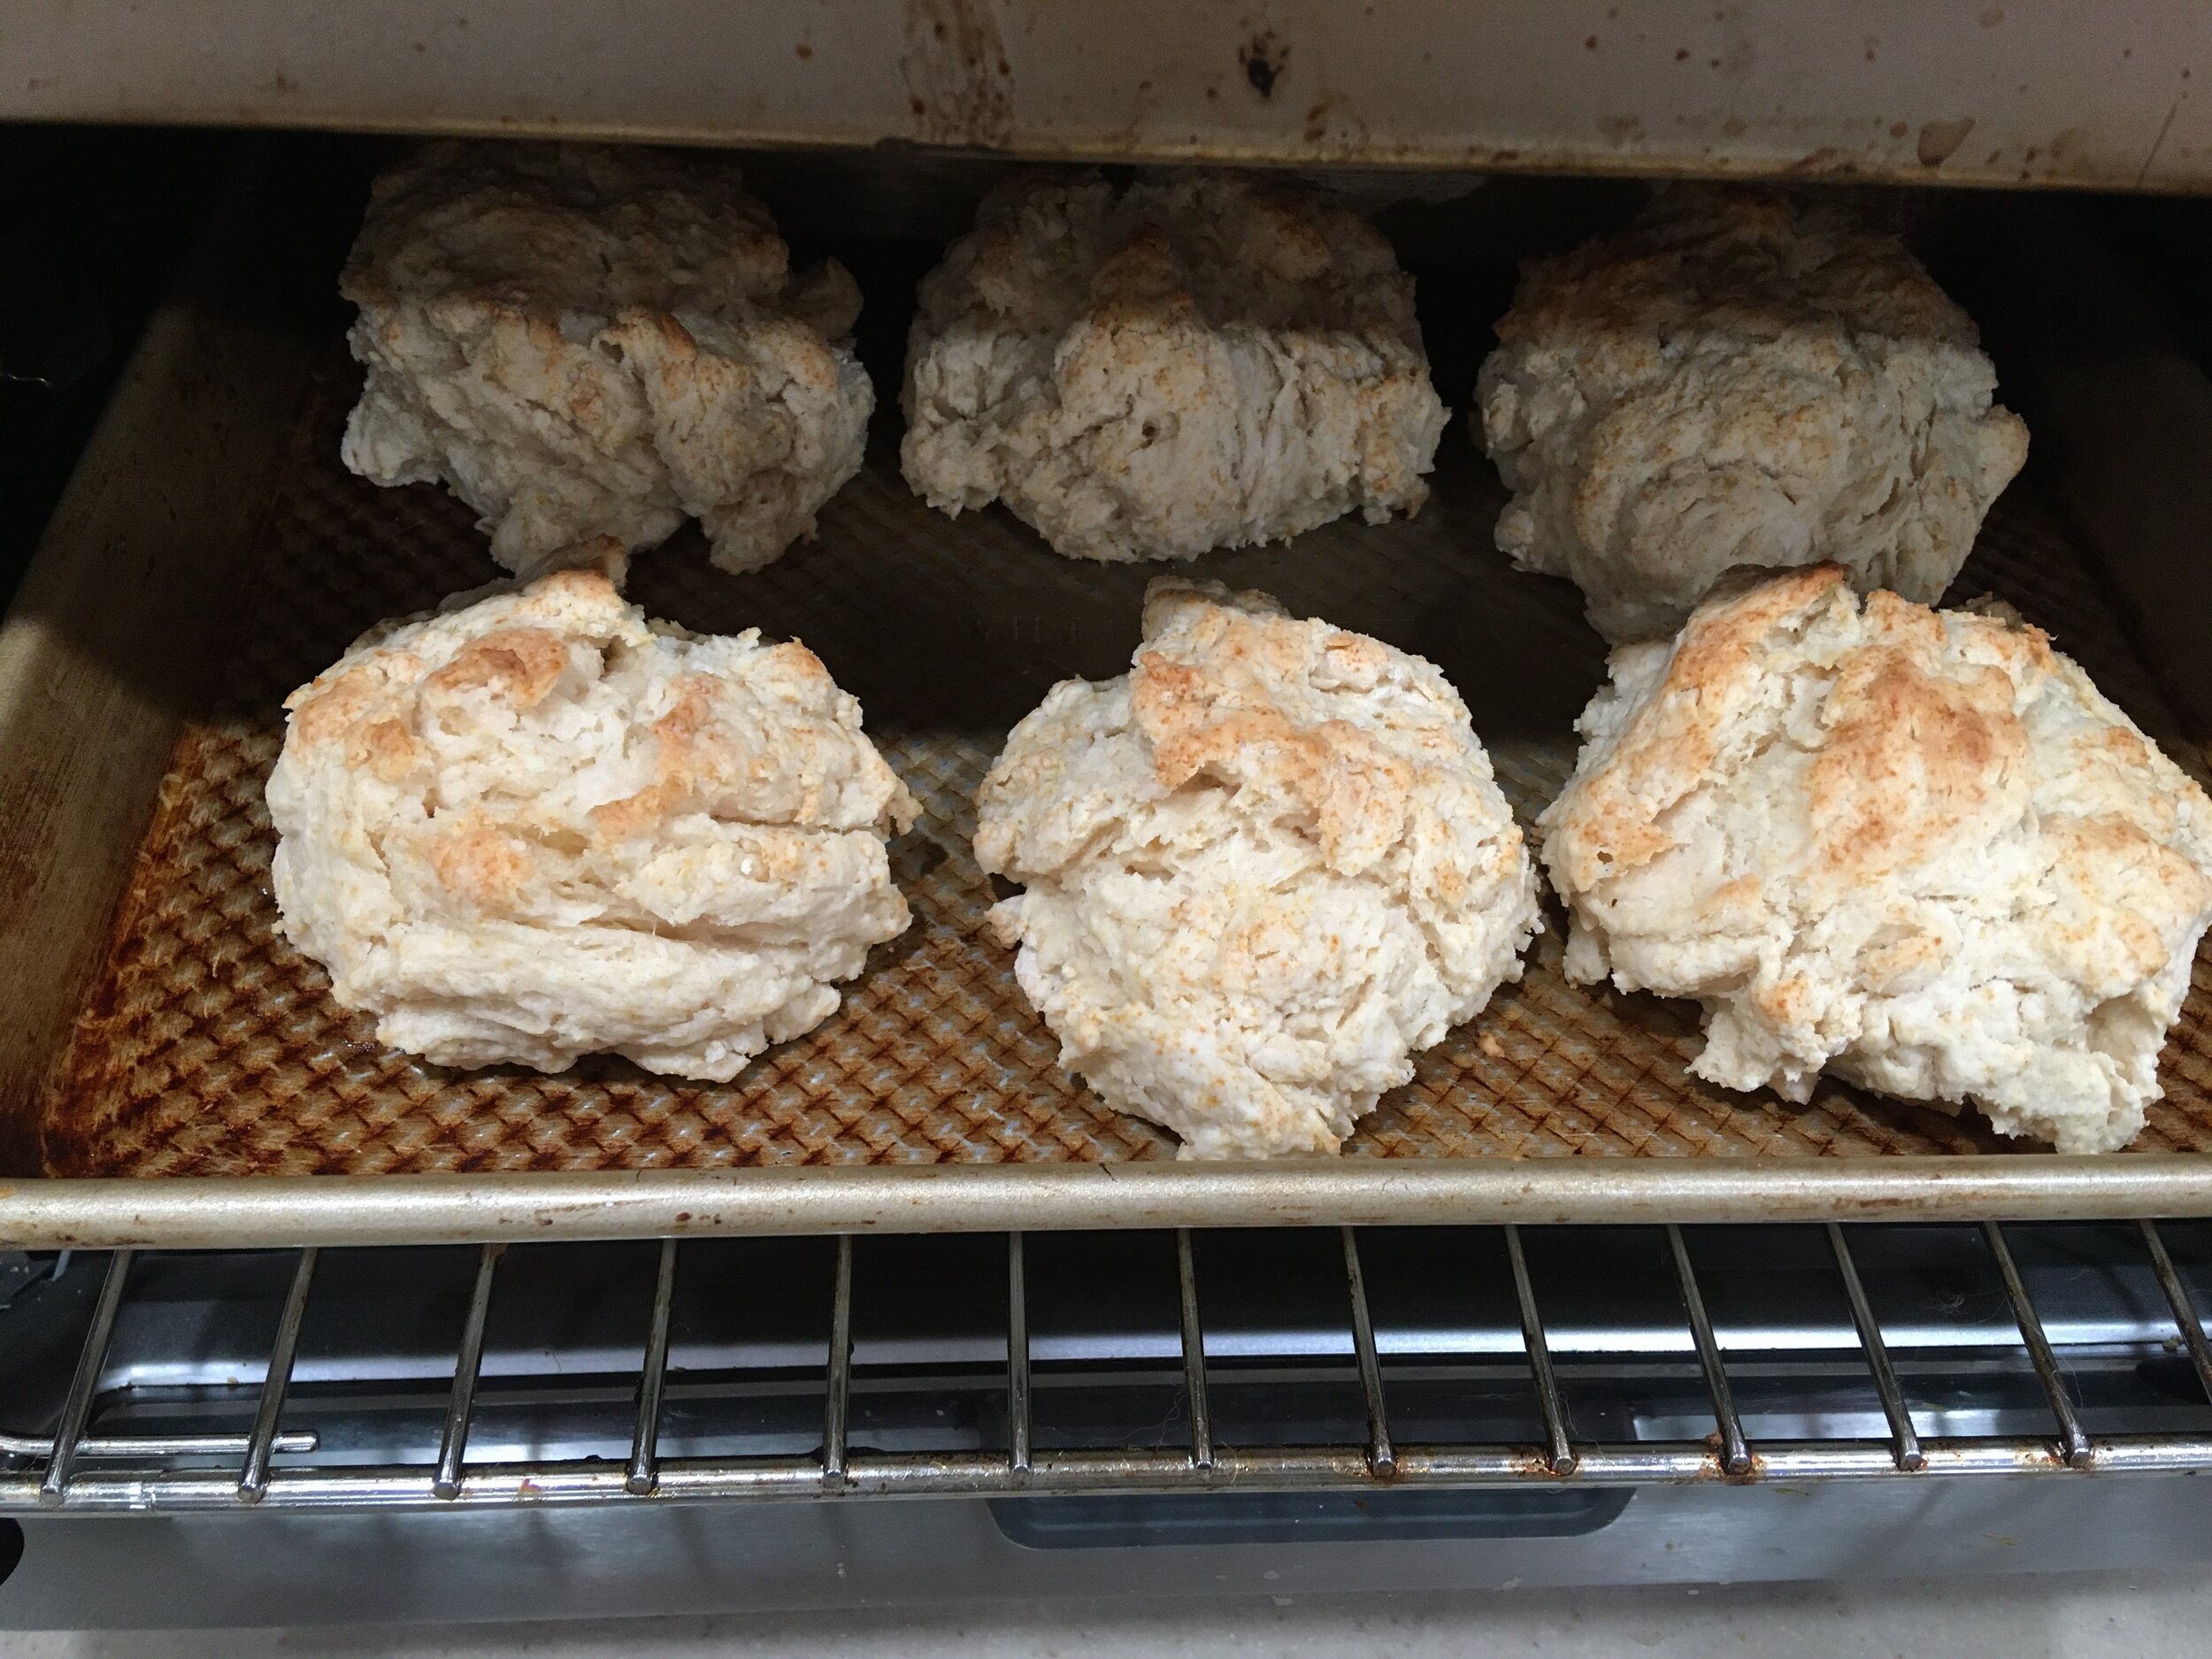
Drop onto a cookie sheet in blobs or shape in your hand before placing on the cookie sheet.
Bake at 450F for 8-10 minutes until golden brown.
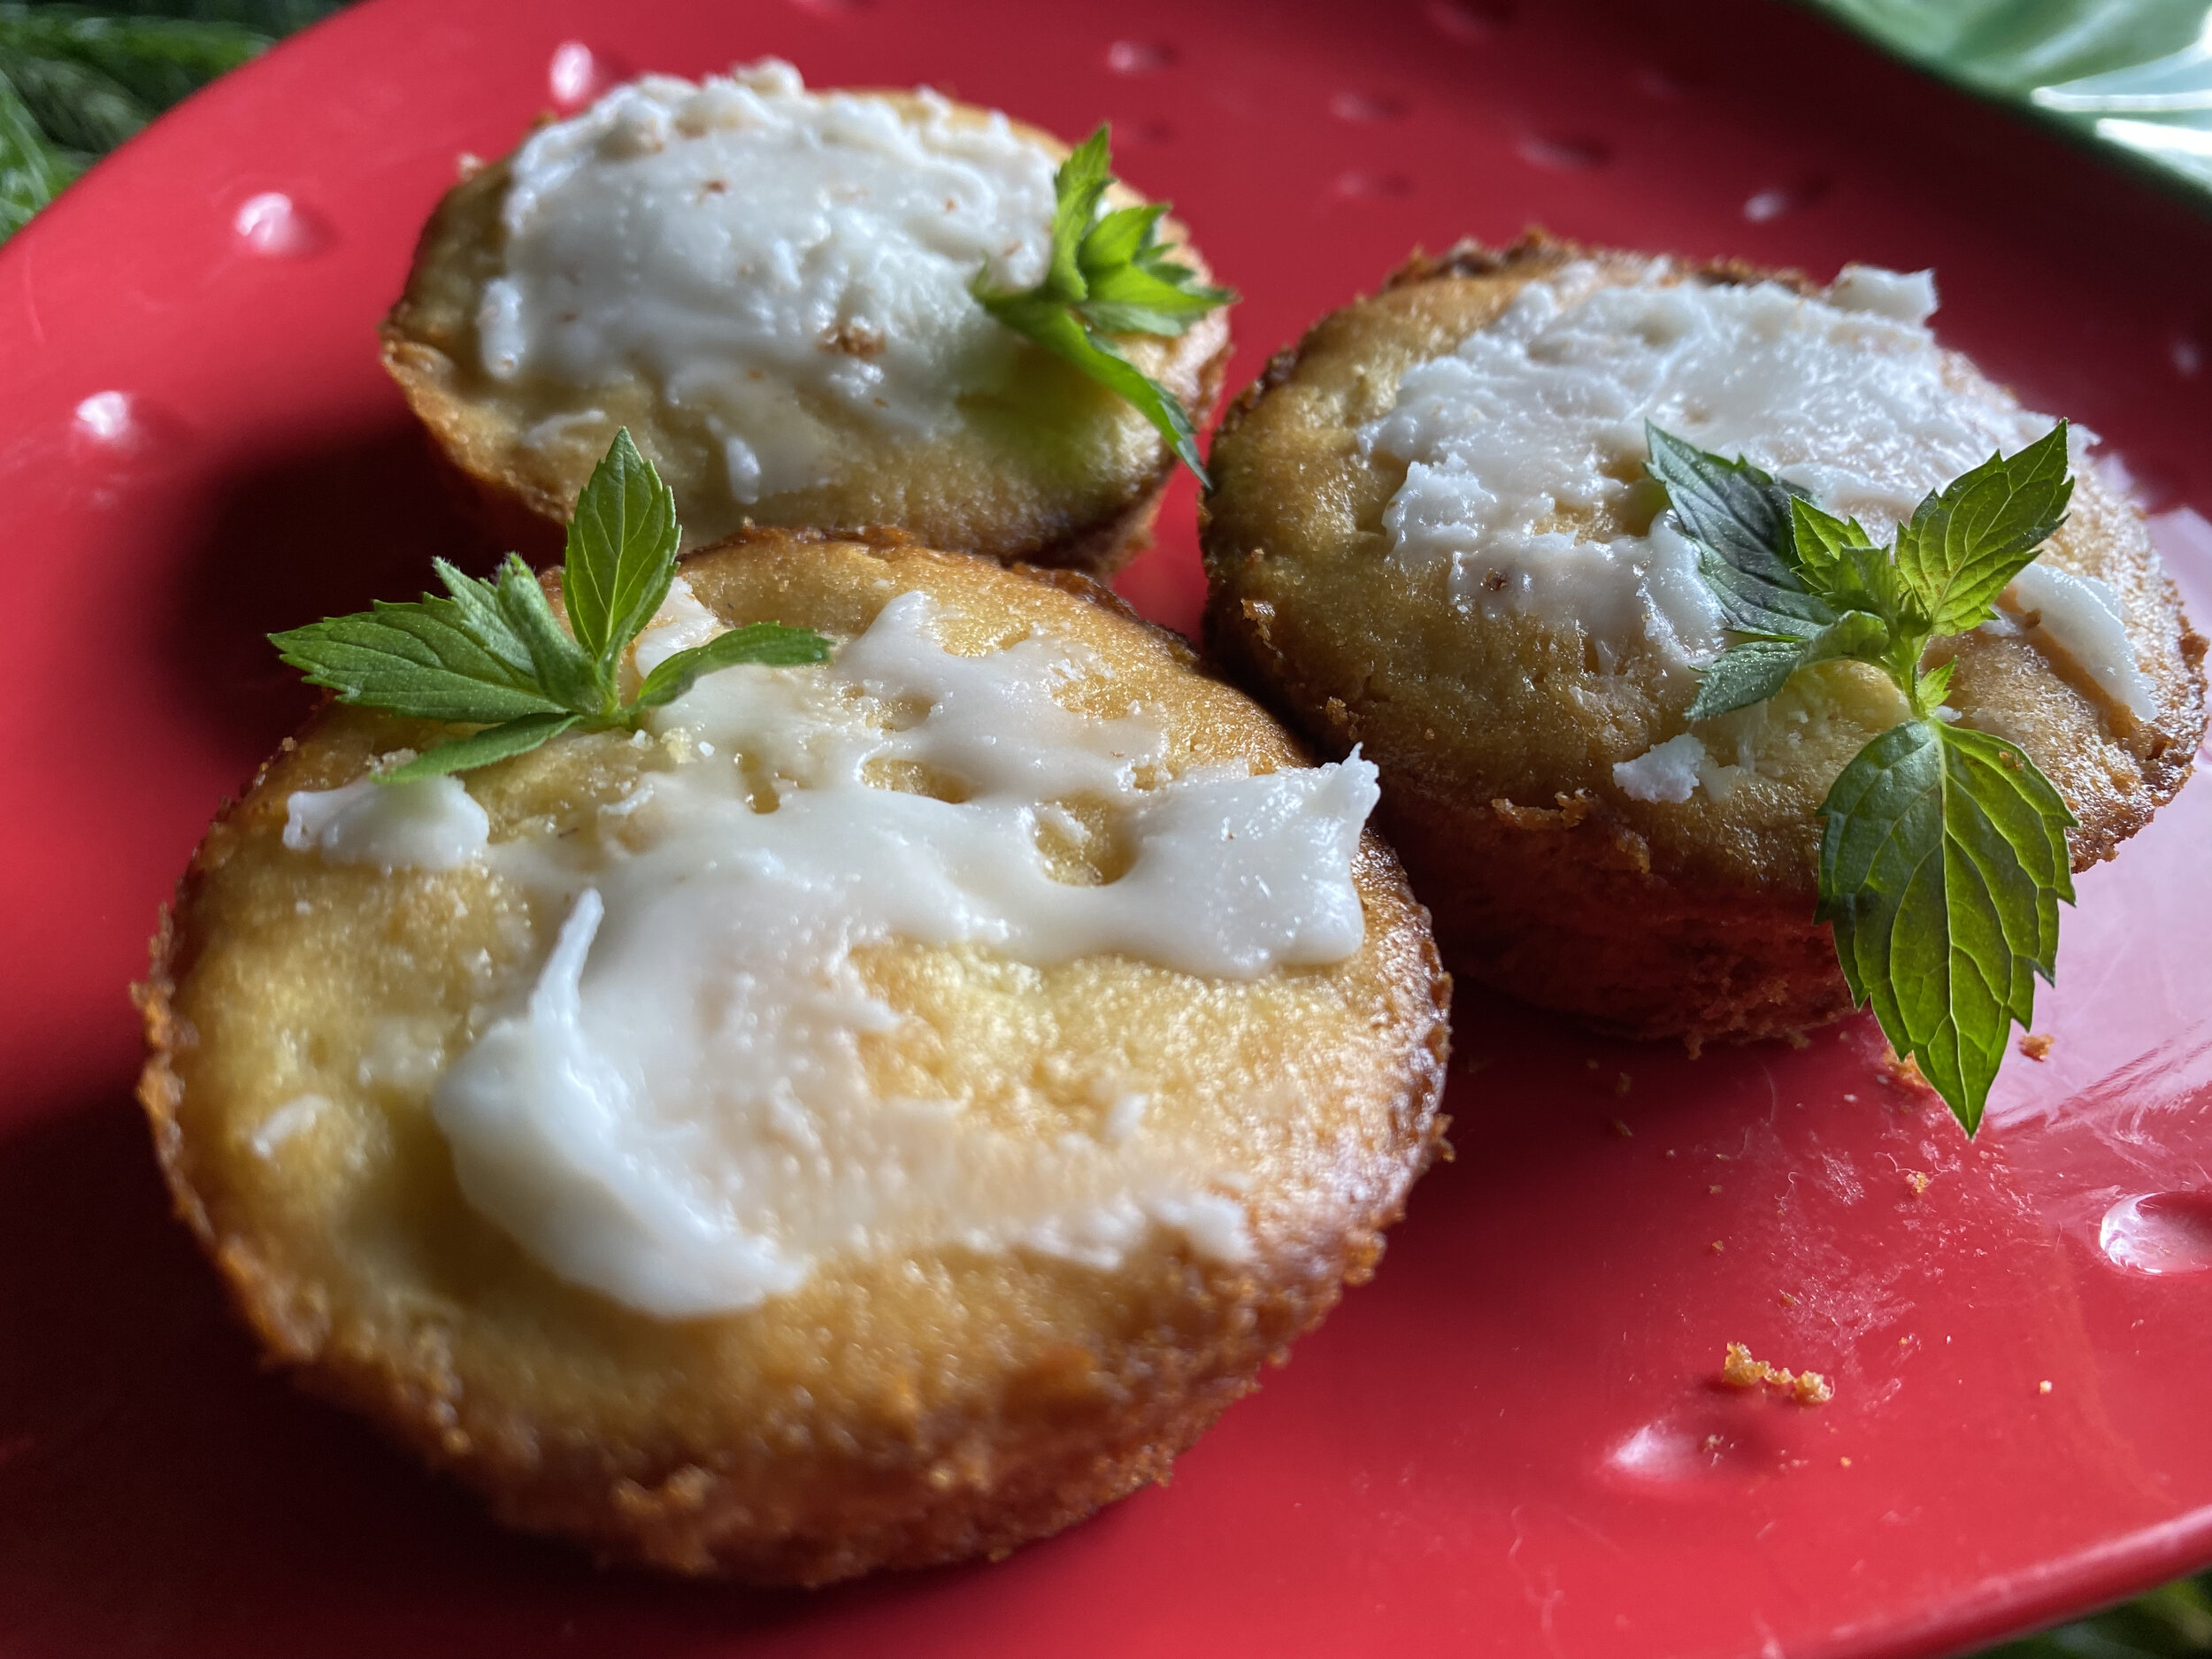
These are ready to eat. Well, once I take them out of the electric oven! (Photo by Charlotte Ekker Wiggins)
Allow to cool before cutting into them or they may fall apart.
Makes 6 large biscuits.
You can individually freeze, then store in plastic freezer bag for later use.
To reheat, try 20 seconds on high per biscuit.
*Drop Biscuits Recipe Options
If you like fast food restaurant biscuits, make all of the 1/2 cup out of butter.
If you want something less rich, make all of the 1/2 cup out of shortening.
If you want to simulate garlic biscuits, add a teaspoon of garlic.
If you want something pretty, brush with an egg wash prior to cooking.
There you go, one of the simplest and easiest biscuit recipe I know and a classic recipe!
Charlotte