Christmas Sugar Cookies
I was trying to remember how many years I have been making Christmas sugar cookies; it definitely goes back to when I had single digits for my age.
When we were growing up in South America, we made sugar cookies to leave for Santa and the reindeer. Dad got some as well. As I recall, sugar cookies were one of his favorites.
As a big sister to three siblings, we also made sugar cookies over the holidays as gifts for friends as well as to enjoy. They came in especially handy as we were setting up the huge model railroad train layout under and around the Christmas tree. They were also a favorite breakfast Christmas morning.
During my married years, sugar cookies were made for gift baskets we gave away to coaches, teachers, friends - whoever made our year special. We also made gingerbread cookies over the years, making good use of the cookie cutter collection I still use. I hear my step kids continue this tradition with their kids.
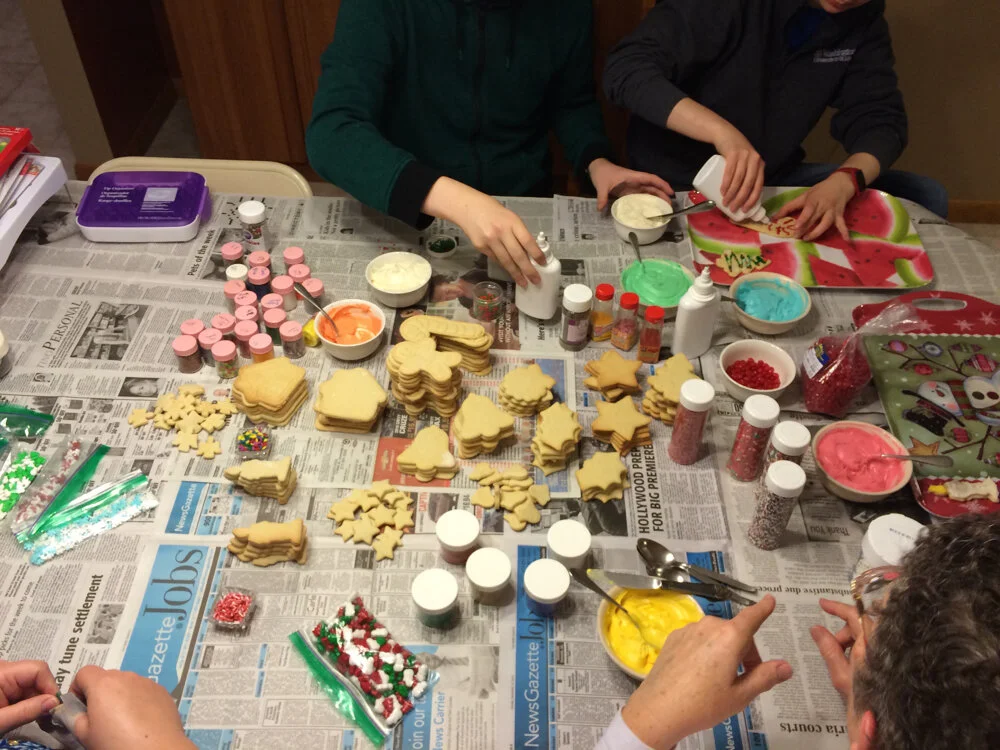
Now Mary, my sister-in-law in Minnesota, made my cookie making pale compared to hers. She baked cookies every month for her church, and when it came to Christmas. Well, let’s just say it was an impressive assembly line.
I was able to snag her recipe the year before I gave everyone in the family a handmade recipe book. Not a small feat because this is not any sugar cookie recipe, this is “Grandma Green’s Sugar Cookies recipe. What makes it special, besides coming from Grandma? Unlike most other sugar cookie recipes, this one is not too sweet, making it a nice back drop for adding icing.
It is also a generous recipe so you may want to cut it in half if you just want a couple dozen.
Mary’s Grandma Green’s Sugar Cookies Recipe
Ingredients:
2 1/2 cups sugar
1 cup shortening
1 teaspoon soda
1 cup sour cream or milk
2 teaspoons lemon extract
2 teaspoons baking powder
3 well-beaten eggs
6 cups flour
To Make:
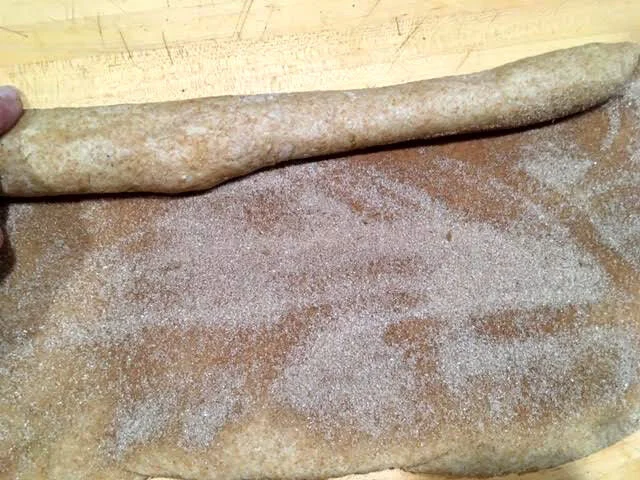
Cream shortening and sugar. Sift dry ingredients together and set aside. Add milk, flavorings and eggs to shortening/sugar. Add flour. Mix well. Drop or roll out and cut with cookie cutters. Decorate with decorative sugar, raisins or other bake-able additions. Bake at 350F for 8-10 minutes.
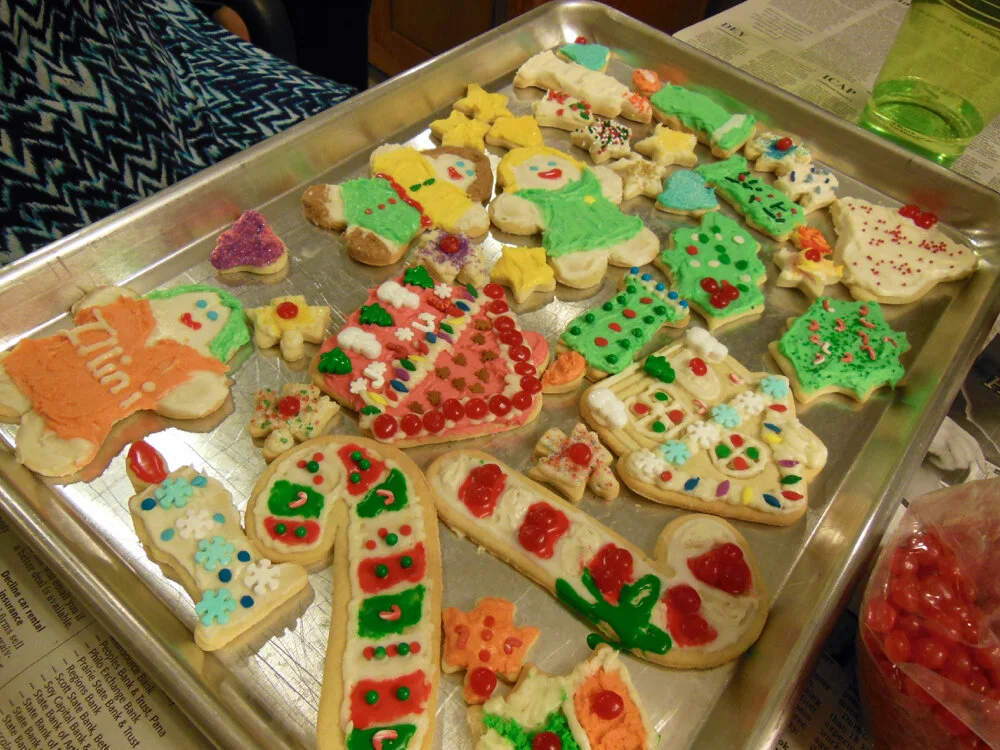
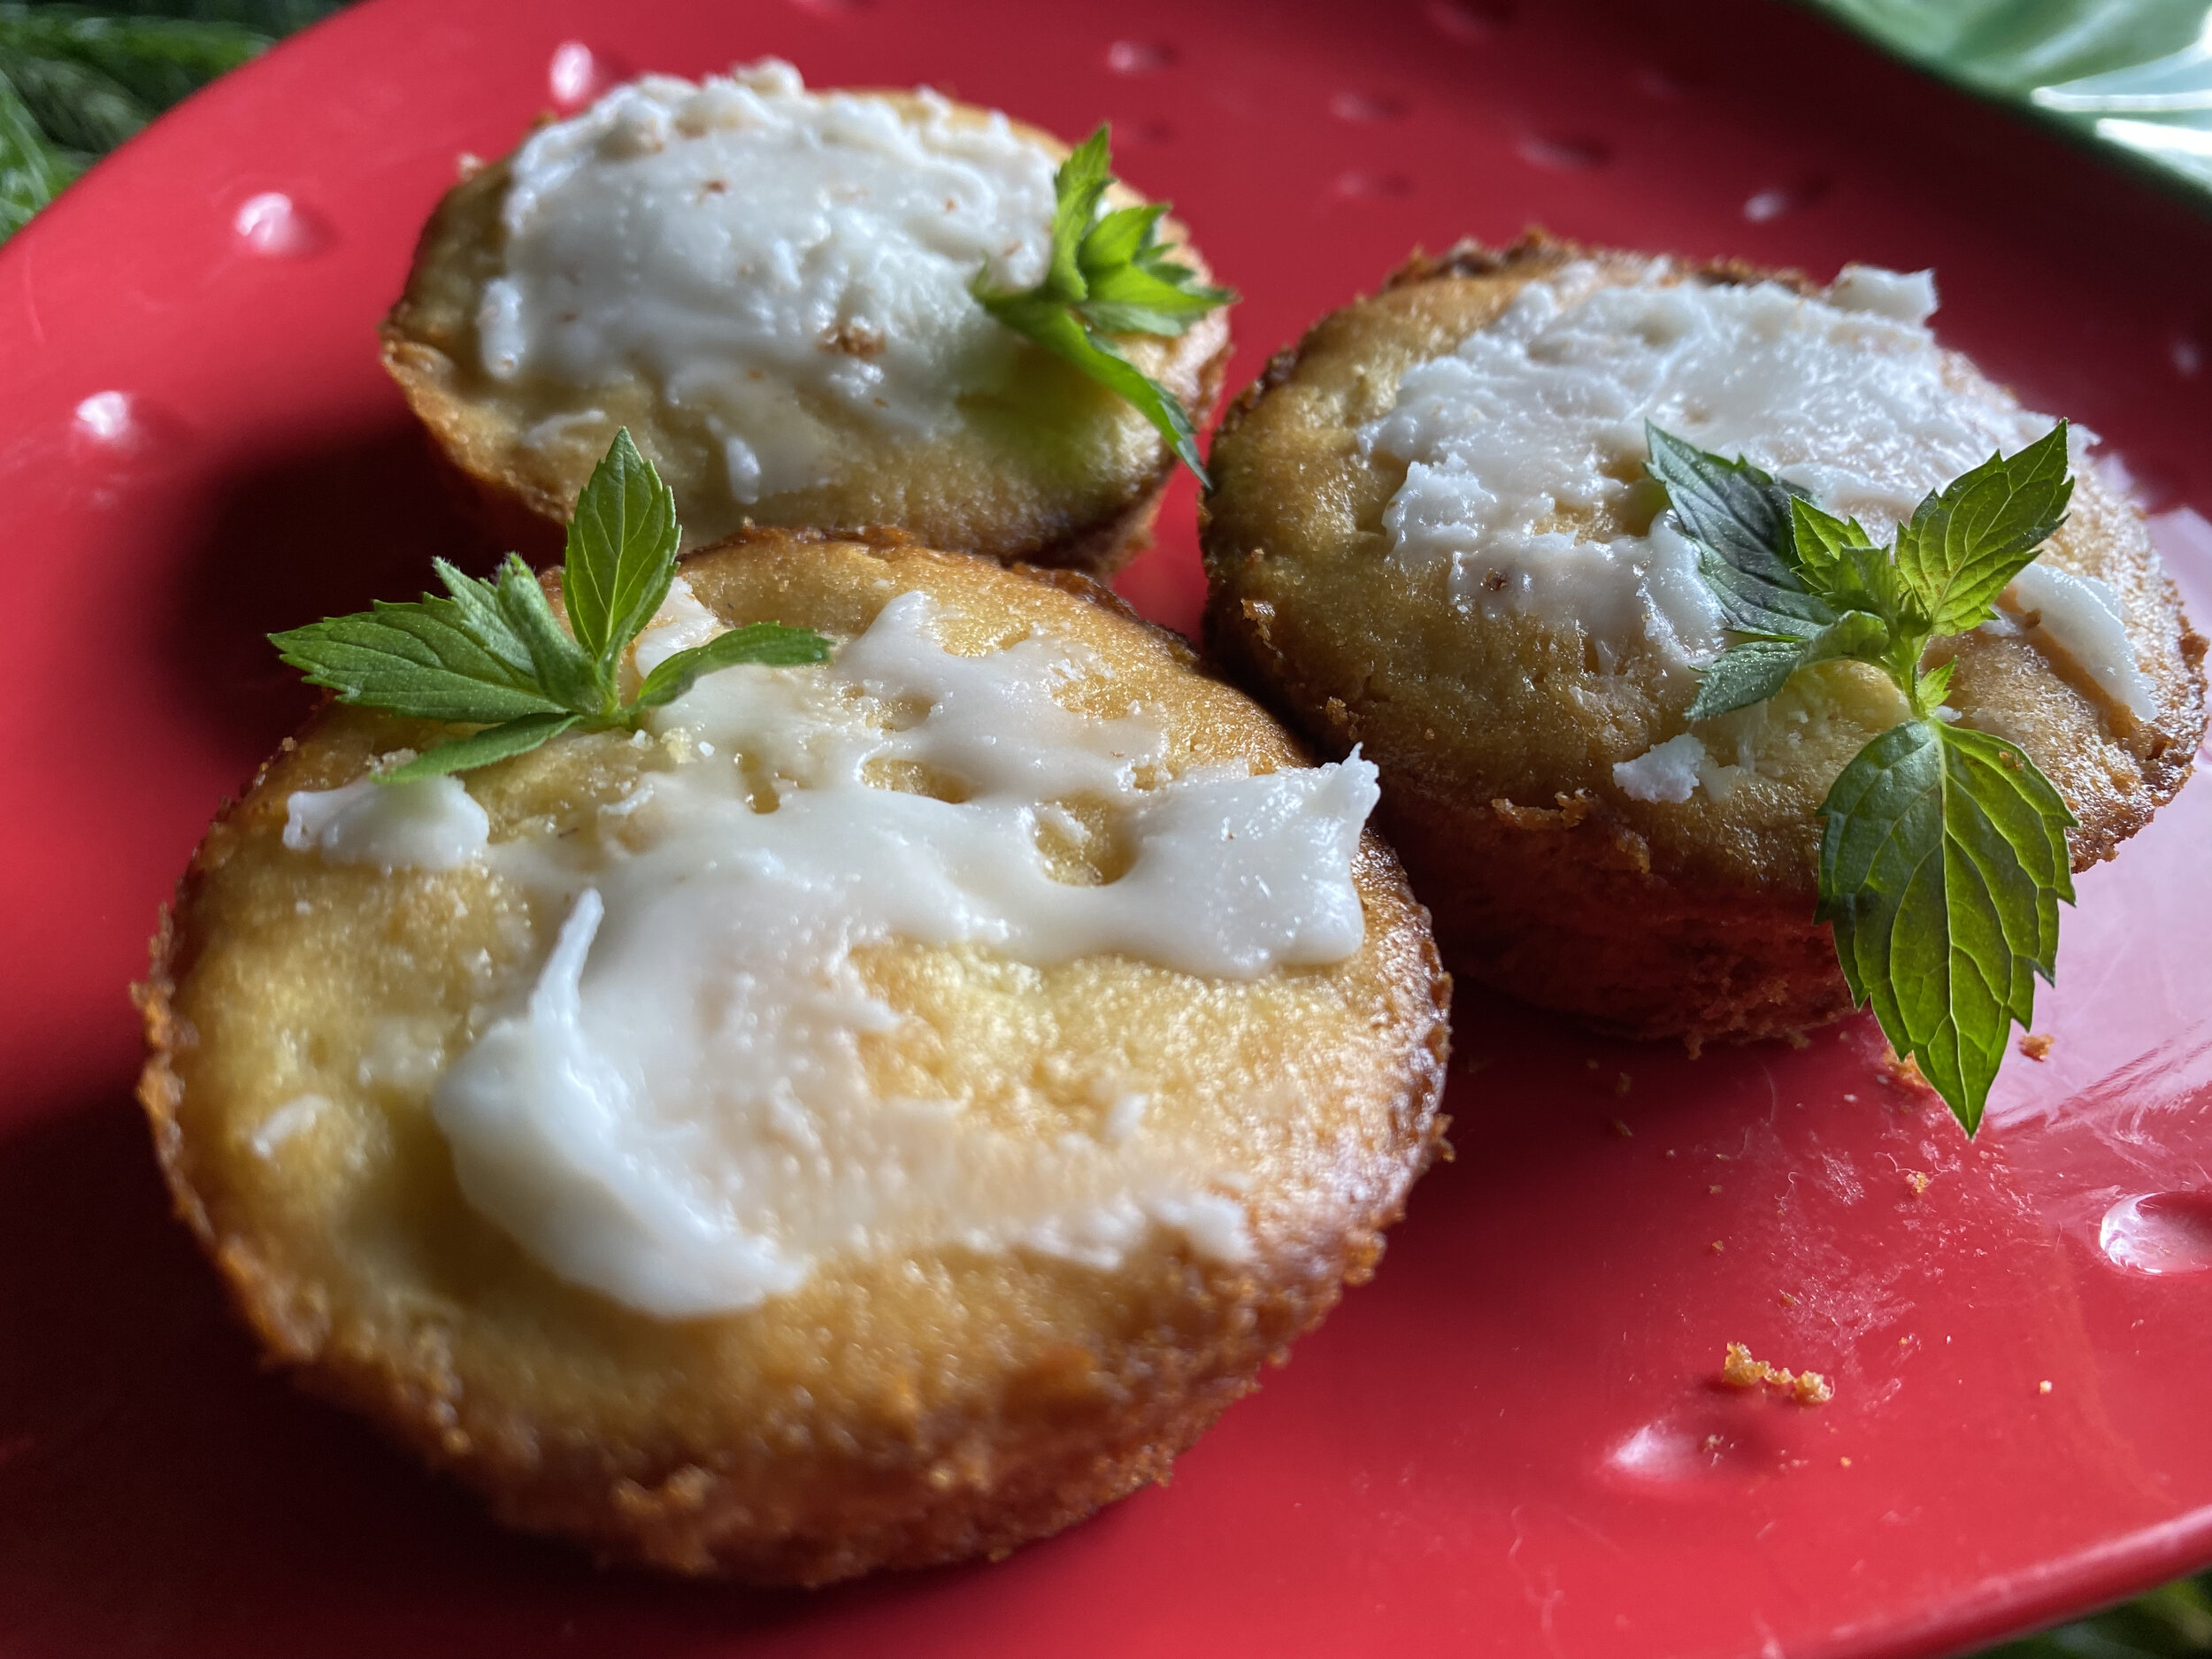
After cooled, these sugar cookies are ready for decorating. And sampling. I truly believe any baked goods need to be carefully and deliberately sampled. Quality control. Reindeer can be very picky!
This is the sugar cookie assembly line I walked into the last time I was in Minnesota for Christmas: