Pears Anyway
/
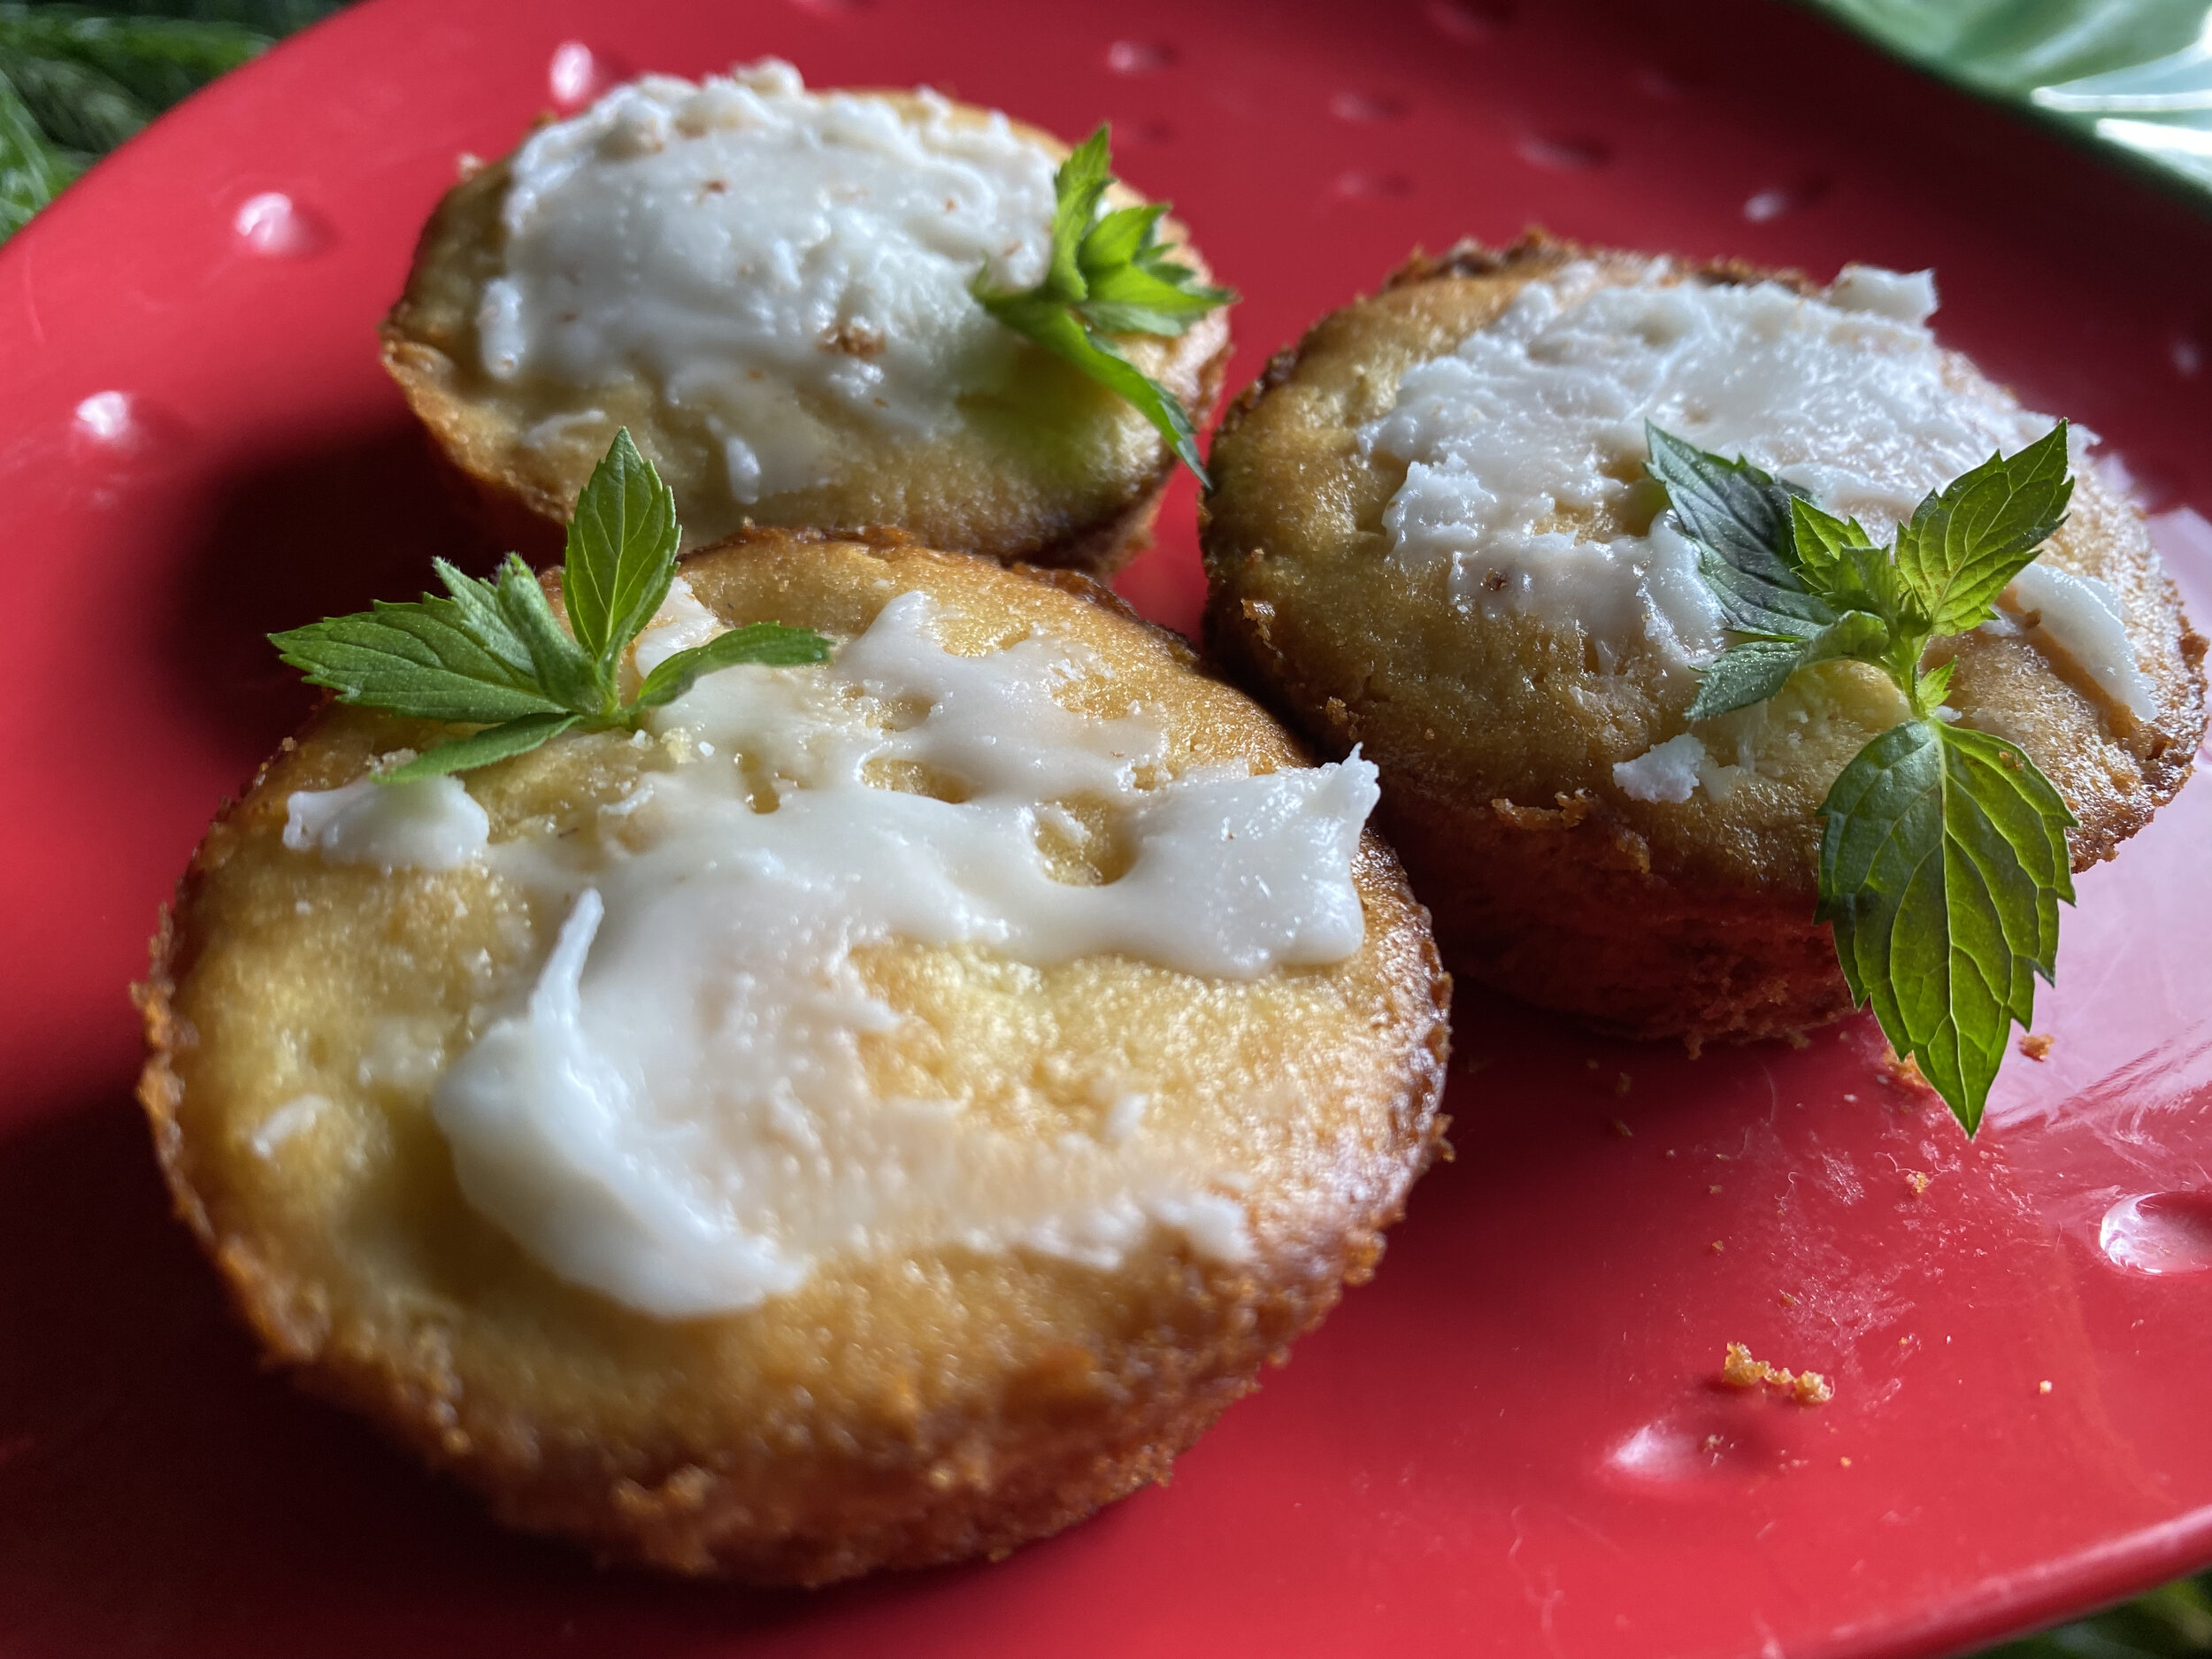
My homemade pear desert with a dollop of whipped cream. (Photo by Charlotte Ekker Wiggins)
Pears Anyway
For the past 11 years, a Stark Brother’s semi-dwarf Bartlett pear tree has provided me with fresh pears every fall. Actually that’s how long it took for the fruit tree to grow into the limestone hillside. Paper wasps living in nearby birdhouses did the rest by pollinating the tree so I get pears.

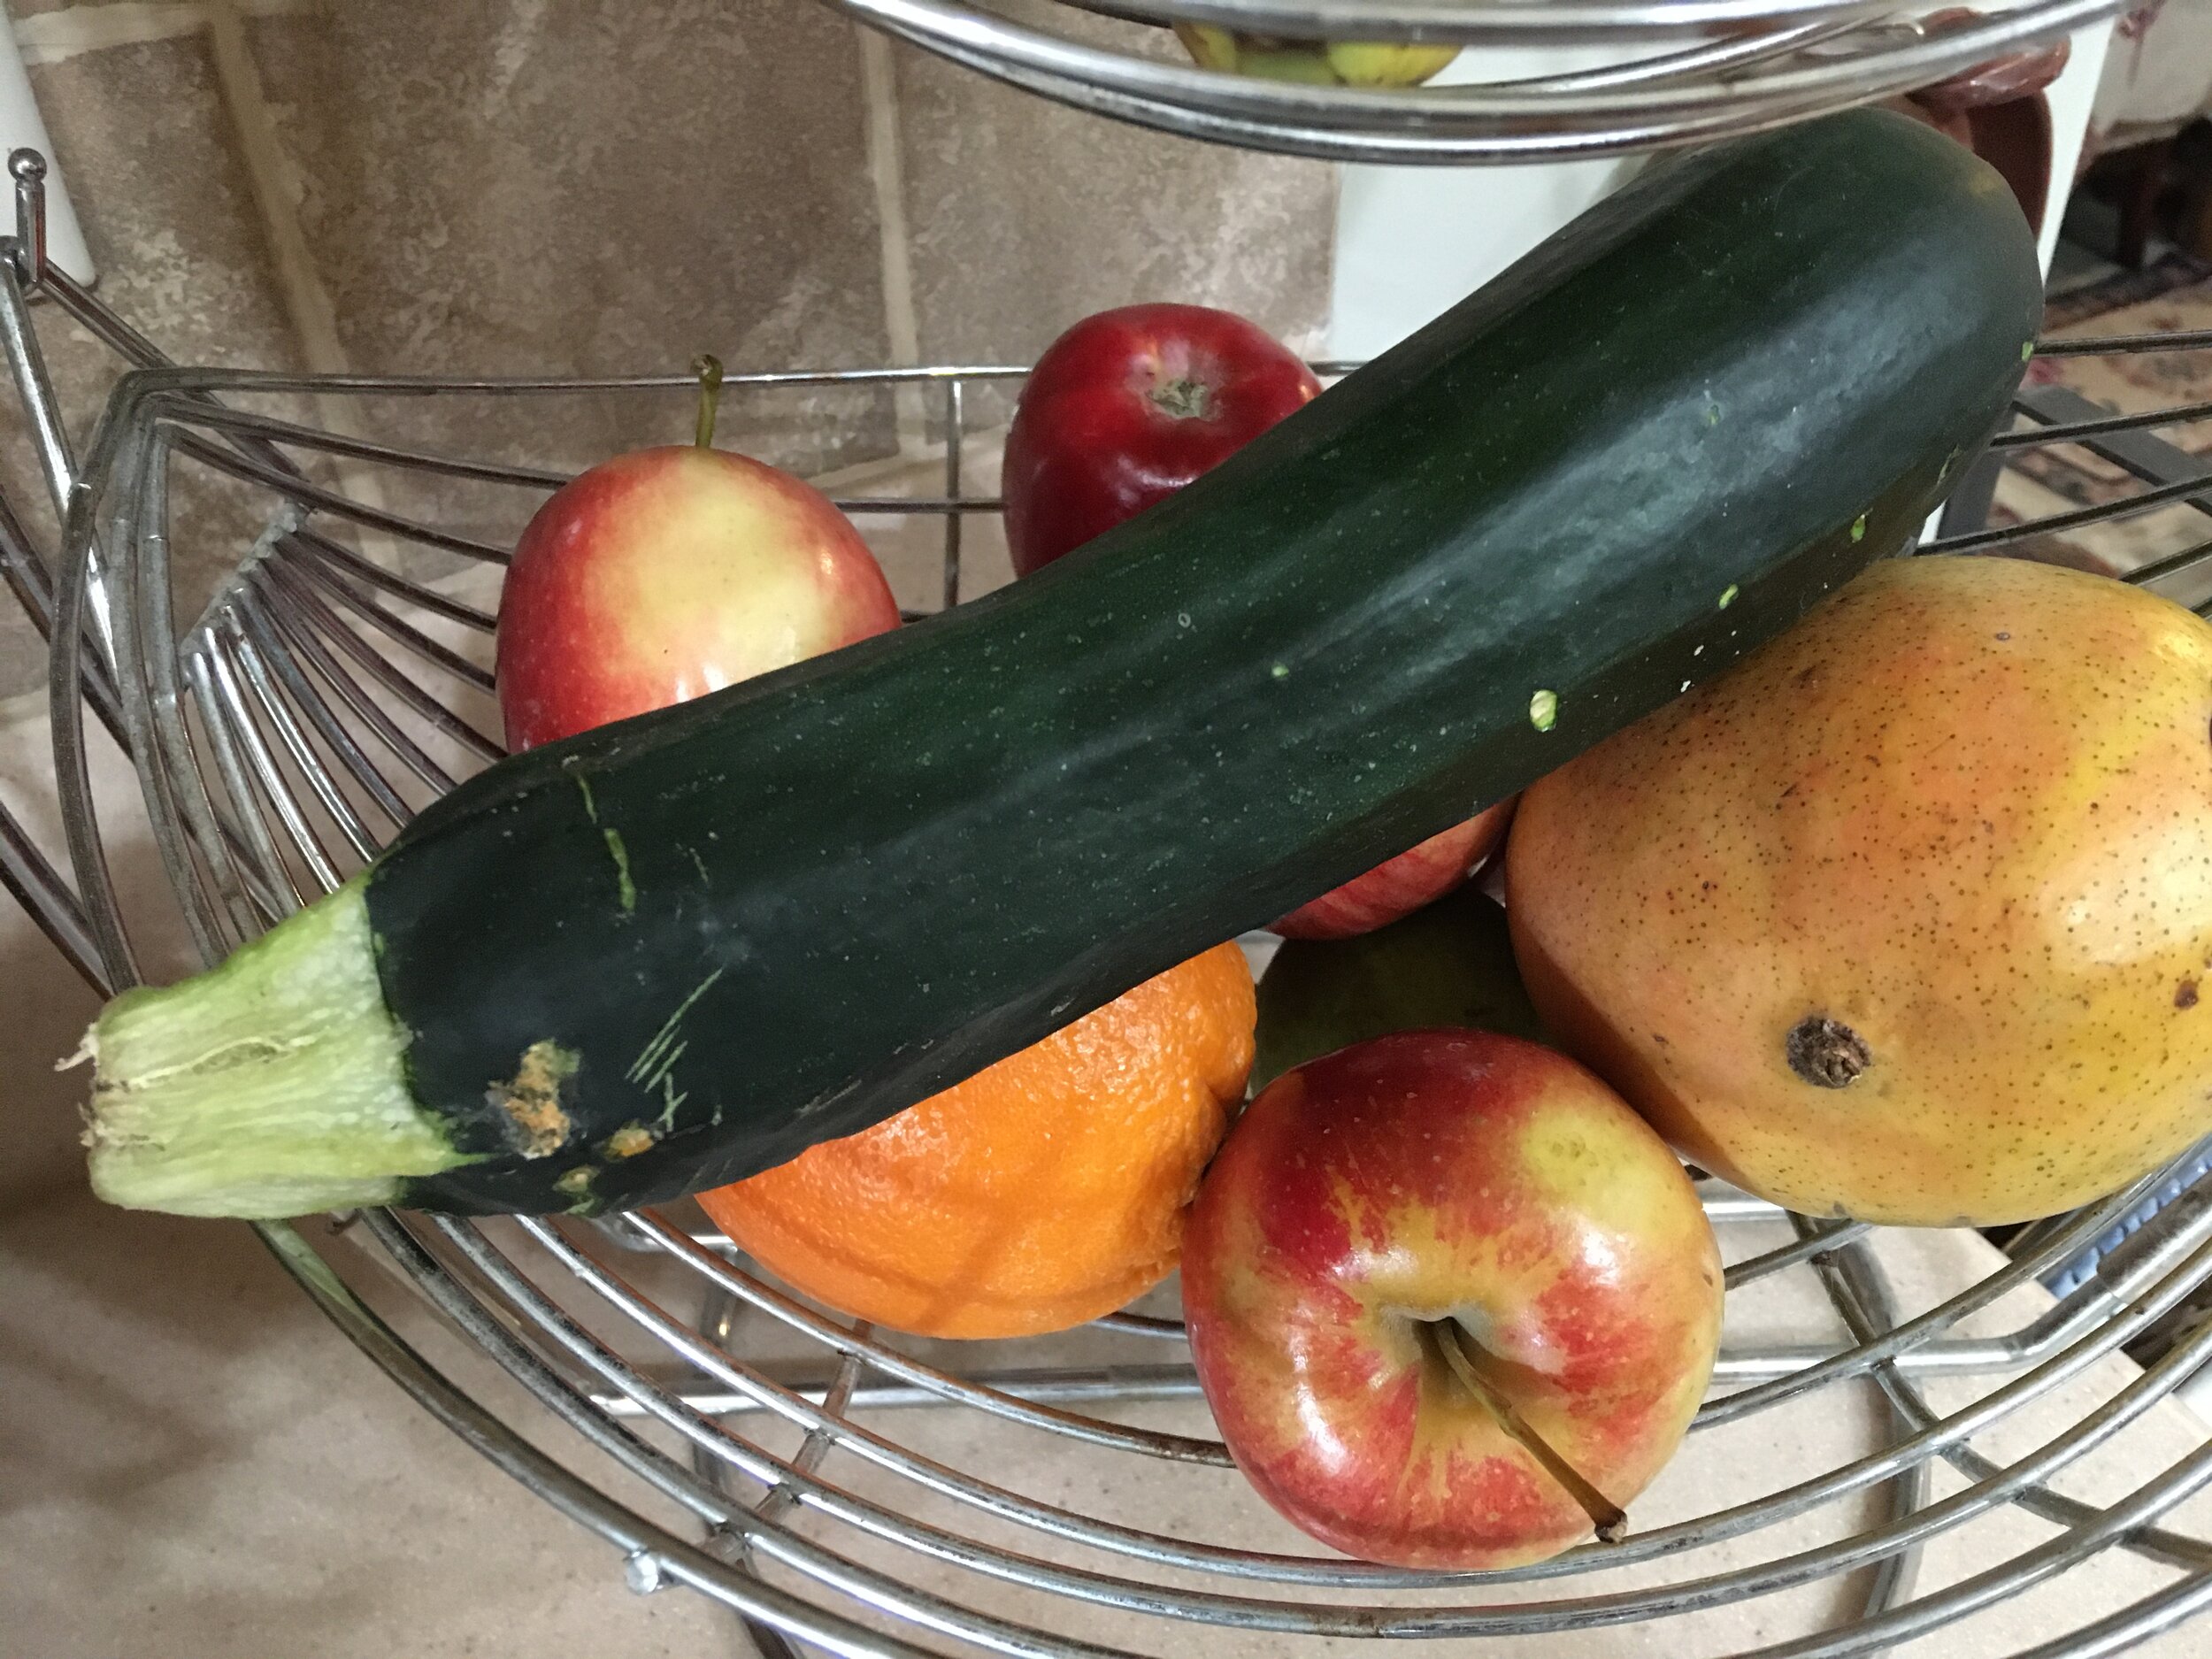
Pears are picked green and allowed to ripen inside with other fruit. (Photo by Charlotte Ekker Wiggins)
Unlike the ones you find at the store, these Bartlett pears may have a bad spot so they don’t look perfect or are necessarily ripe when I find the spot.
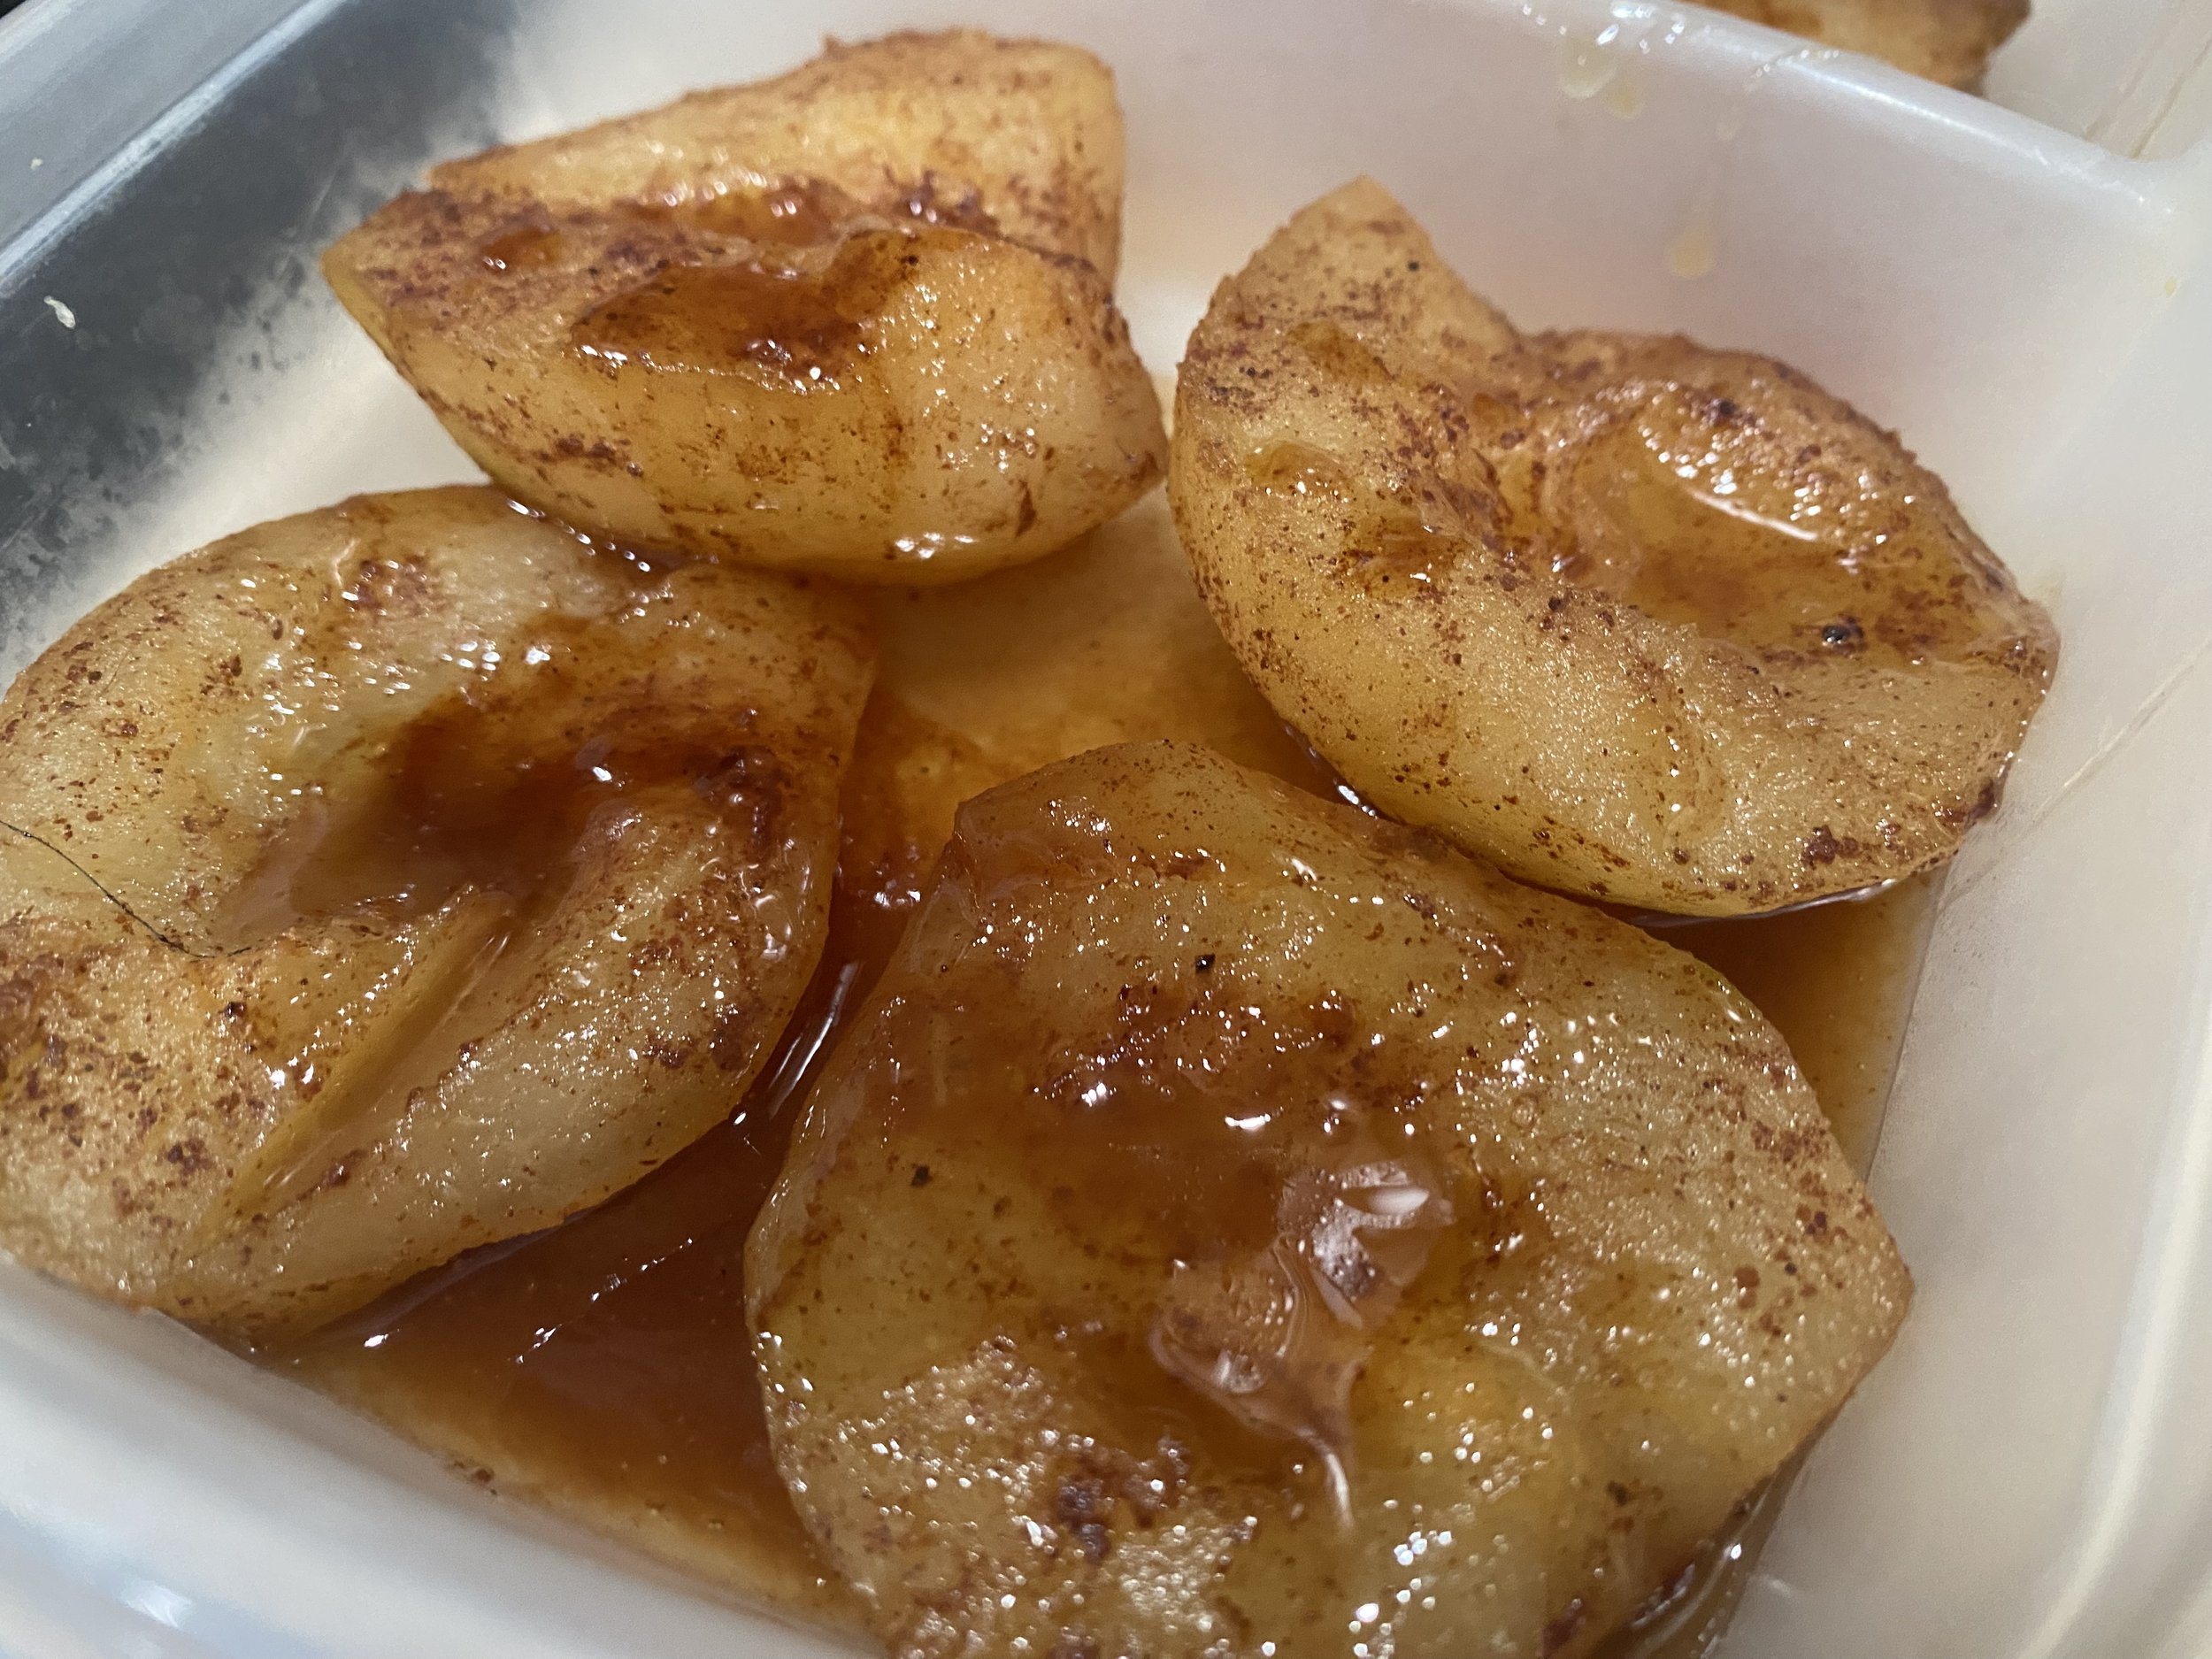
So after washing them, I cut those spots off, cut up the remaining Bartlett pears into a microwave bowl and microwave them on high for 1-2 minutes.
One option is to dust them with cinnamon before cooking.
Another option is to drizzle fresh honey on them after they were cooked.
And there’s always the topped with whipped cream option when ready to eat.
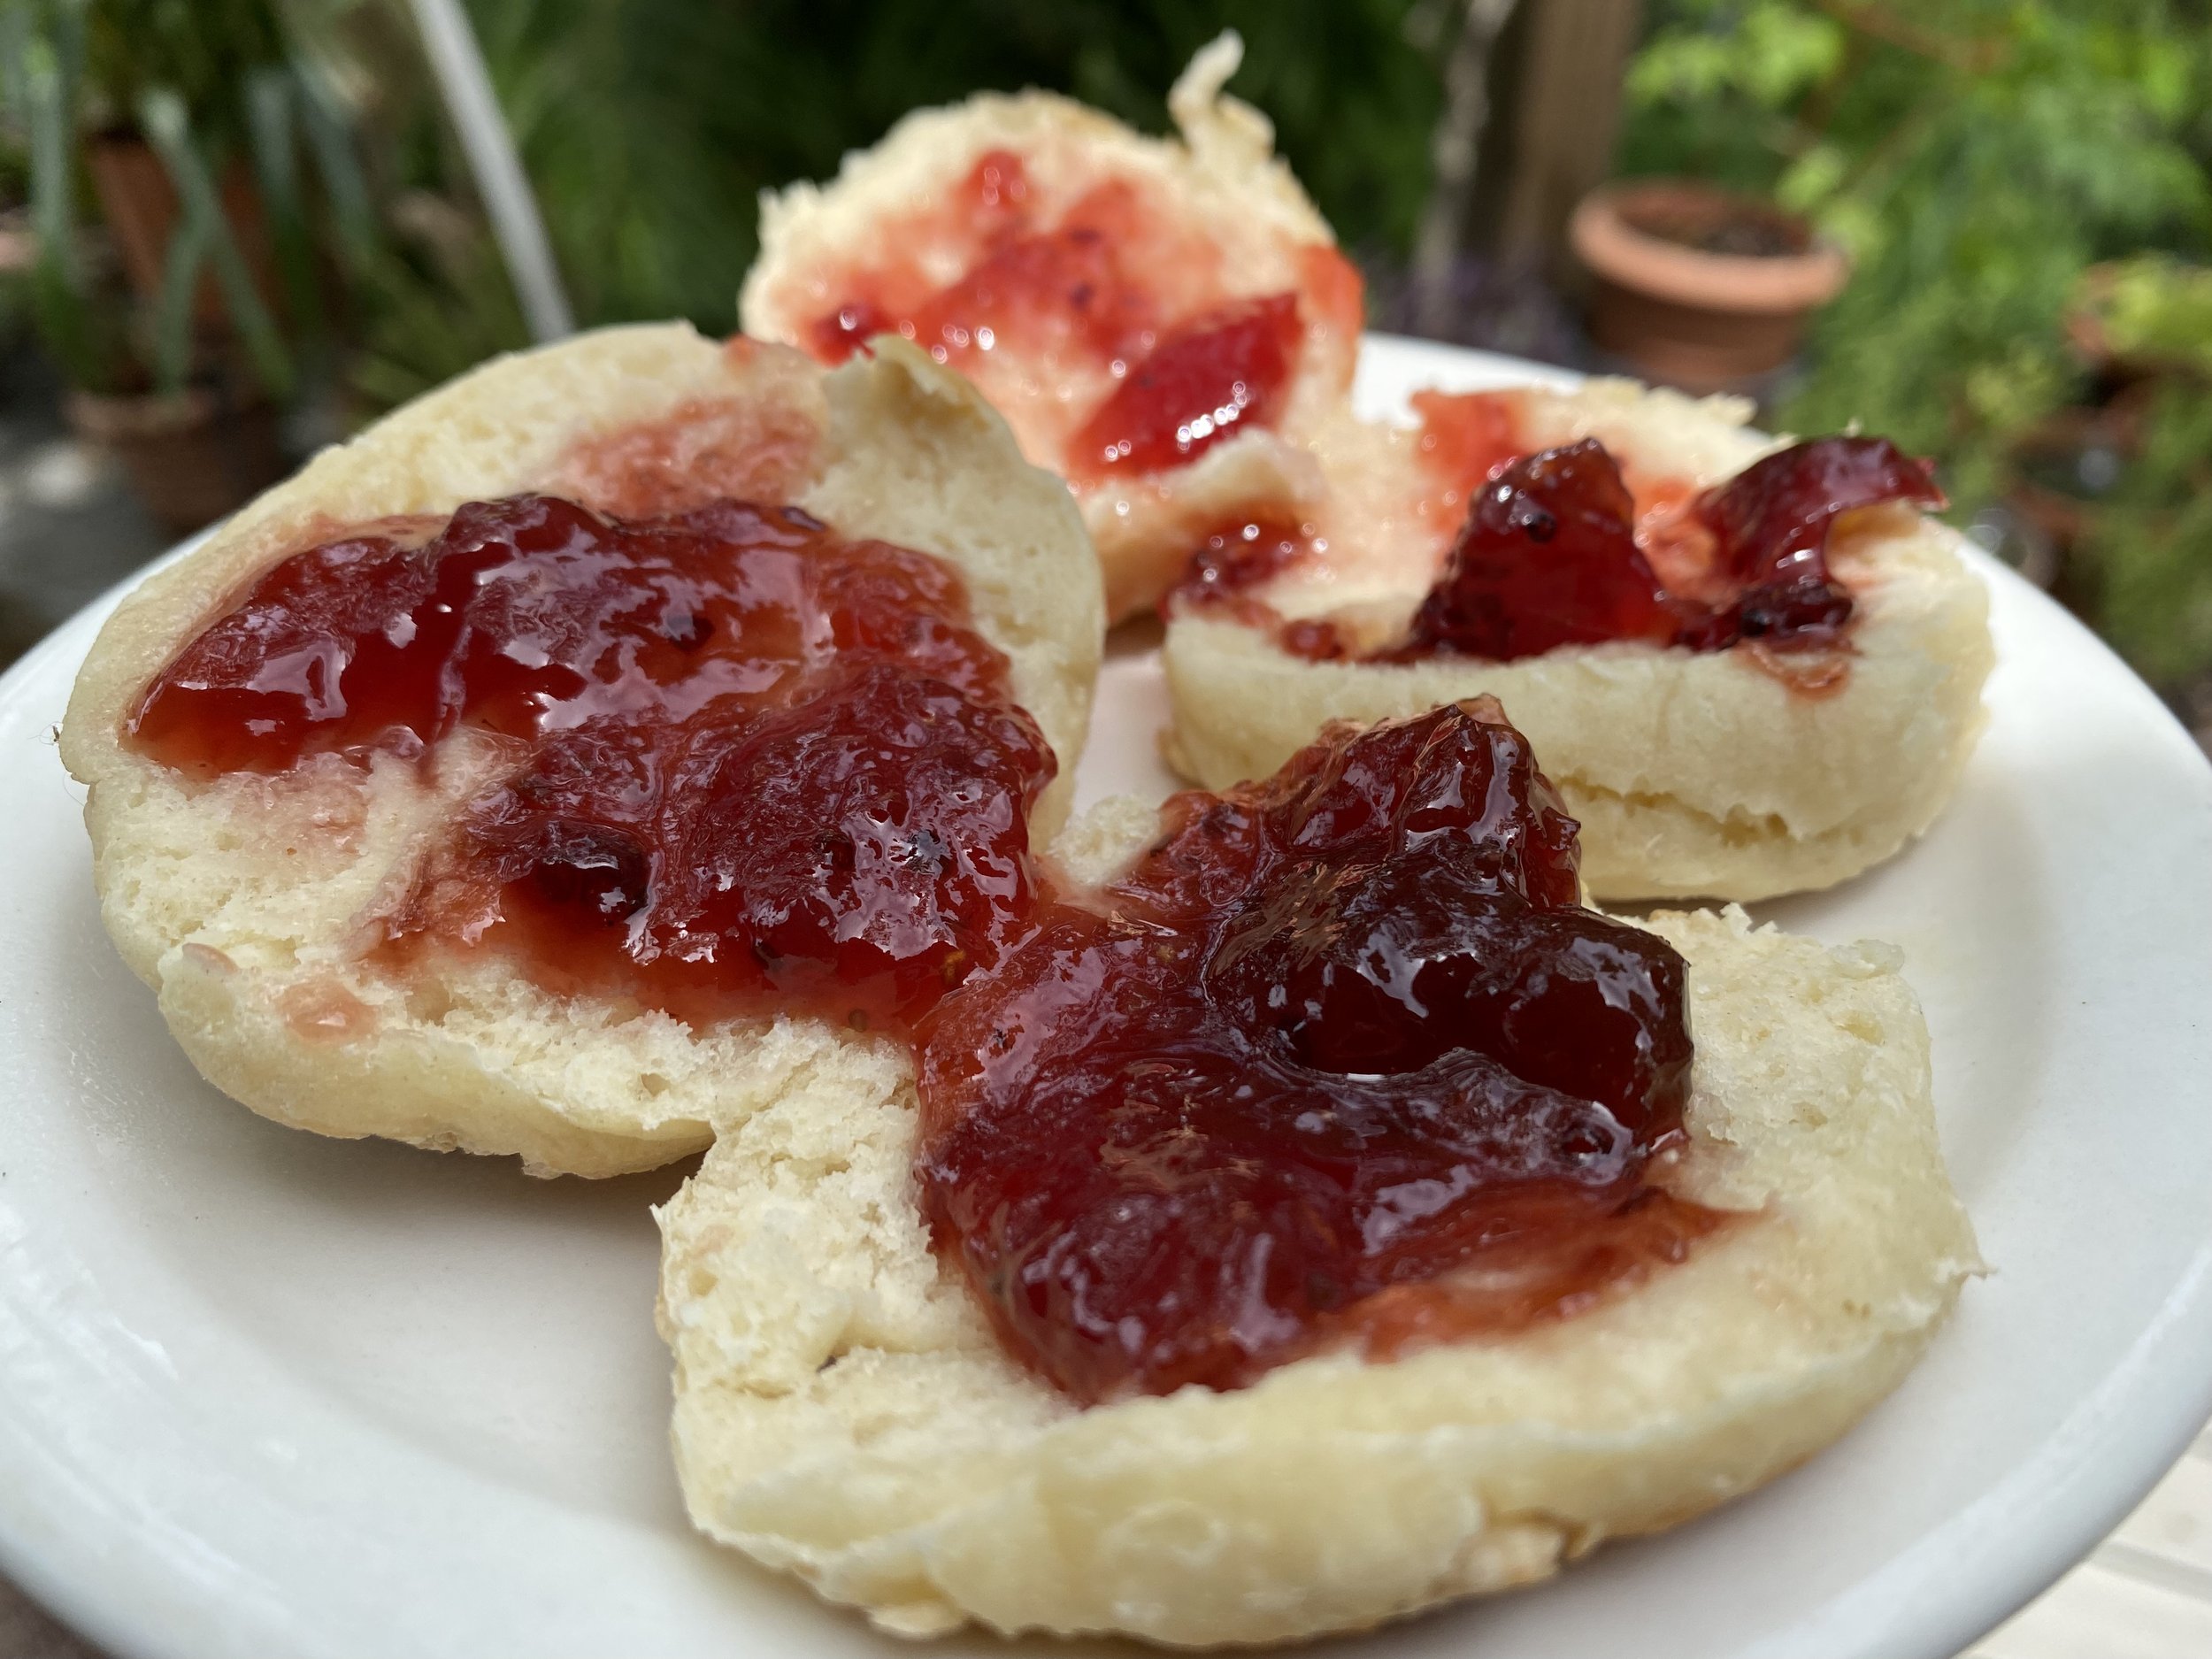
This is not only a very easy and quick desert to make but this way you are not wasting the fruit. Also works with apples.