Chickweed Salad
/
Wild violets, lettuce, chickweed and fresh onions for this salad. (Charlotte Ekker Wiggins photo)
Chickweed Salad
Let me make it clear that I don’t have preconceived ideas about what is a good or bad plant. In my research I have determined that most “weeds” are actually herbs that at one time were valued for their properties. And chickweed is no exception.
According to Health Line, chickweed is a common weed Stellaria media that offers a number of potential benefits including it helps reduce inflammation and soothe irritated skin. Animal and test-tube studies suggest that it may have applications in disease treatment and obesity prevention but I’m not making that claim here.
The bottom line is chickweed is a plant that has value that’s been lost over time. And most appropriately for this post, ii is also edible.

Chickweed is a ground cover and can easily be cut for salads. (Charlotte Ekker Wiggins photo)
This is a good time to try chickweed in a salad because the plants are freshly-growing and not woody. You want also to take plants from where no chemicals have been used.
So instead of pulling the plants, cut them if you want to maintain a patch for your table. Or if you are pulling them, save some to add to a salad.
You don’t want to eat all chickweed; that may give you a tummy ache so mix them with other greens.
Chickweed Salad
For the salad:
3 cups leafy (as opposed to stemmy) chickweed, rinsed, and chopped across the stem.
3 cups other salad greens
½ cup queso fresco or soft goat cheese. I only have Mozzarella so will add that.
Optional ¼-3/4 cups black walnut pieces, roasted sunflower seeds, or soaked and roasted pecans.
Chickweed Salad Dressing Recipe
1/3 c fresh basil or monarda spp (bee balm, etc) leaves
1 c olive oil
2 T lemon juice
1/8 c honey
1 ½ t salt
Mix. You can use this on any salad.

Common chickweed is another source of greens and it grows on its own. (Charlotte Ekker Wiggins photo)
Now using chickweed in salads does not get any easier that this. The plants self-seed, easily grow and all we have to do is harvest it. My kind of plant!
Other Uses for Chickweed
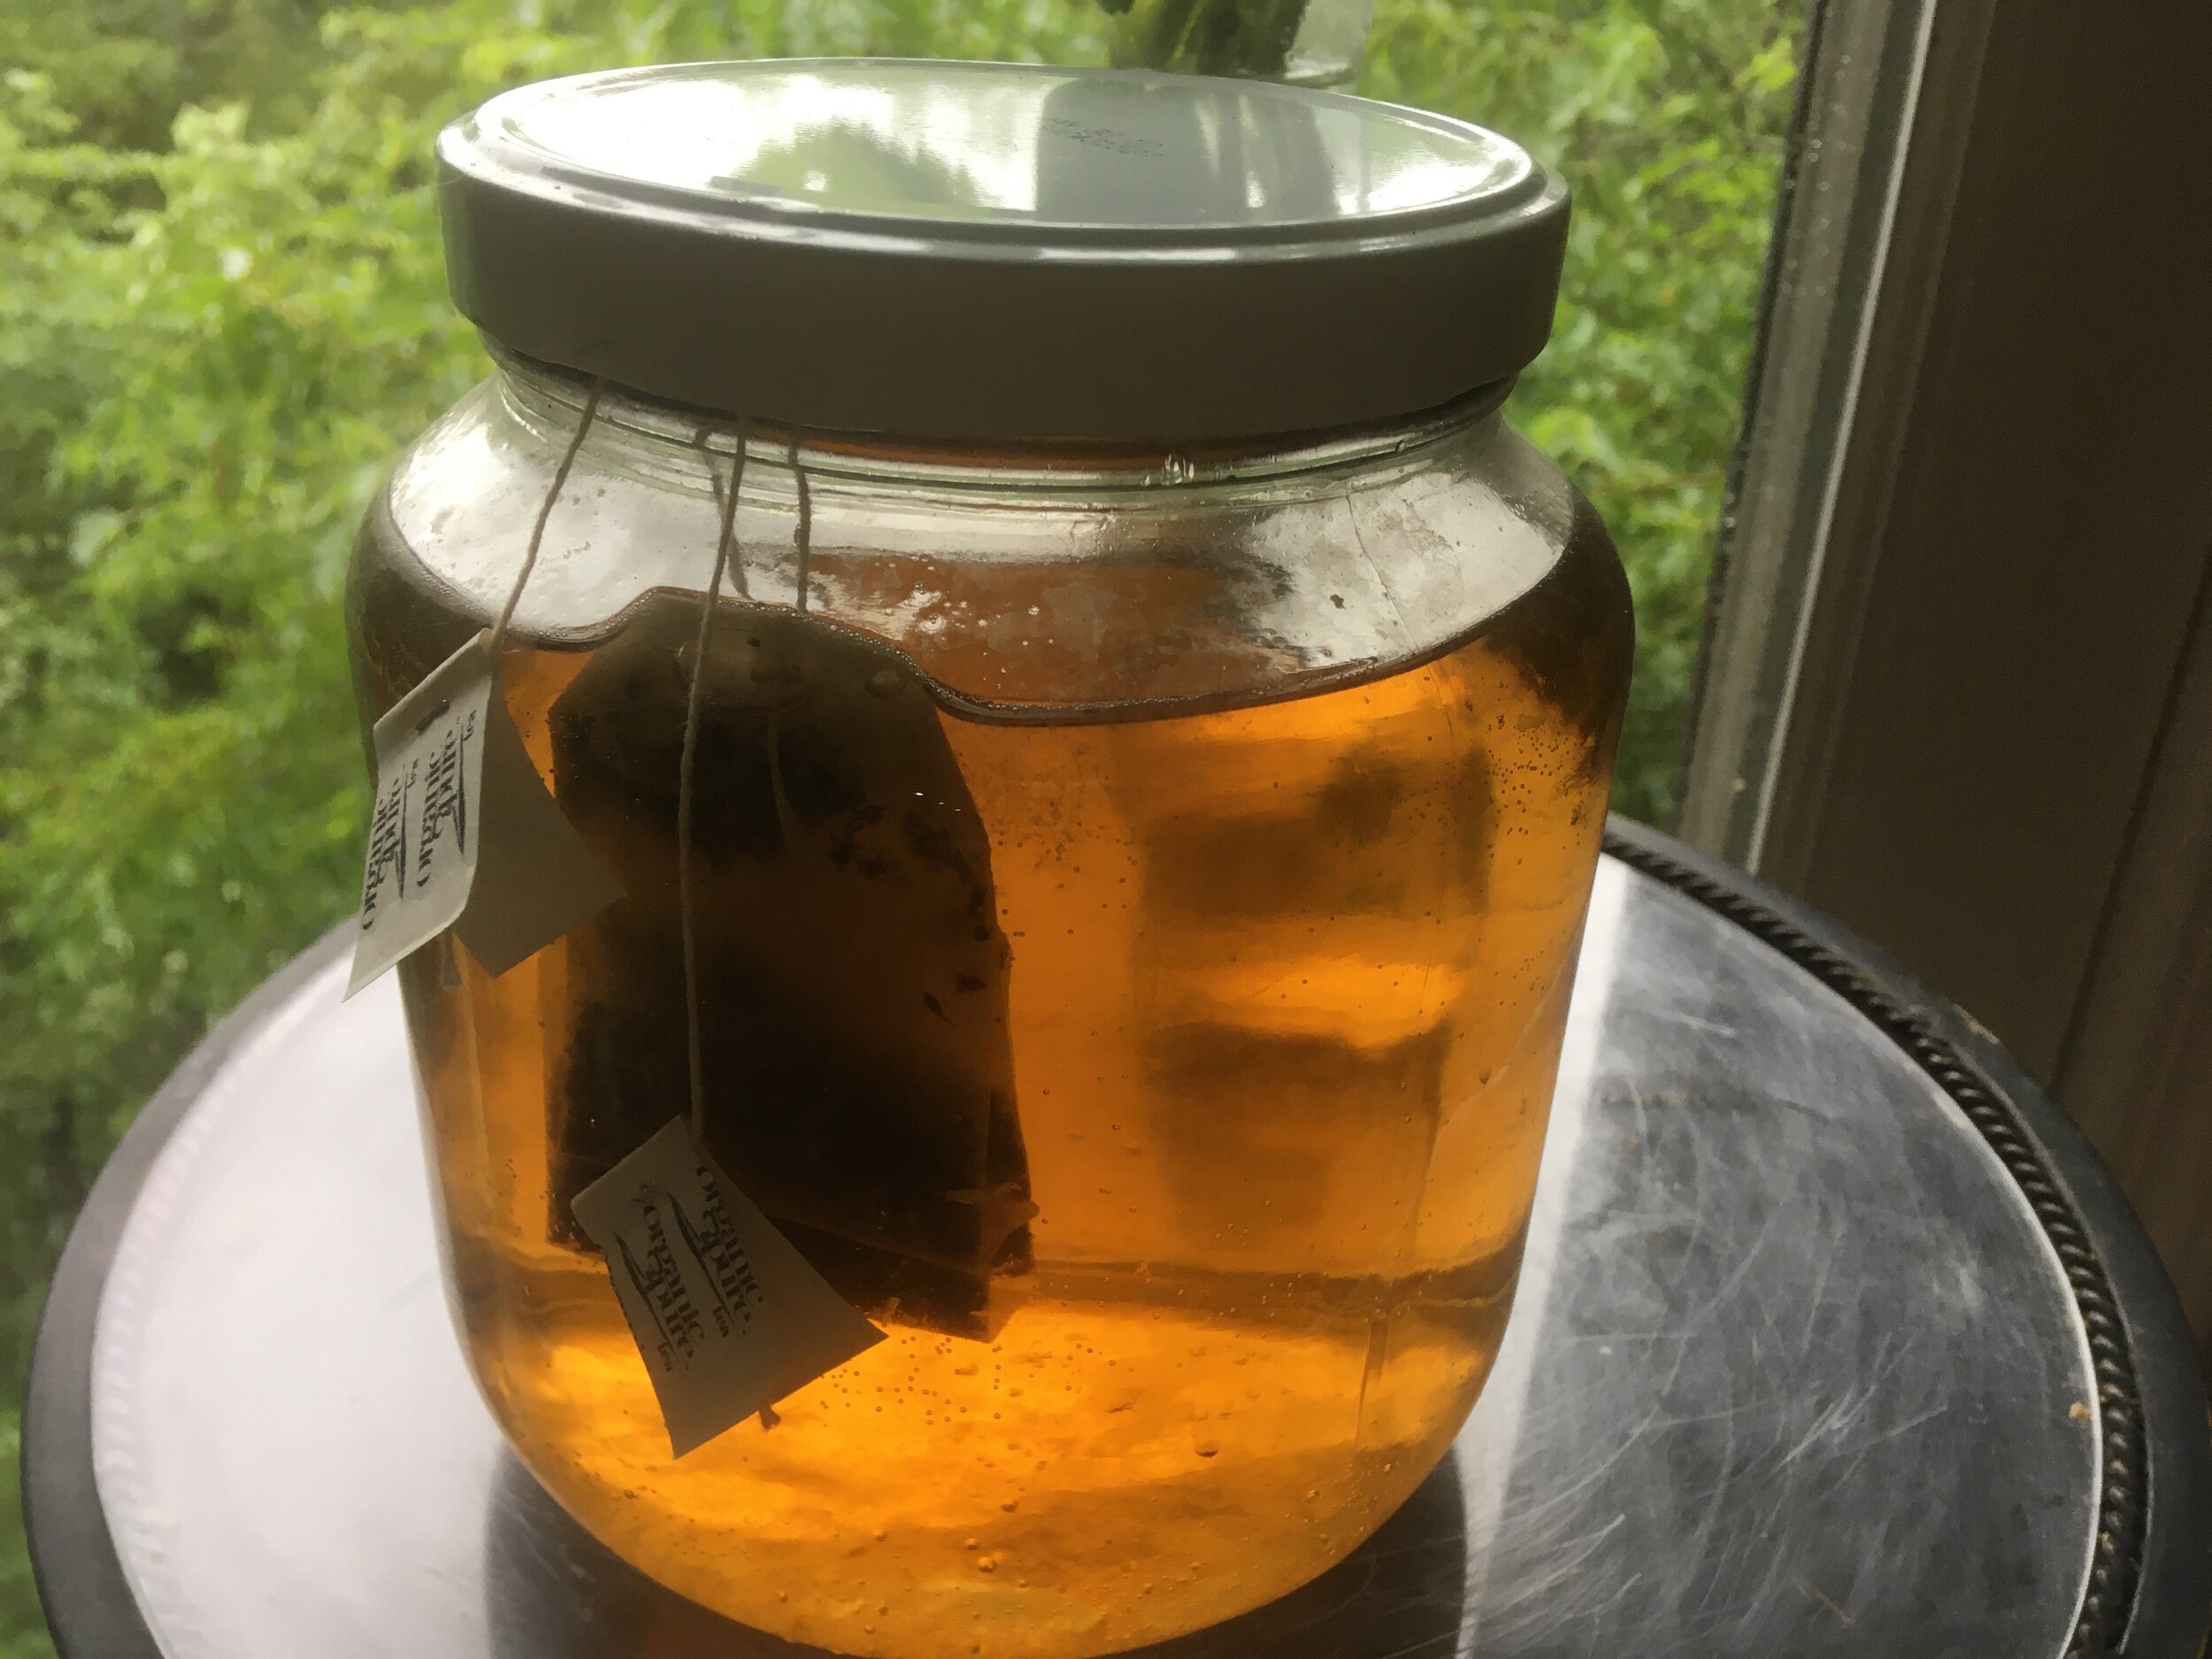
Chickweed can be applied directly to your skin, made into tea and infused into an oil for topical use.
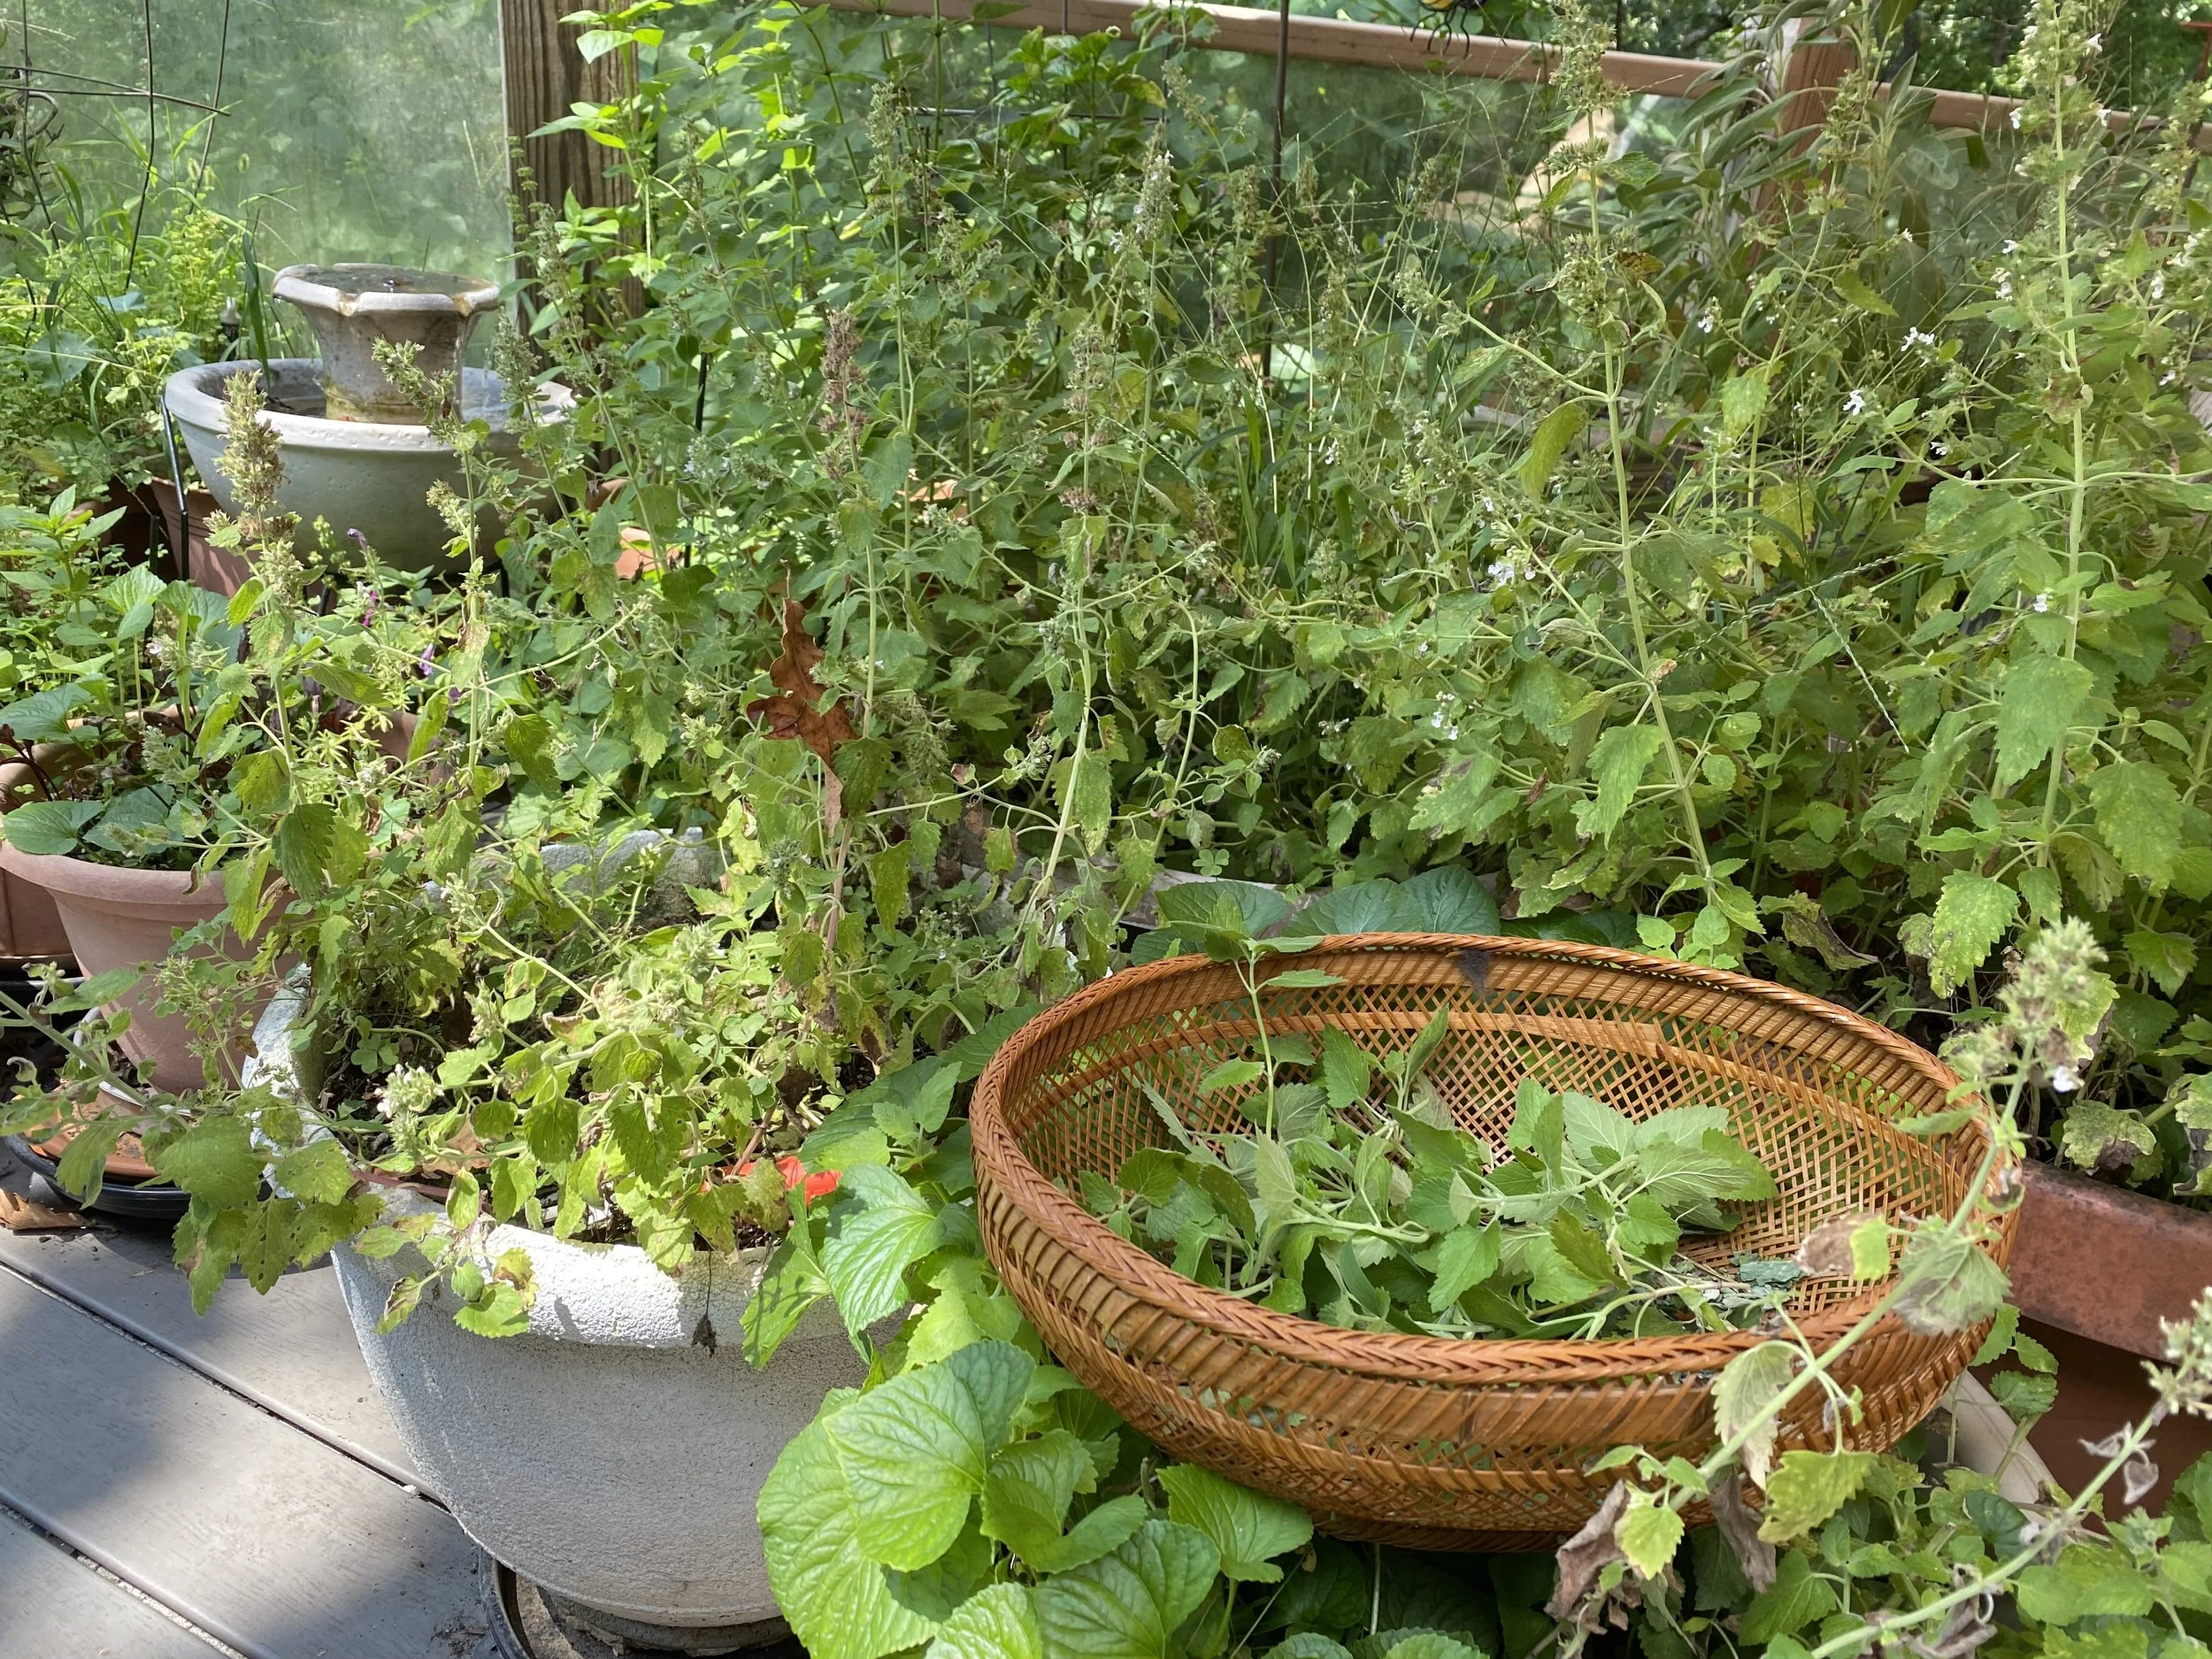
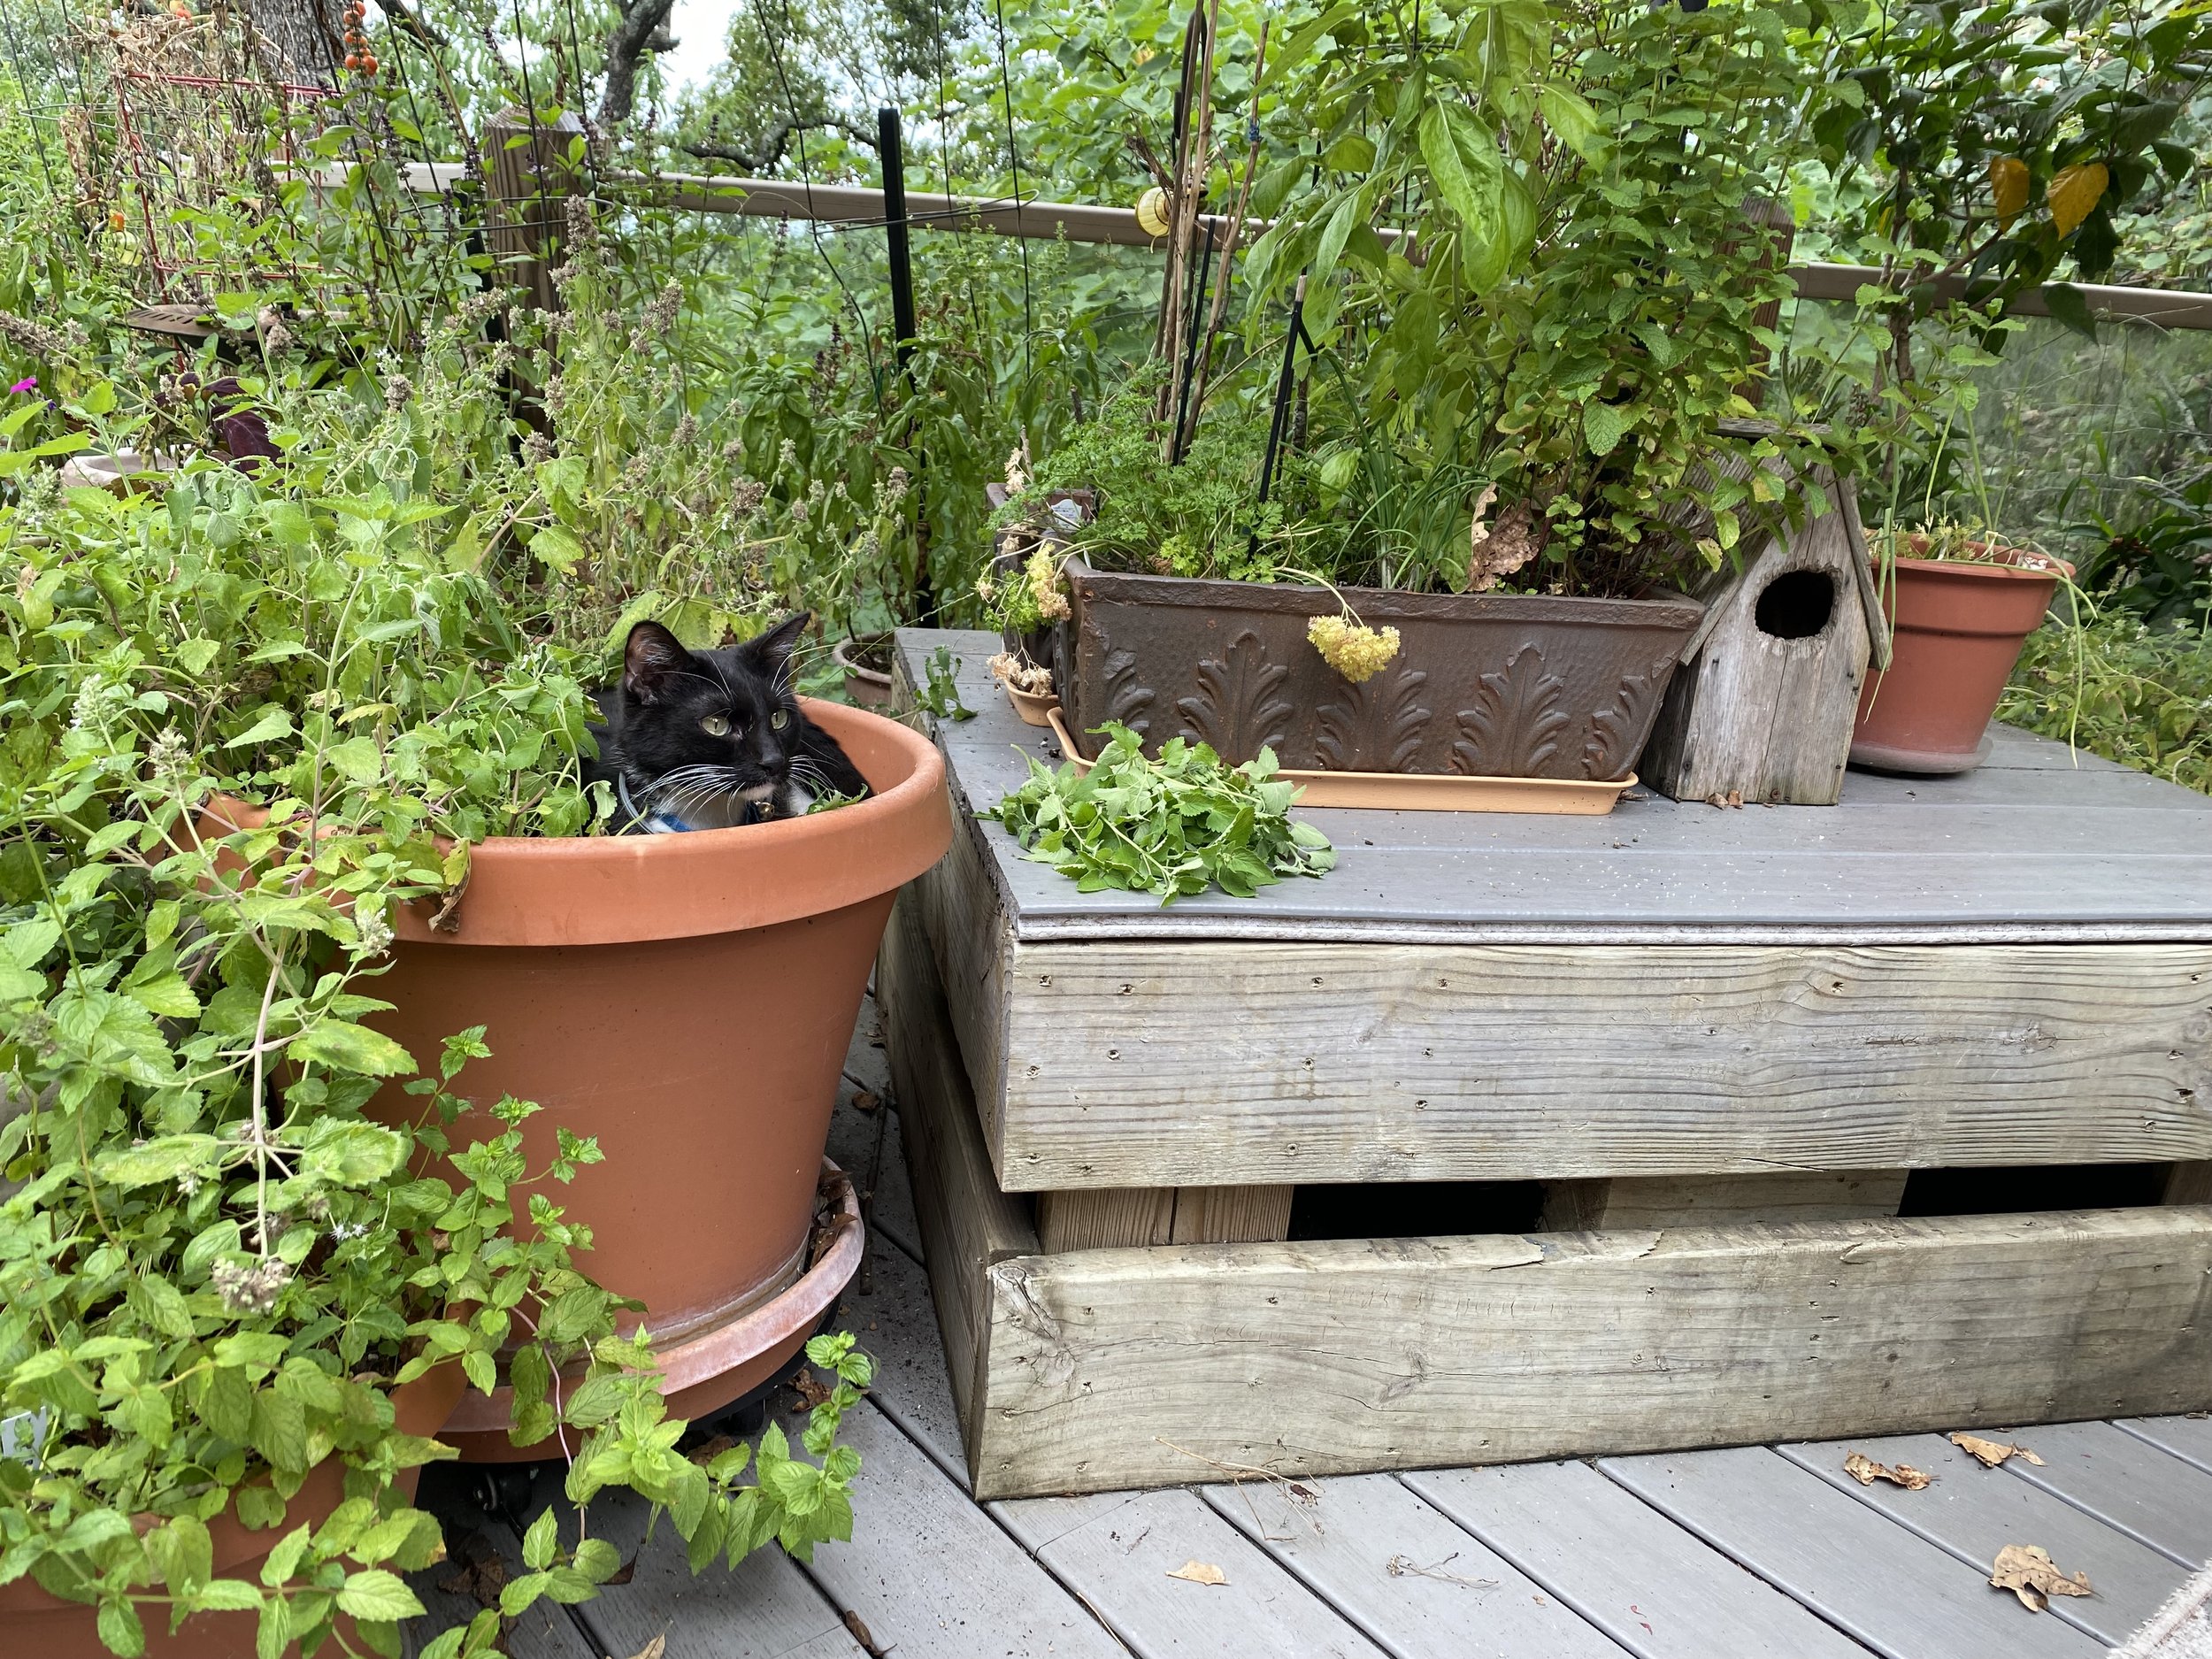
Next I’m thinking I will dry some for tea. Let’s hope I don’t get this mixed up with the drying catnip!
For more gardening, beekeeping, cooking and easy home decor tips, subscribe to Garden Notes.