Versatile Butter Cookies Recipe
/
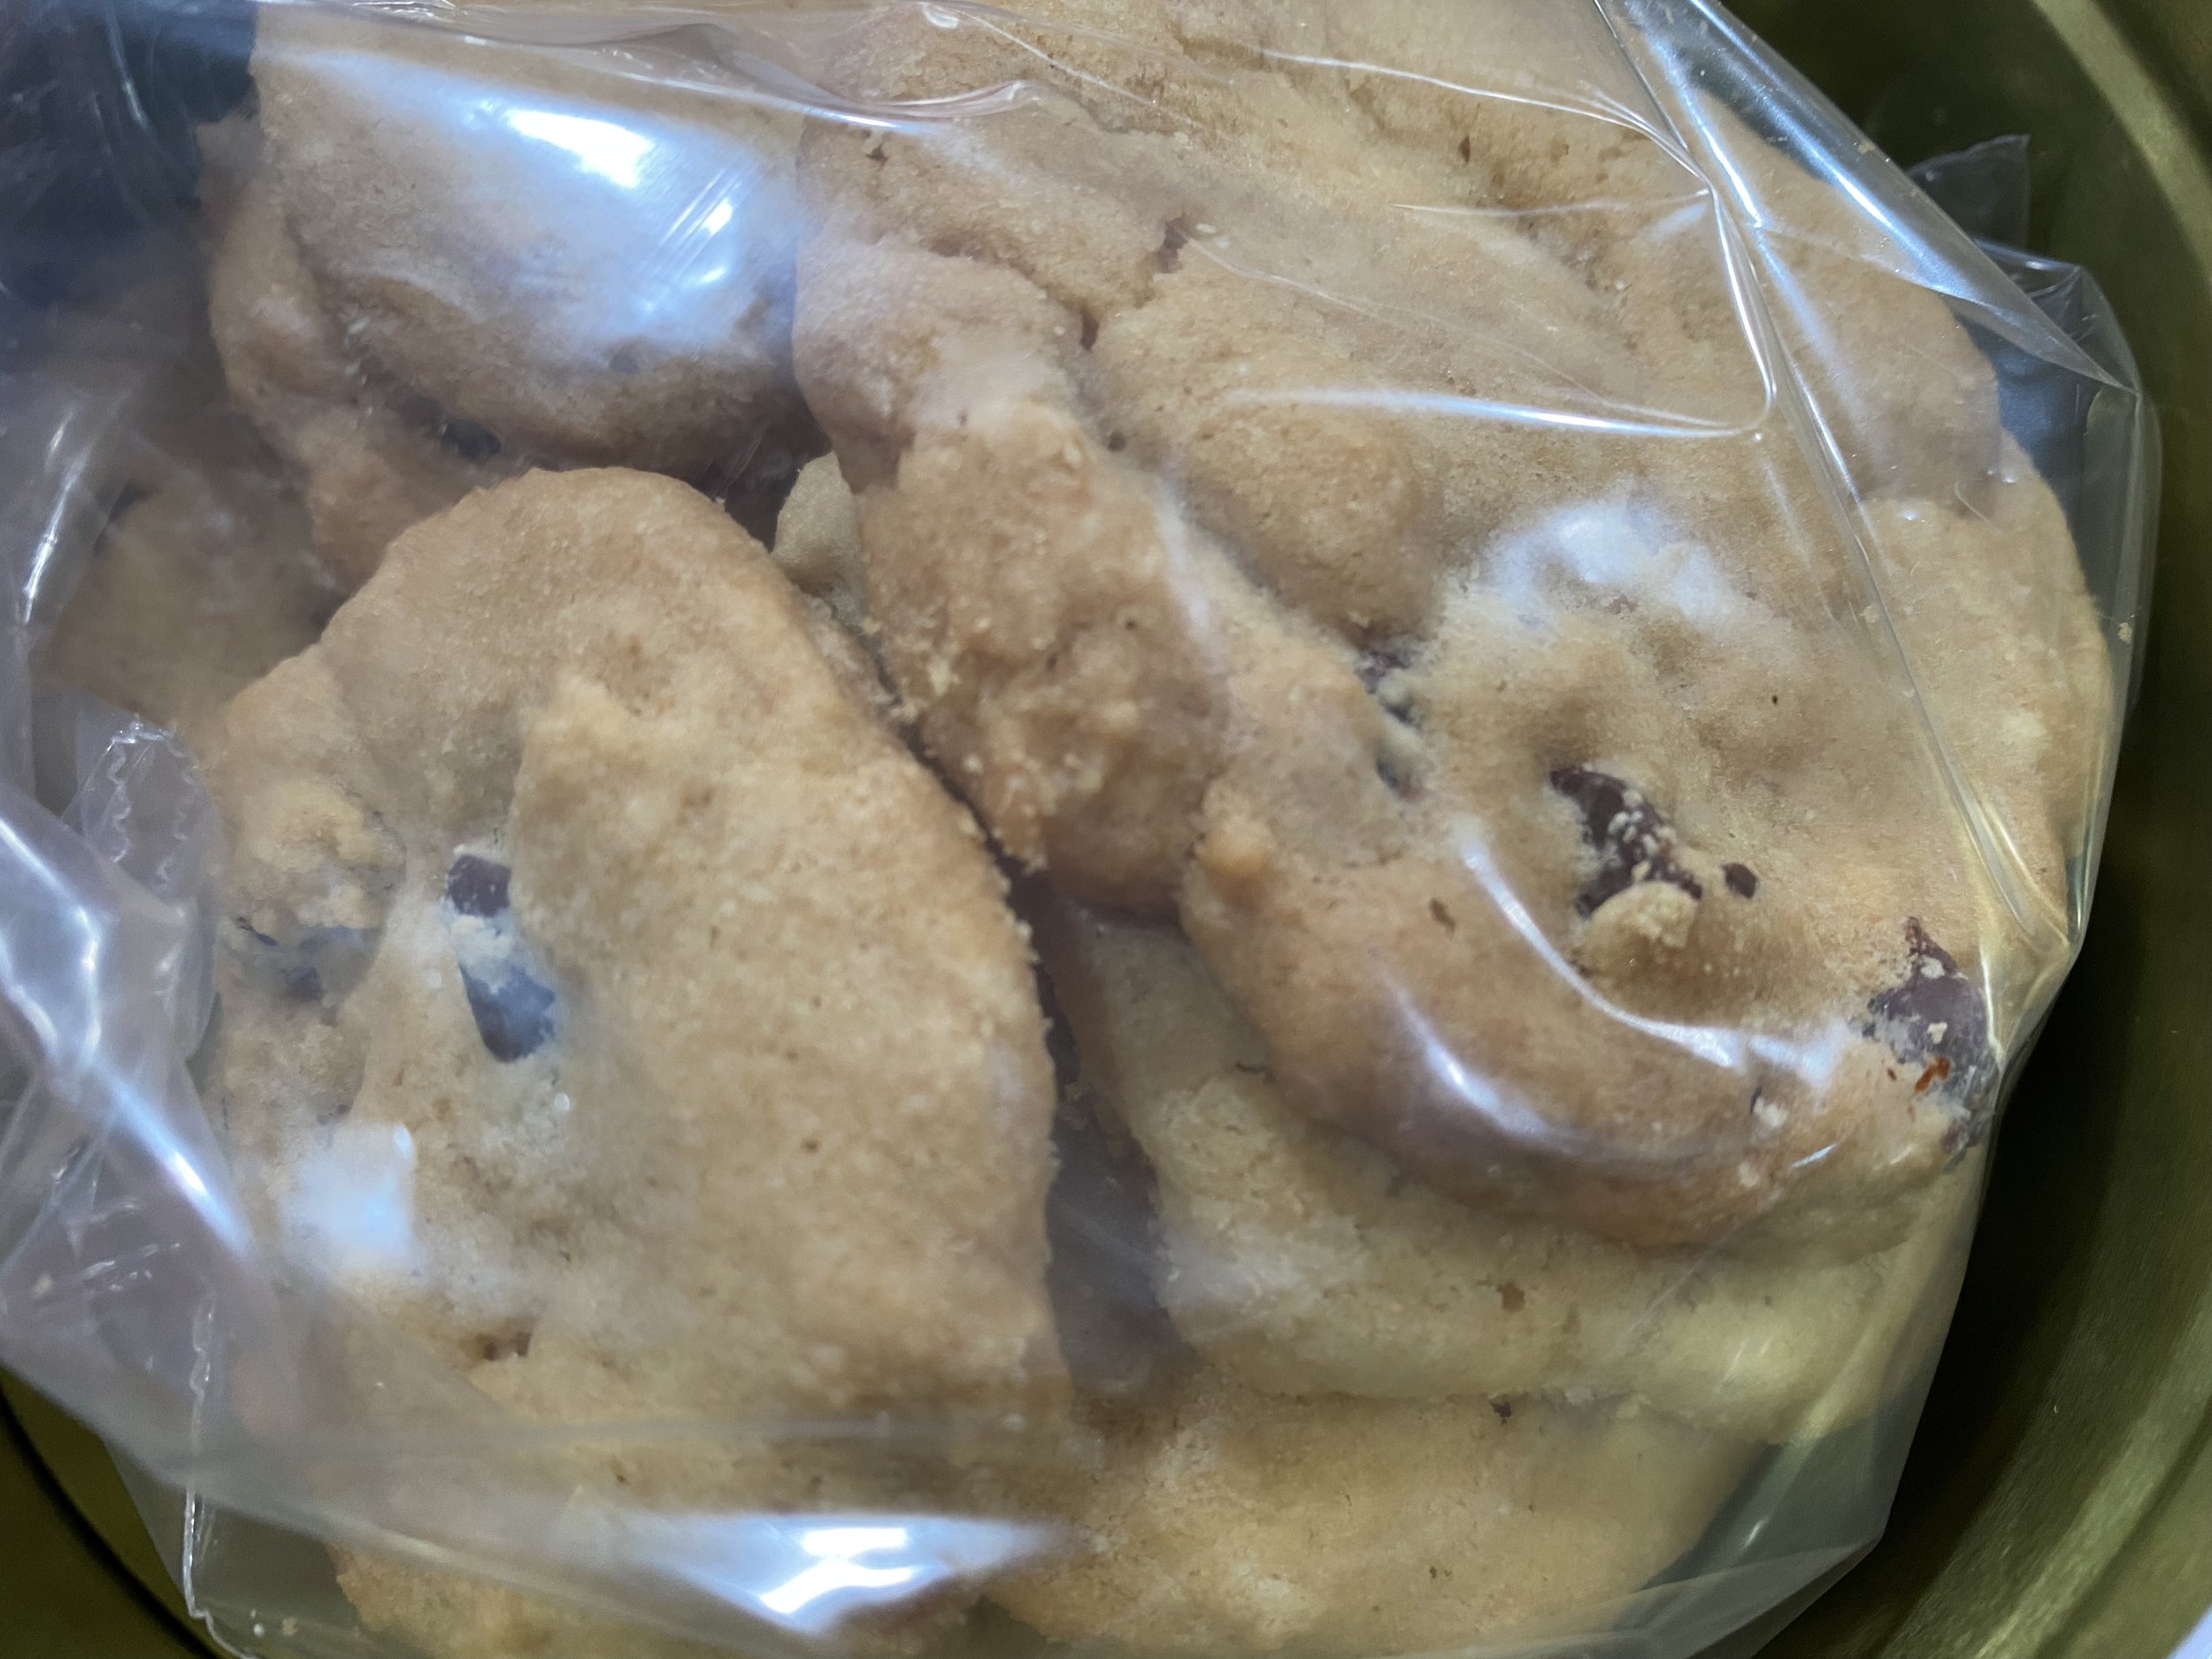
Stacking cookies in the tin almost doubles the amount you can include. (Charlotte Ekker Wiggins photo)
Versatile Butter Cookies Recipe
Whenever my gardening friend Tom helps me in my garden, I know exactly how to thank him. He loves these butter cookies rolled out as thin as possible without any embellishments. The last time I gave him a tin he said he enjoys a couple at the end of the day with a cup of coffee, out of his mother’s lovely floral hand painted ceramic cup he once brought over to my house.
So when a truckload of horse manure found its way next to the mulch piles he brought me last year, I knew it was time to dust off this recipe.
Only one problem.
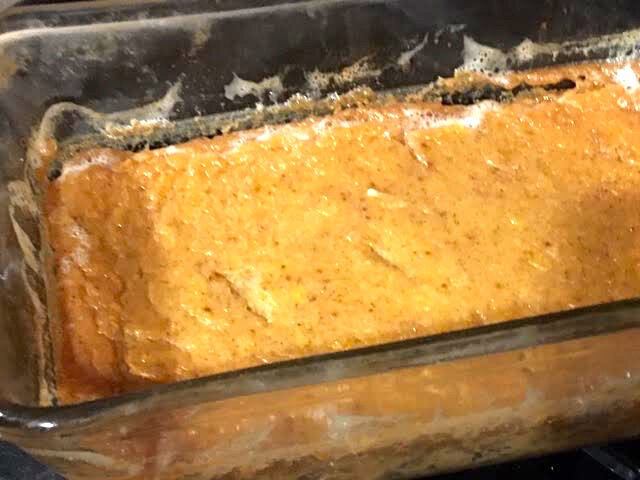
When I made these last year, it was before my cataract surgery so I must have misread the ingredients, particularly the amount of flour. Now that I have better eyesight, I followed the recipe exactly and had to toss out the first batch, it was much too thick to even roll out. I suspect I was a little too free with the flour measuring so it’s not the recipe’s fault!
I have a tendency to throw things together and then try to remember what I did later when it works out well so this was no surprise. What was challenging was trying to find the right flour amounts to keep these butter cookies thin and crispy.
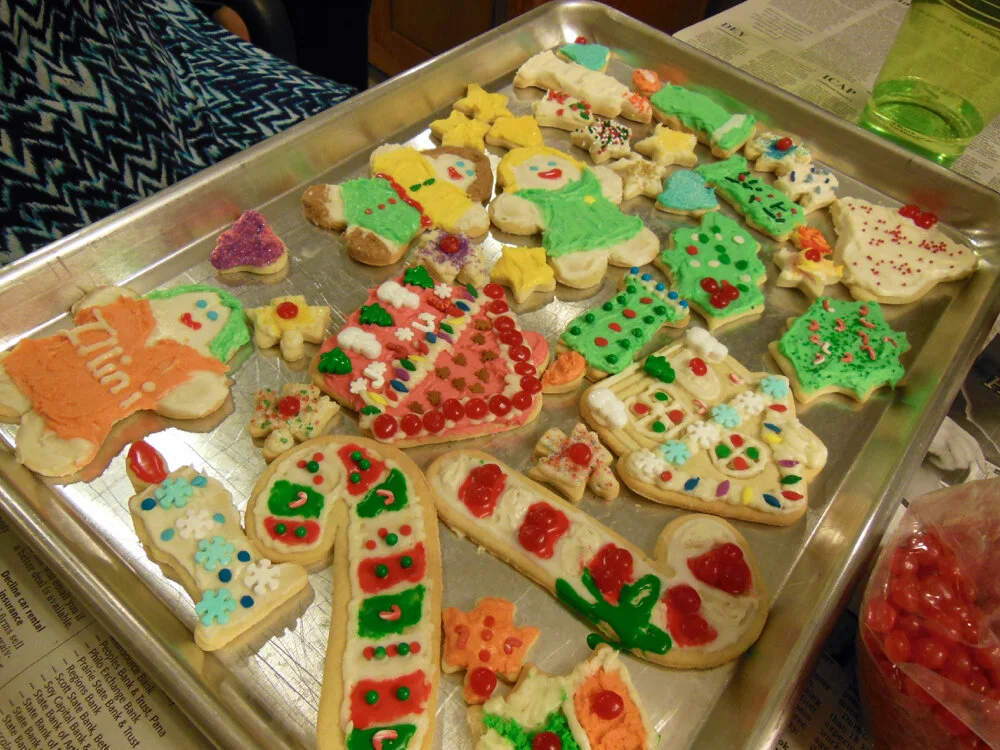
Hummm, this just reminded me of a Christmas sugar cookie discussion about whether people like their Christmas sugar cookies thick or thin. It is almost a matter of principle.
Oh, and no surprise that I made a couple other adjustments to this recipe, right? I will list your options so you can try these out and find the one you like.
These are buttery but not sweet so if you want to decorate with icing, sugar sprinkles or a simple glaze those will not overwhelm the cookie.
These basic recipes are out of my mother’s Betty Crocker cookbook. They are also available in American Cooking Illustrated Encyclopaedia, the closest cookbook I have found to the tried and true Betty Crocker versions.

Pick up tin cans in summer to repurpose for cookie giving the rest of the year. (Photo by Charlotte Ekker Wiggins)
Basic Butter Cookies Recipe
Beat until creamy:
1 cup soft butter
1/2 cup sugar
1 egg
Stir in 3 teaspoons flavoring (vanilla, lemon, almond, chocolate and so forth)
Sift together and stir in
3 cups flour
1/2 tsp baking powder
Chill dough. Roll very thin. Cut into desired shapes. Place on ungreased cooking sheet.
Bake at 425F until delicately browned.
Makes abut 7 dozen 2” cookies.
Charlotte’s Butter Cookies Recipe Revised
If you like your cookies thicker, keep the 3 cups of flour but I preferred 2.5 cups. Make sure the butter and flour are well mixed before chilling. Chilling well made it easy to roll the dough as thin as I wanted it.
If you want something less buttery, substitute vegetable shortening and increase the flavoring to 4 teaspoons.
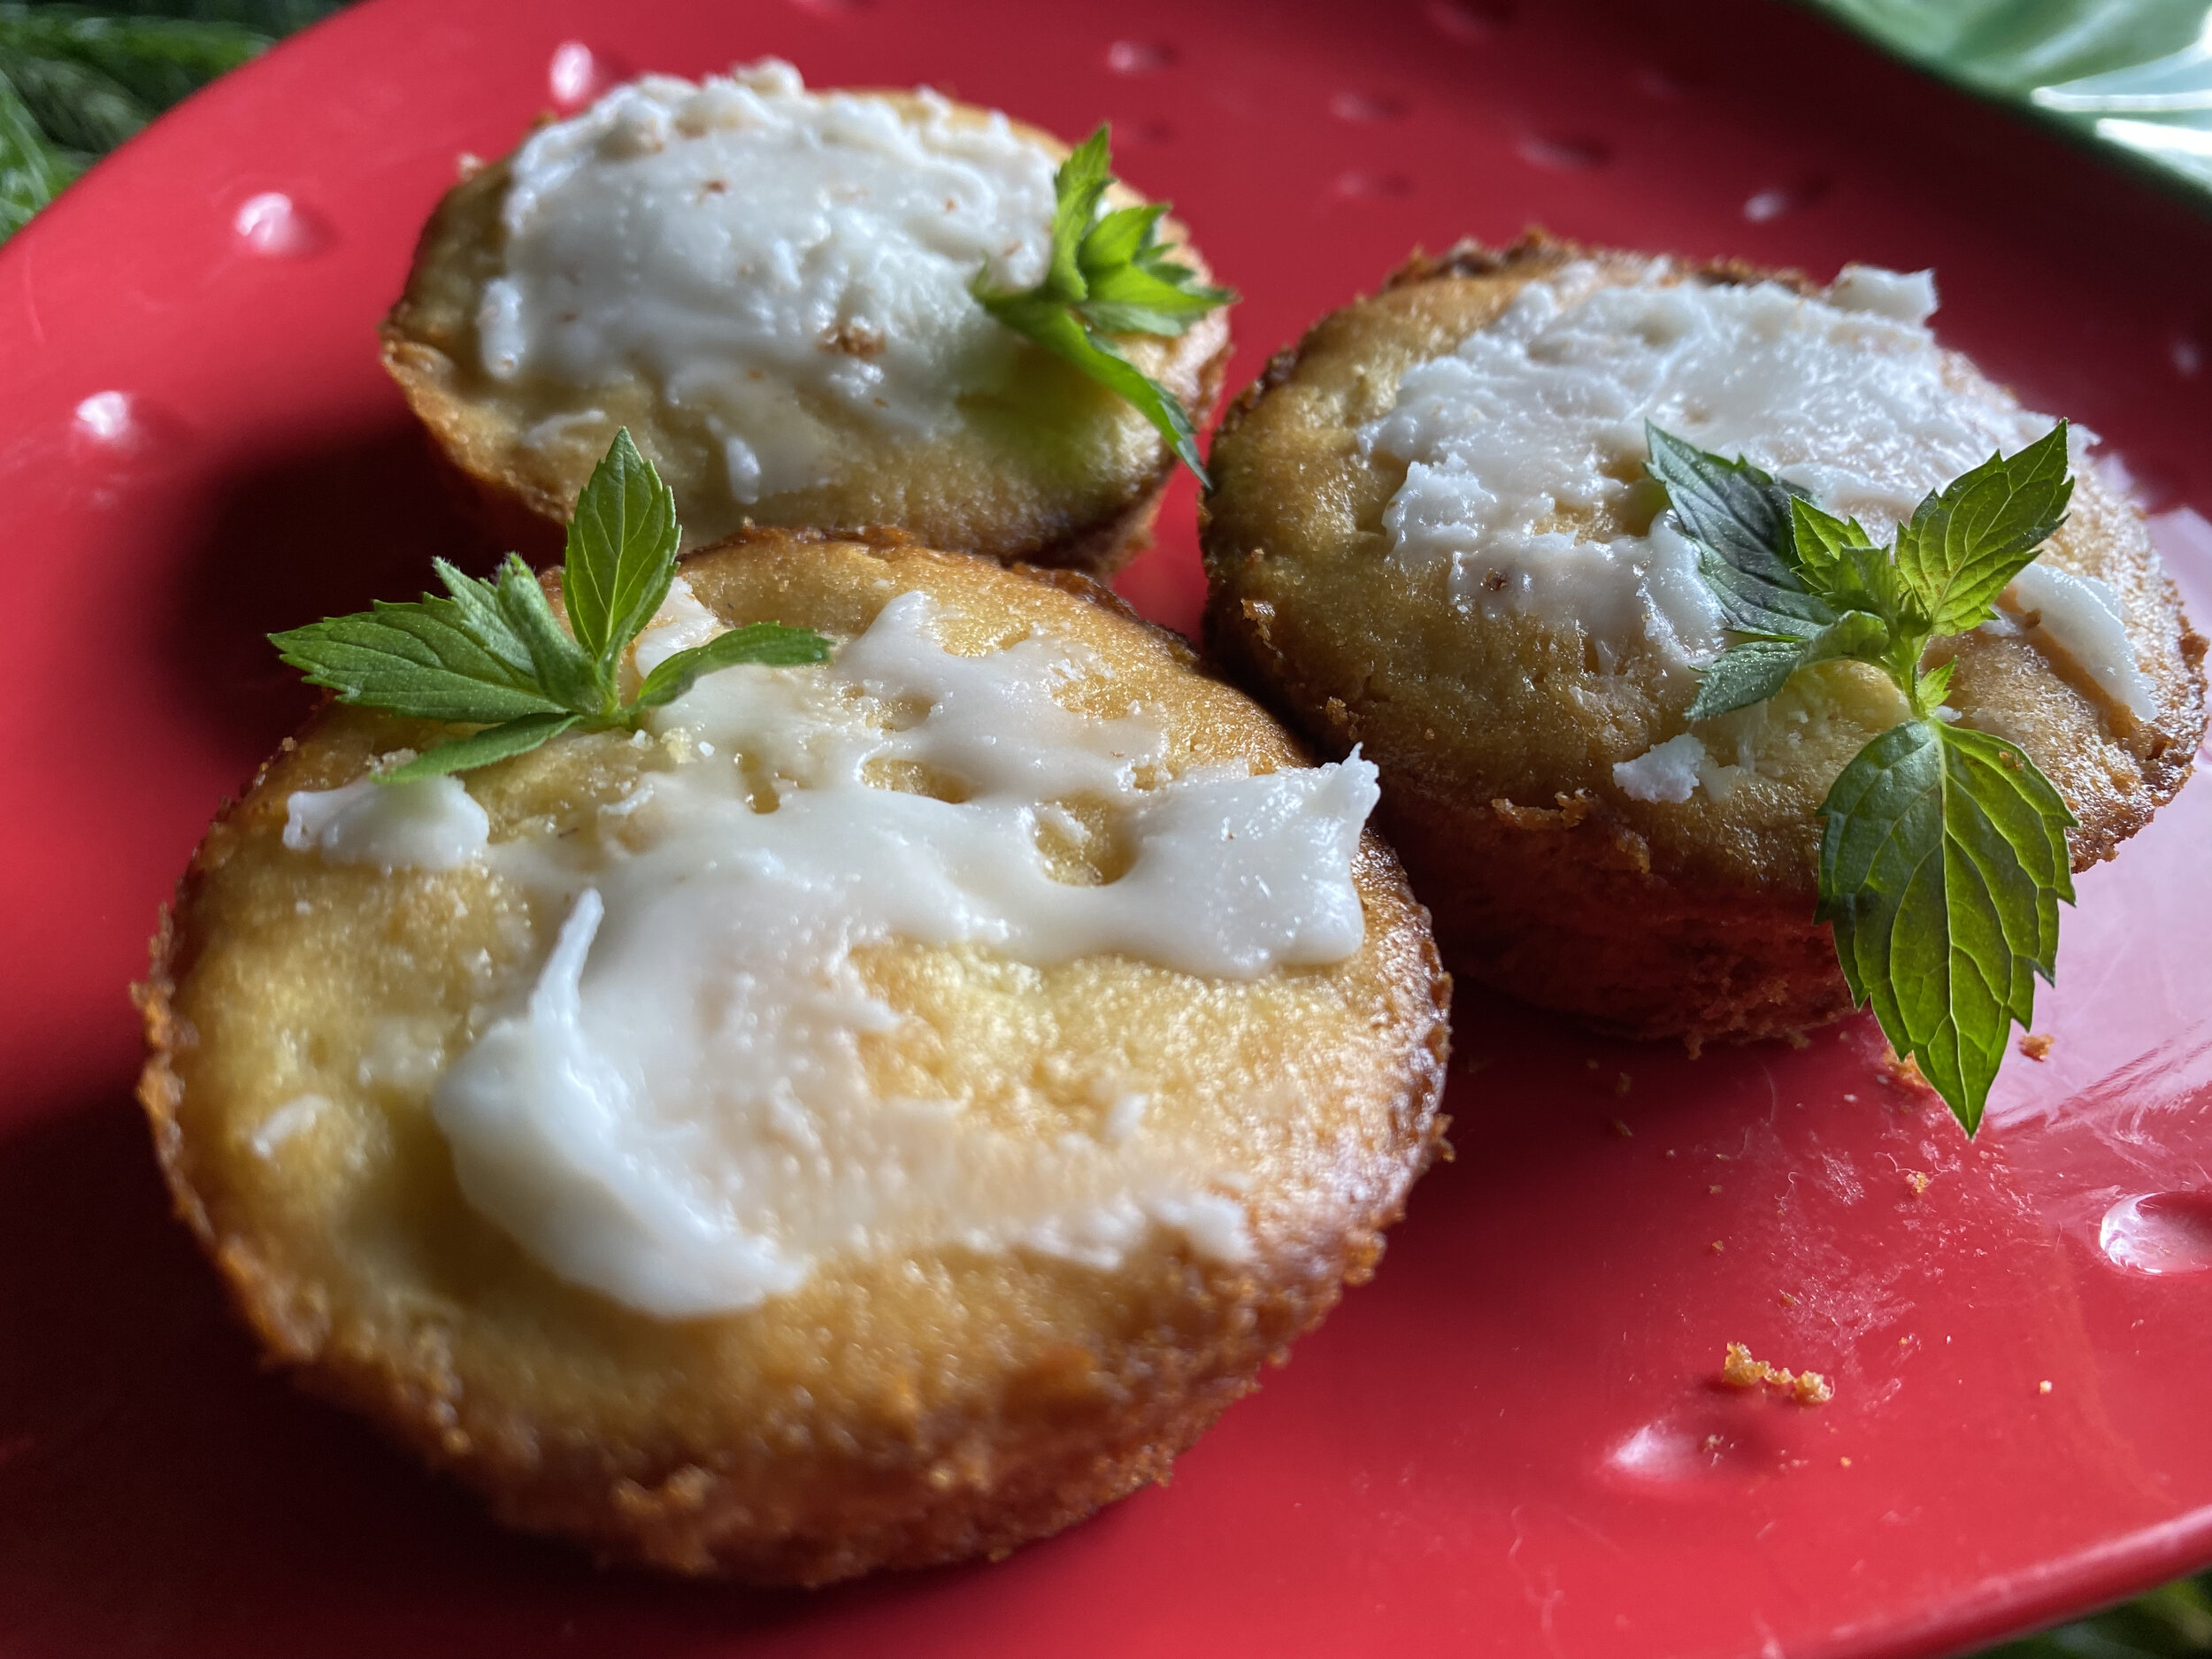
To glaze, brush mixture of 1 egg yolk and 2 tablespoons of water over top.
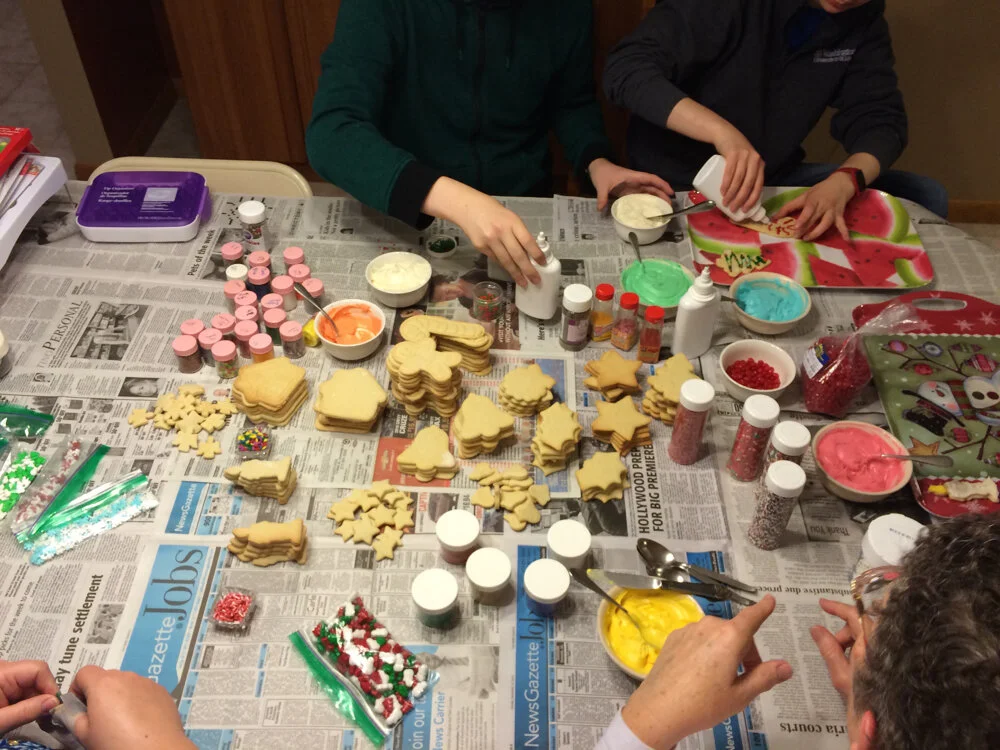
You can also easily add sprinkles before cooking.
Allow to cool completely before icing.

Easily turn a cookie cutter into a gift box bow using a small ribbon. (Photo by Charlotte Ekker Wiggins)
Nice Gift Idea
These butter cookies, by the way, are a nice little gift for a variety of occasions. Tie them to a theme using cookie cutters.
You can also make them into a gift by using a theme cookie cutter and adding the recipe with the cookie cutter tied with a nice bow.
I suppose you could just give the cookie cutter with the recipe, too, but make a batch, that way you can enjoy a few yourself and the recipient will be enticed to make their own.
For more cooking, gardening, beekeeping and easy home decor tips, subscribe to Garden Notes.