Freezer Biscuits Recipe
/
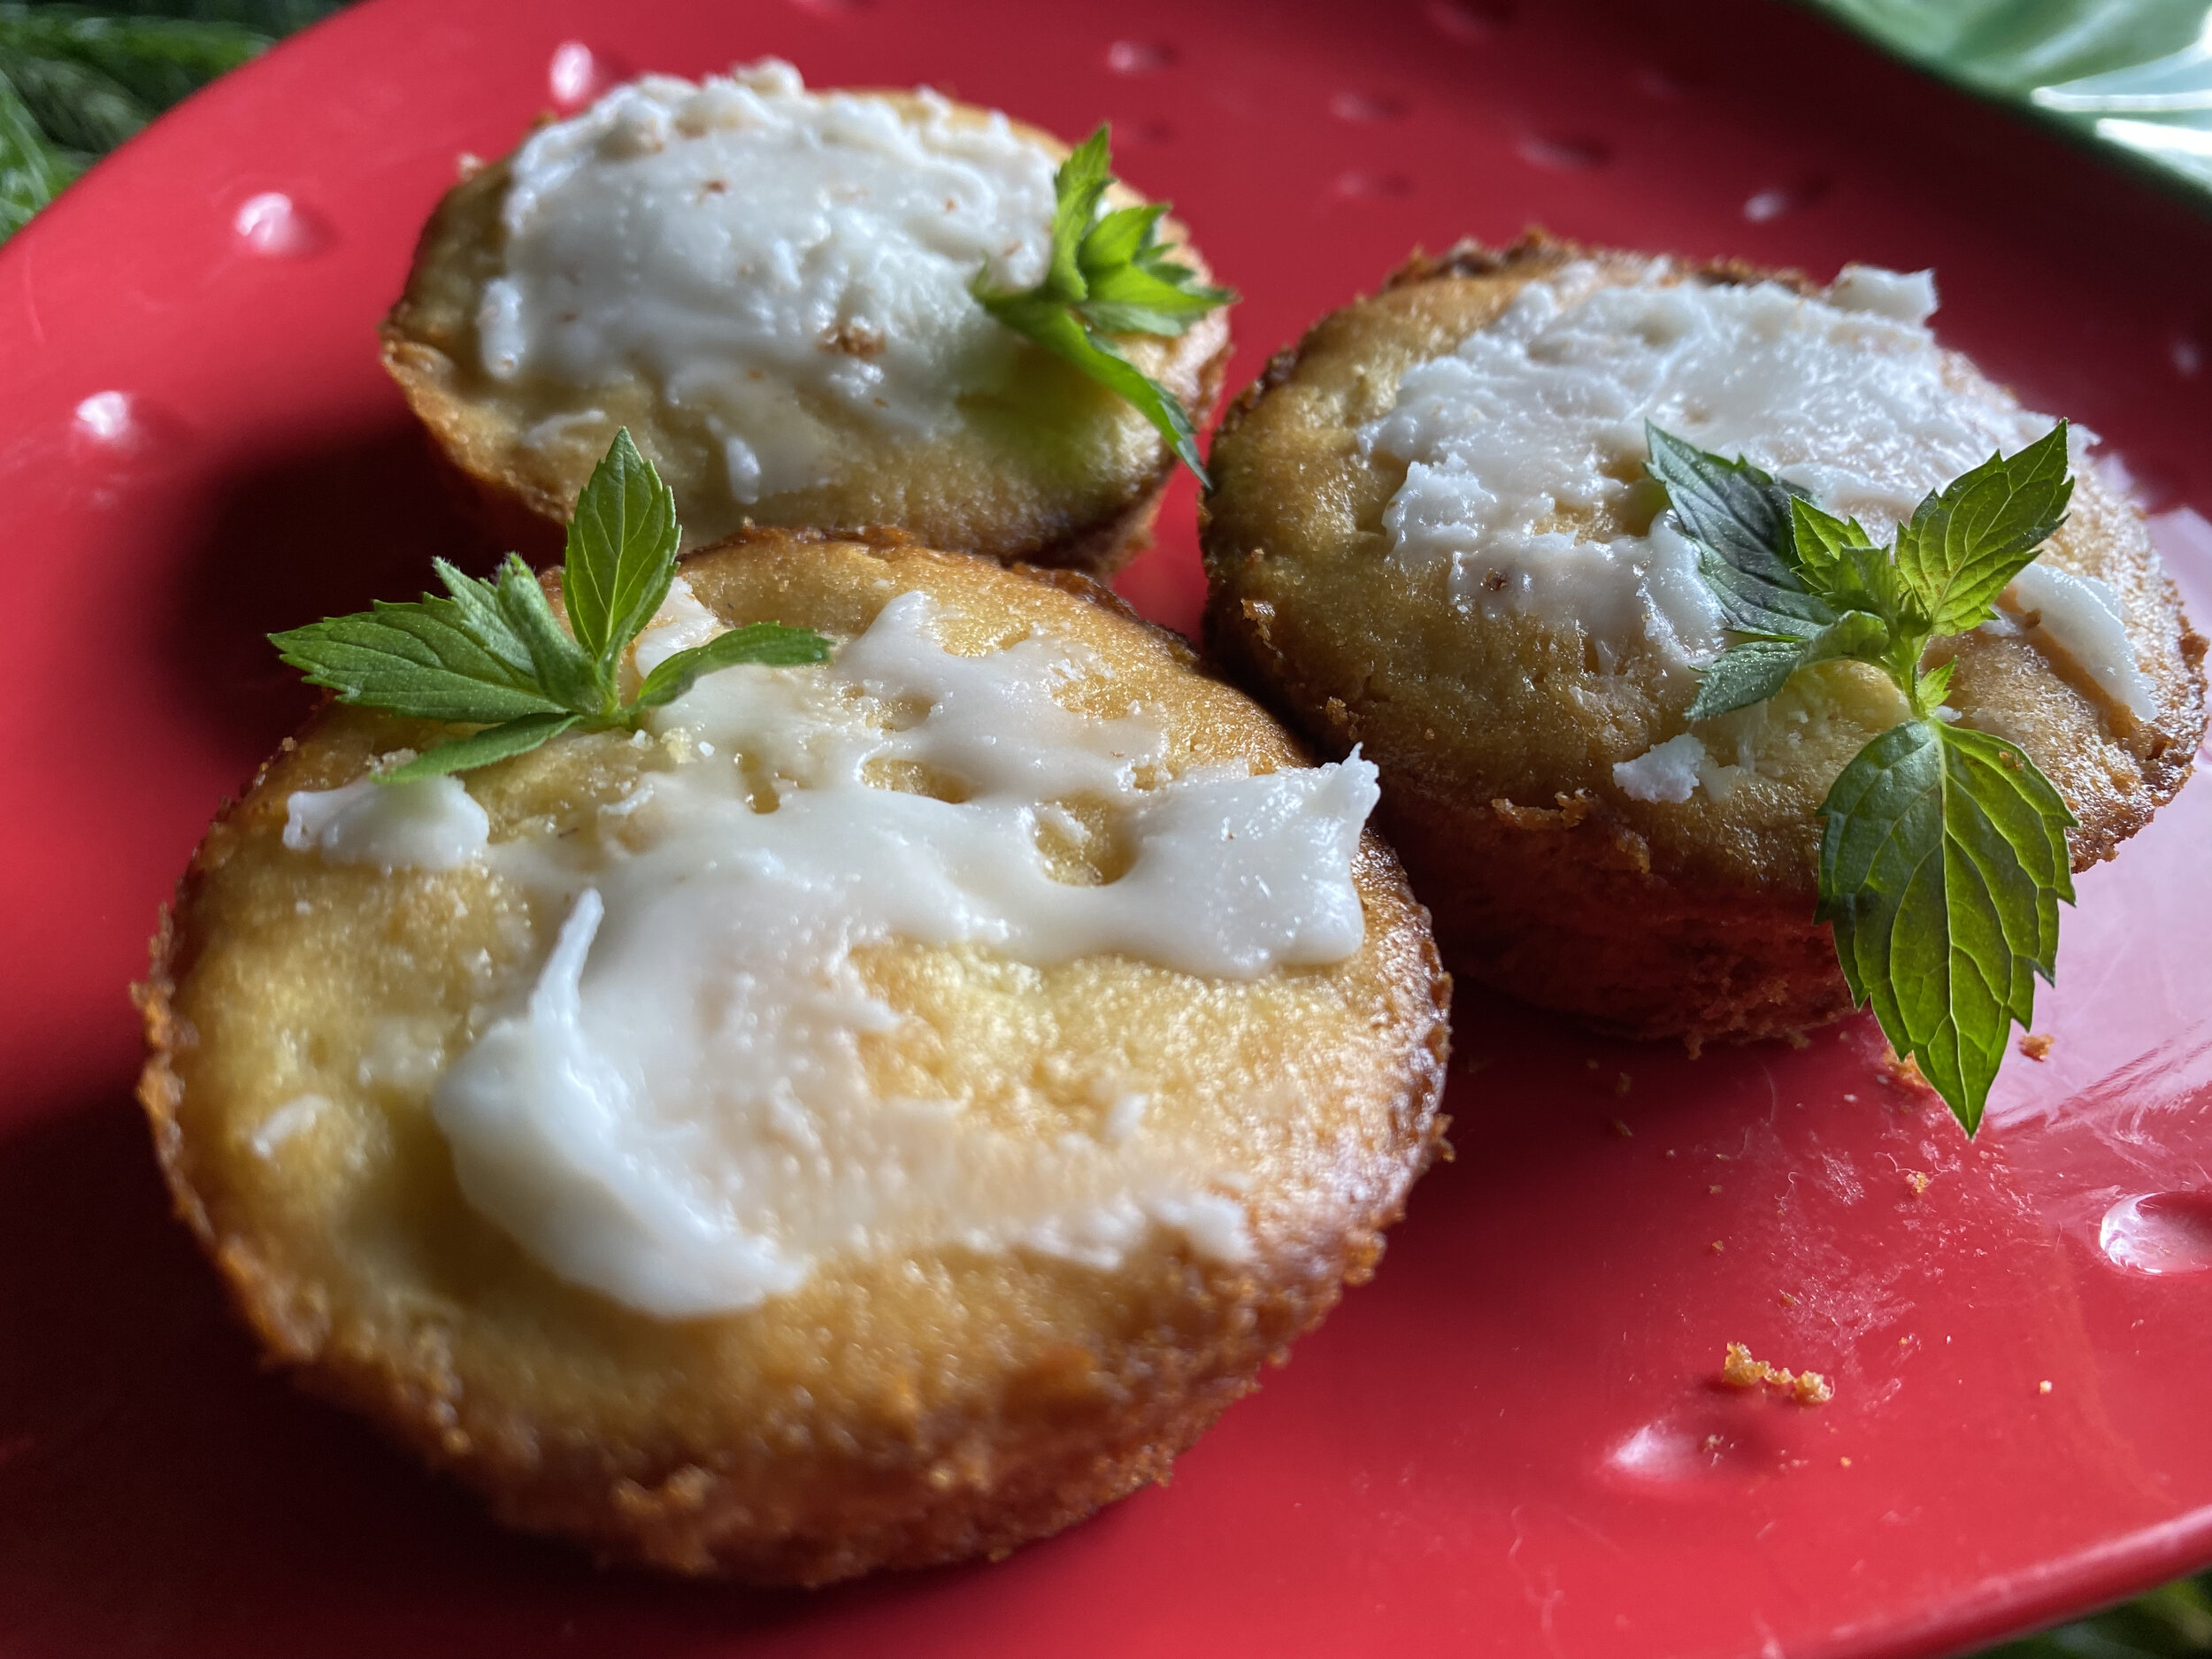
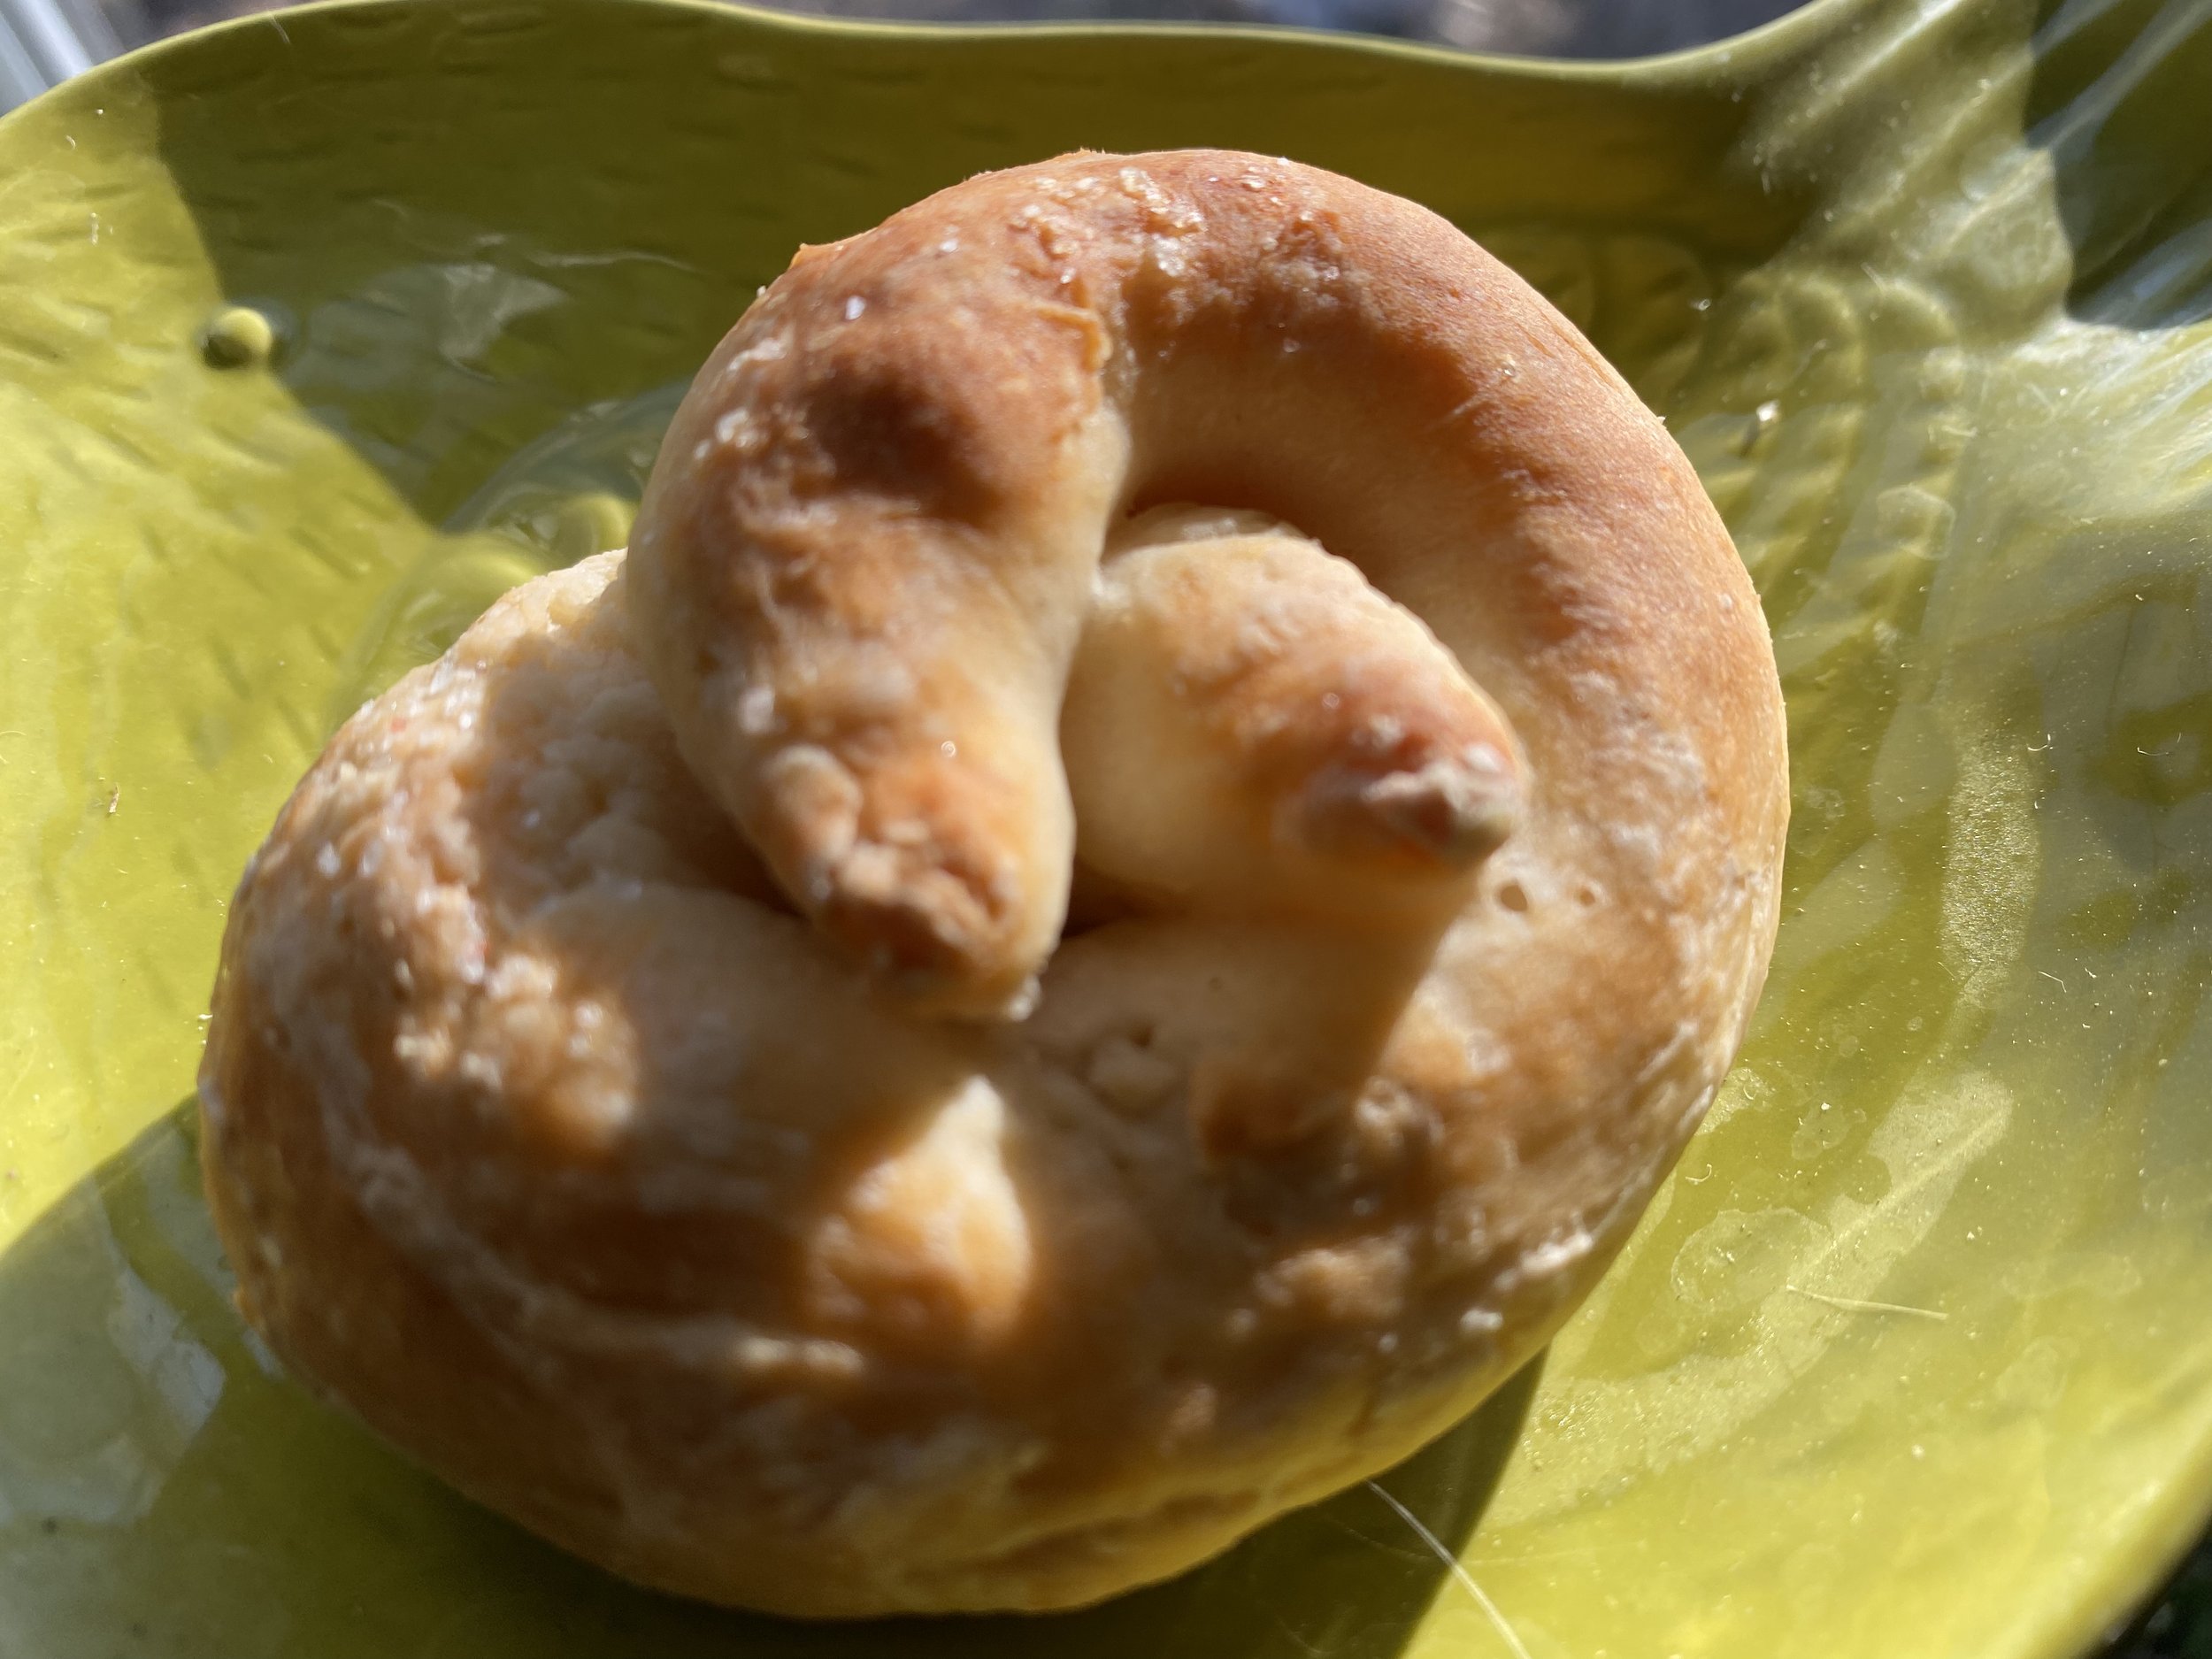
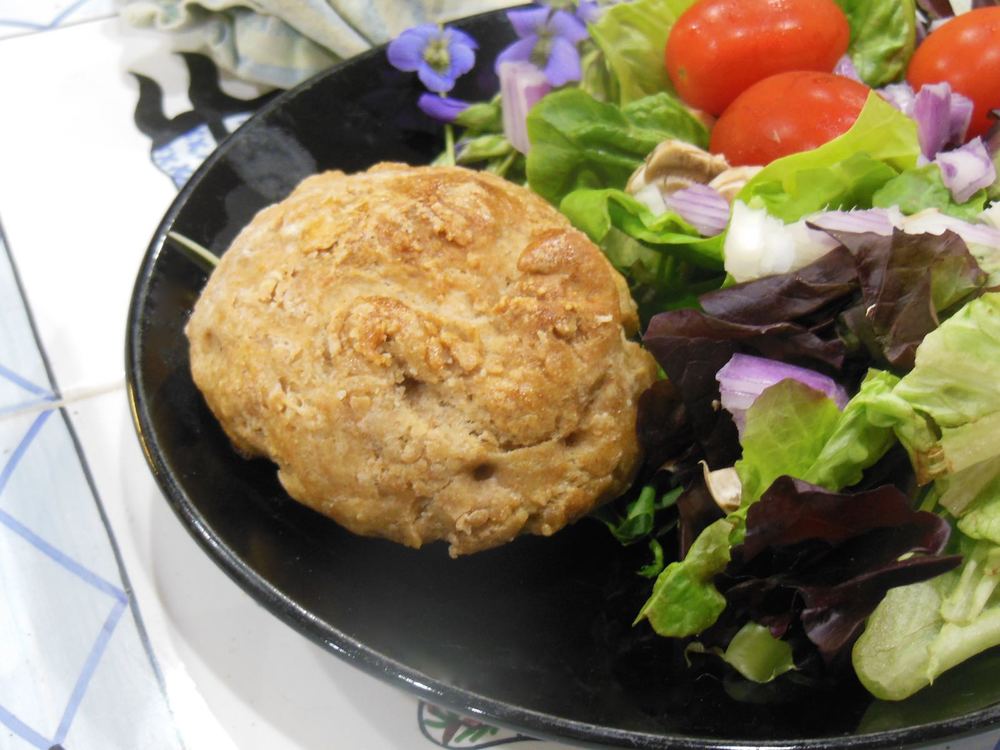
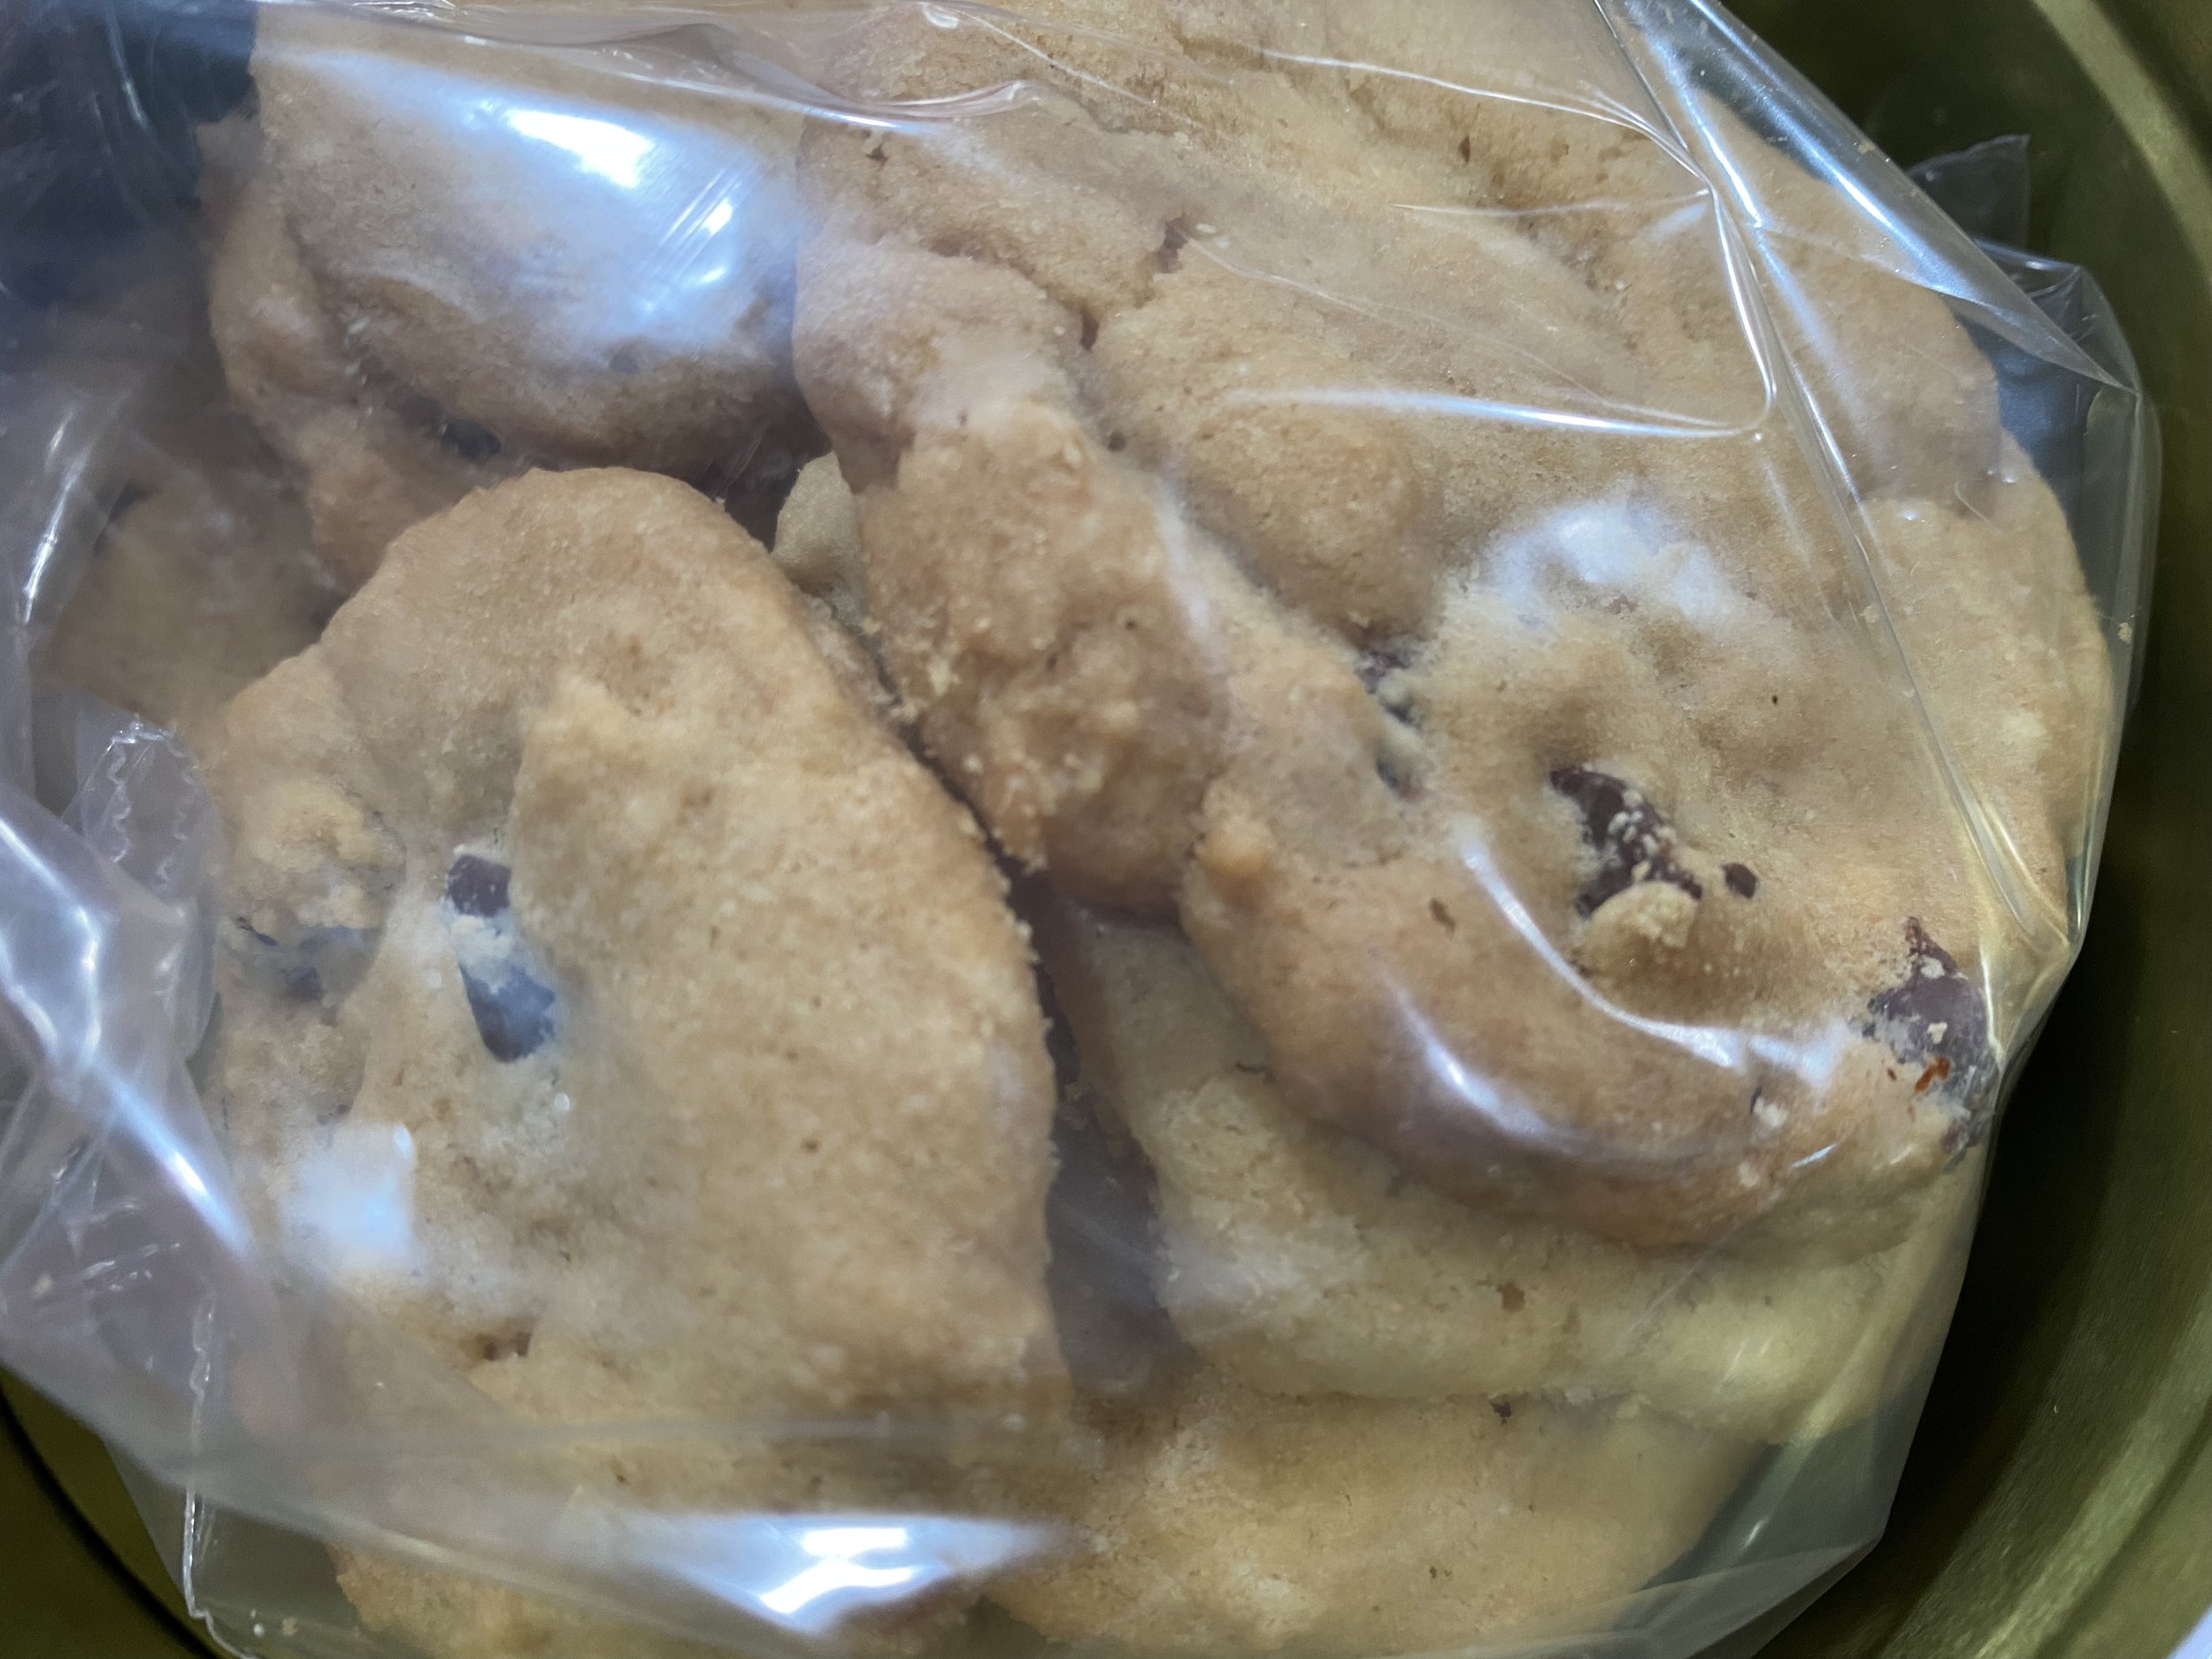
perfect on a warm winter’s day, these freeze well and can be reheated. (charlotte ekker Wiggins photo)
Freezer Biscuits Recipe
This is one of my favorite recipes out of my mother’s Betty Crocker recipe book. Easy to make and freeze, these are handy to have for a snack with tea or as part of breakfast.
Freezer Biscuits Recipe
You will need:
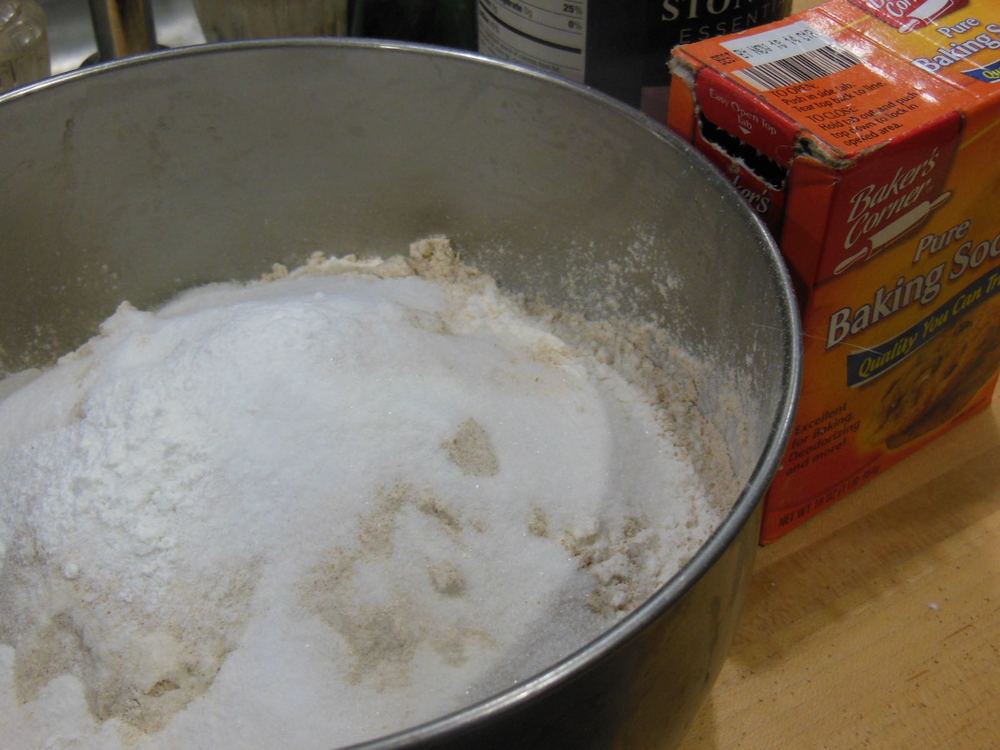
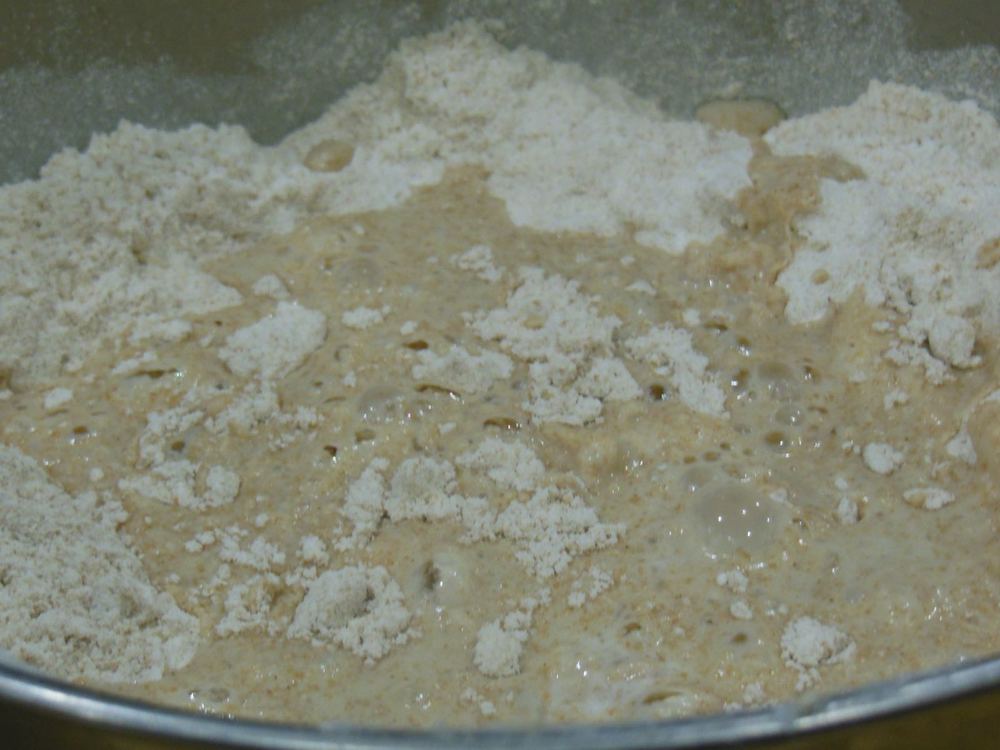
2 cups sifted flour
3 tsp baking powder
1 tsp salt
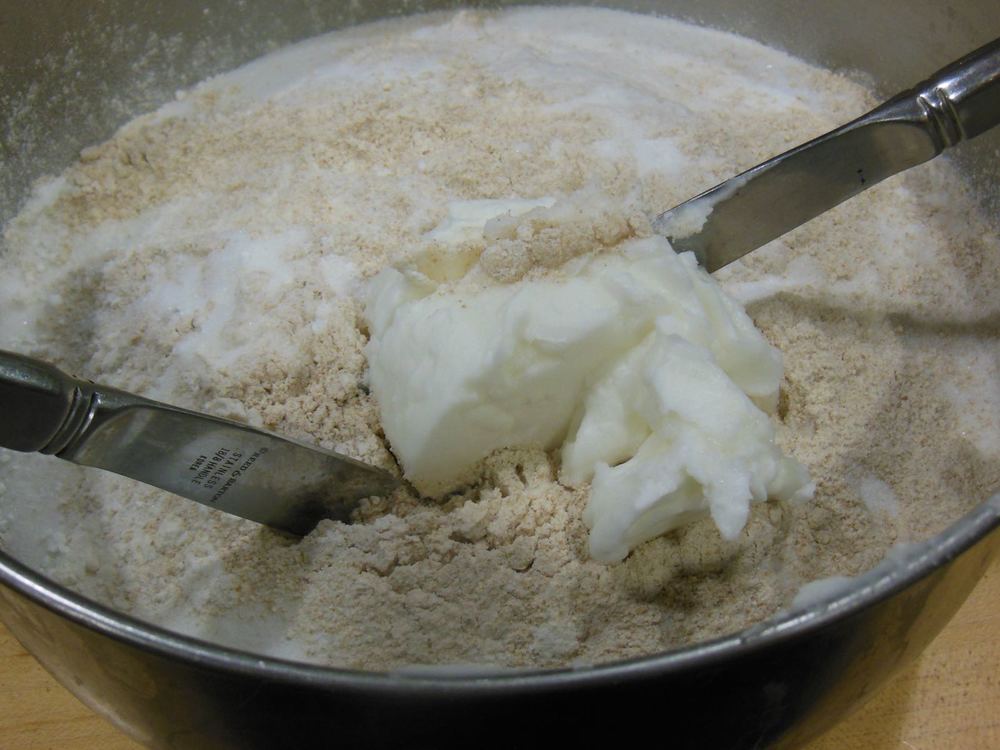
1/4 cup shortening
3/4 cup milk
Oven temperature 400F.
To make:
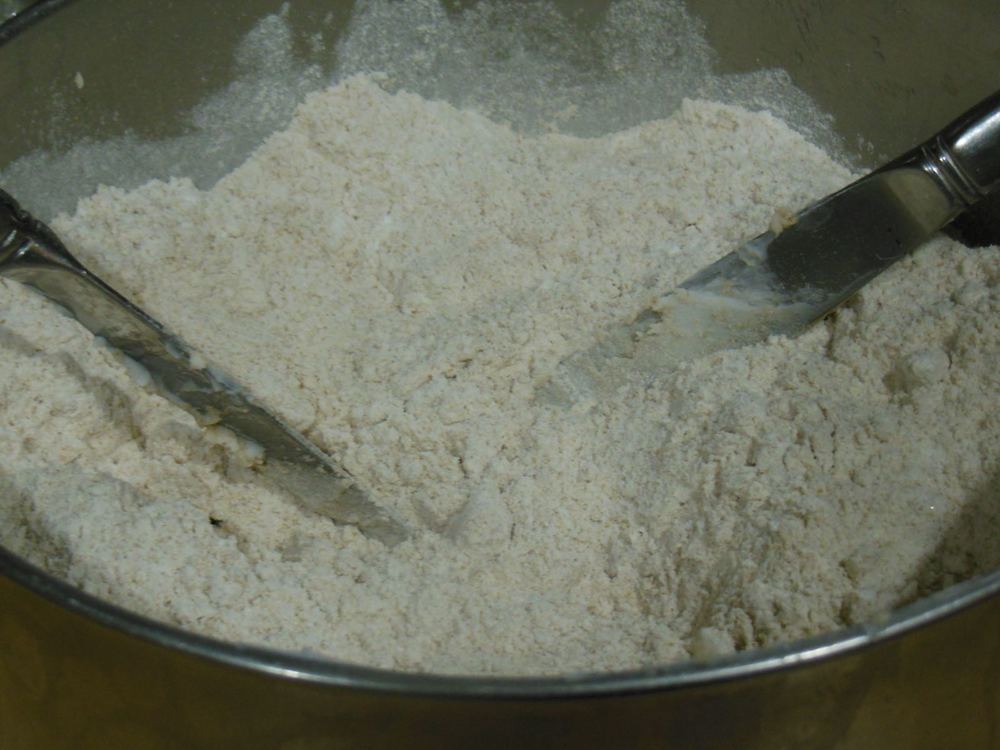
Sift together flour, baking powder and sal; cut in shortening; stir in milk.
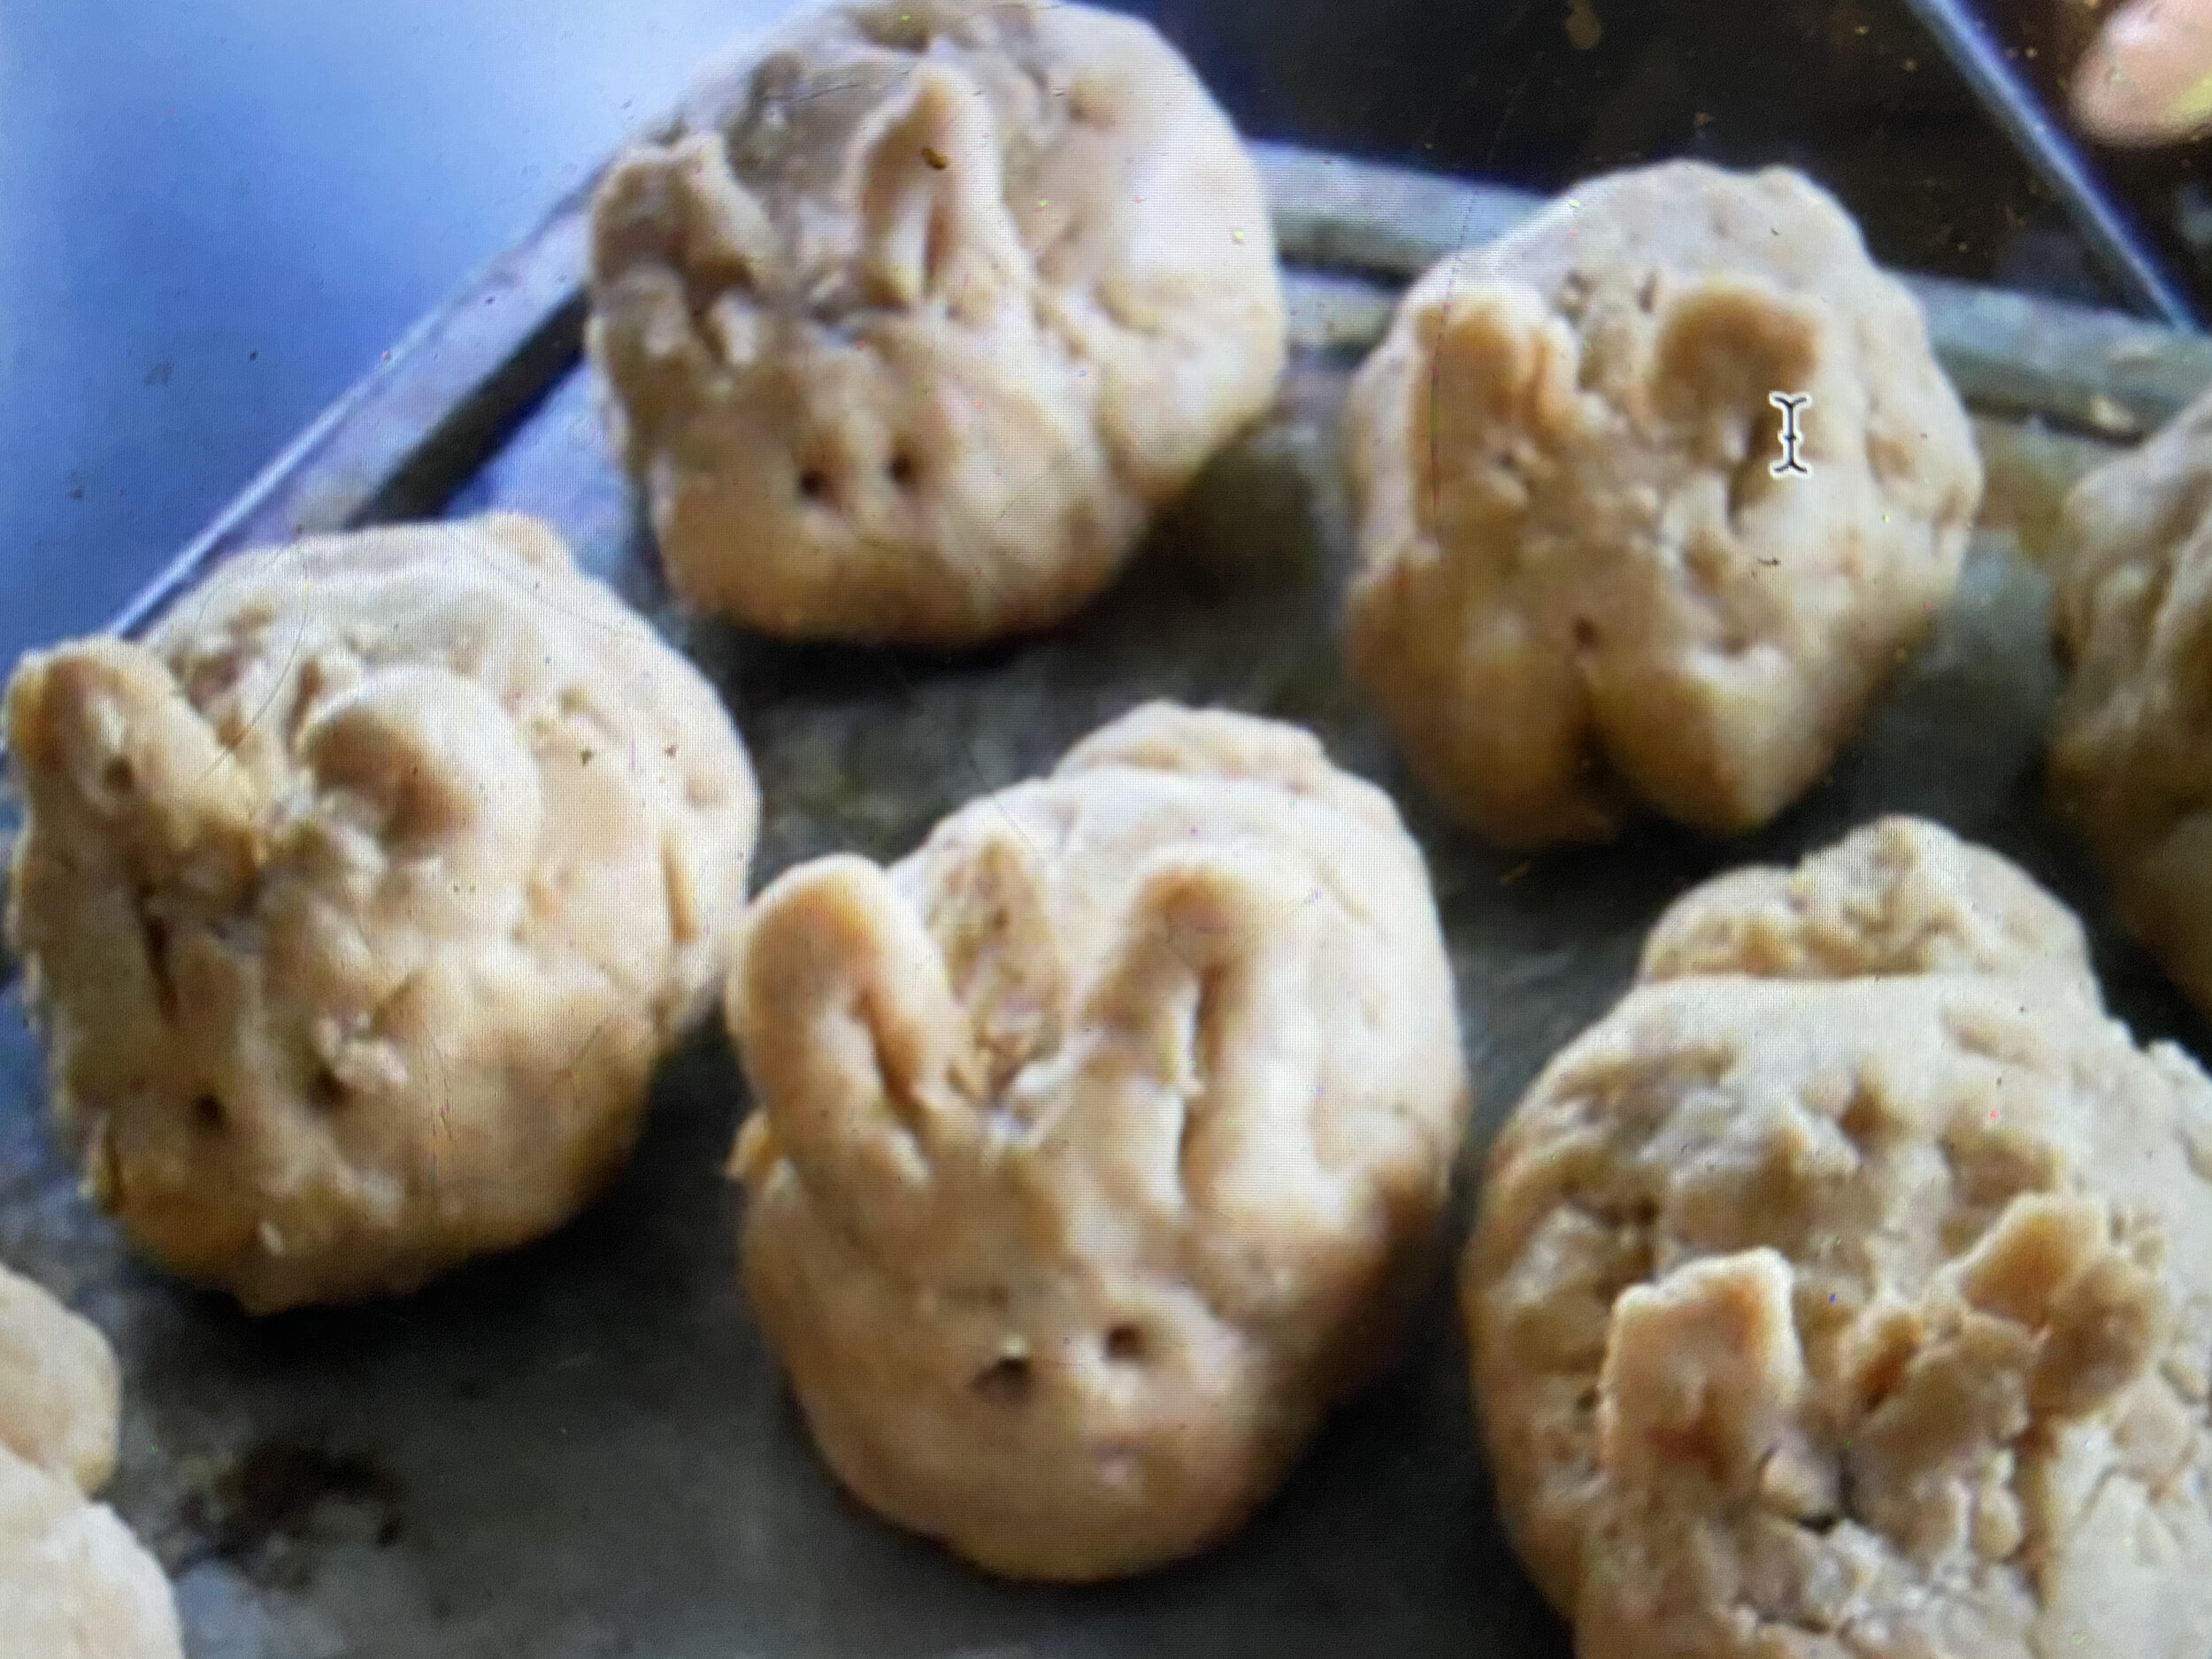
On lightly-floured board, knead lightly. Roll or pat about 1/2 inch thick. Cut.
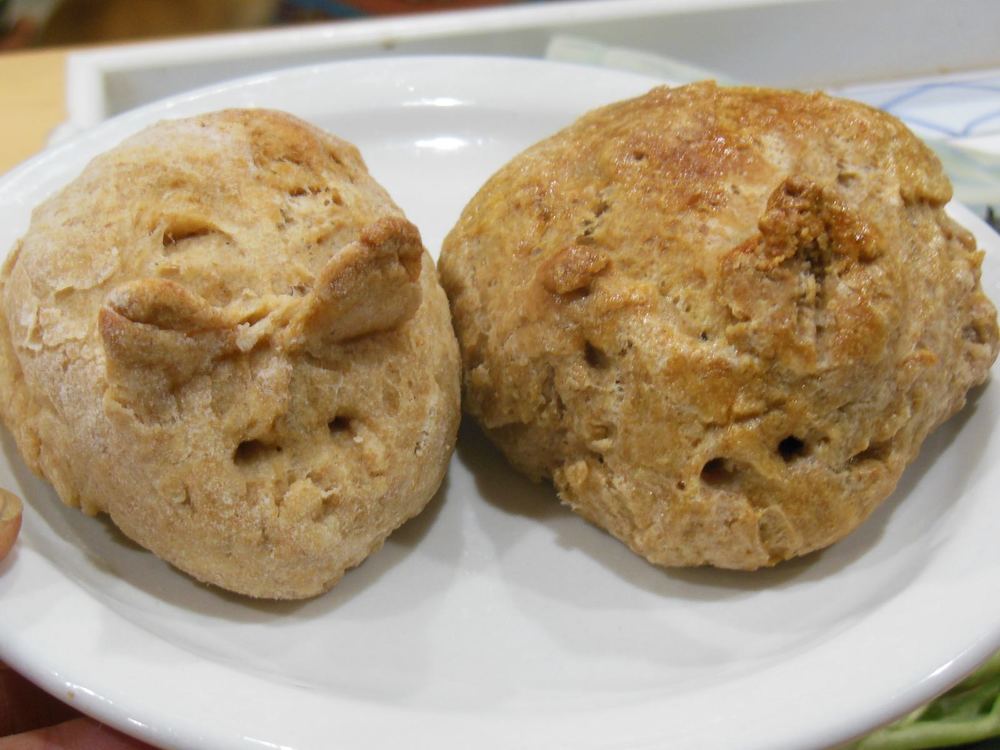
Place on ungreased baking sheet Bake until golden brown 10-12 minutes.
To freeze:
Place in freezer until biscuits are frozen. Store in plastic bag for later use.
For more cooking, gardening, beekeeping and easy home decor tips, subscribe to Garden Notes.
Charlotte