Double Duty Brownie Mix
/
One of the extra moist brownies makes a nice simple dessert. (Photo by Charlotte Ekker Wiggins)
Double Duty Brownie Mix Recipe
There are several good reasons to add this little brownie recipe to your recipe collection.
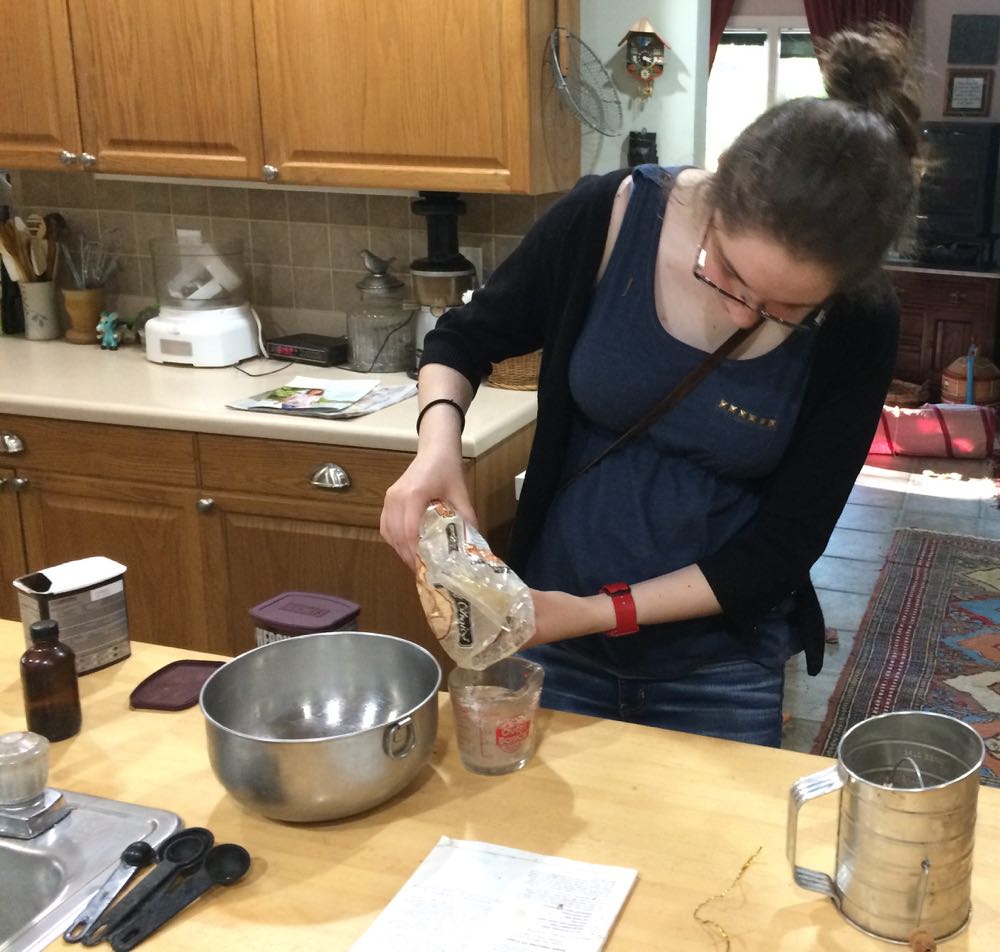
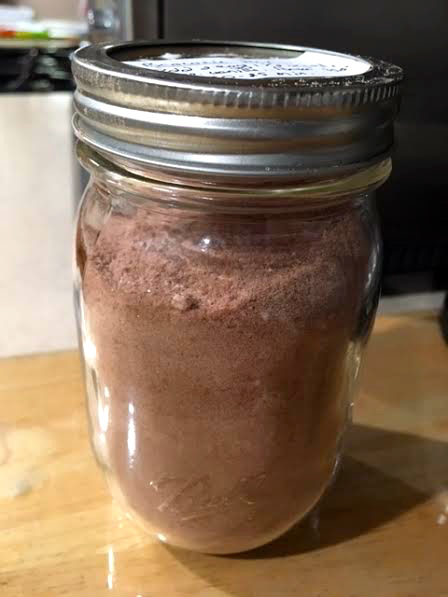
First, in less than 5 minutes you can make several batches of the dry ingredients to store for later use. This is how I used to use this recipe; having pre-made brownie mixes in jars that I could quickly mix up and bake.
Secondly, these also make nice little gifts when you add the wet ingredients on a card or label. I write it on the lid.
Brownie Mix Recipe
Add 2 eggs
1/2 cup vegetable oil
1 tsp vanilla.
Bake at 350F for 20-25 minutes. Remove from oven; allow to cool.

My handwritten label on top of one of my jars of homemade brownie mix. (Photo by Charlotte Ekker Wiggins)
See how pretty this could be with a ribbon and gift card?
Friends who have received this in the past have commented at how easy, and delicious, this was to use.
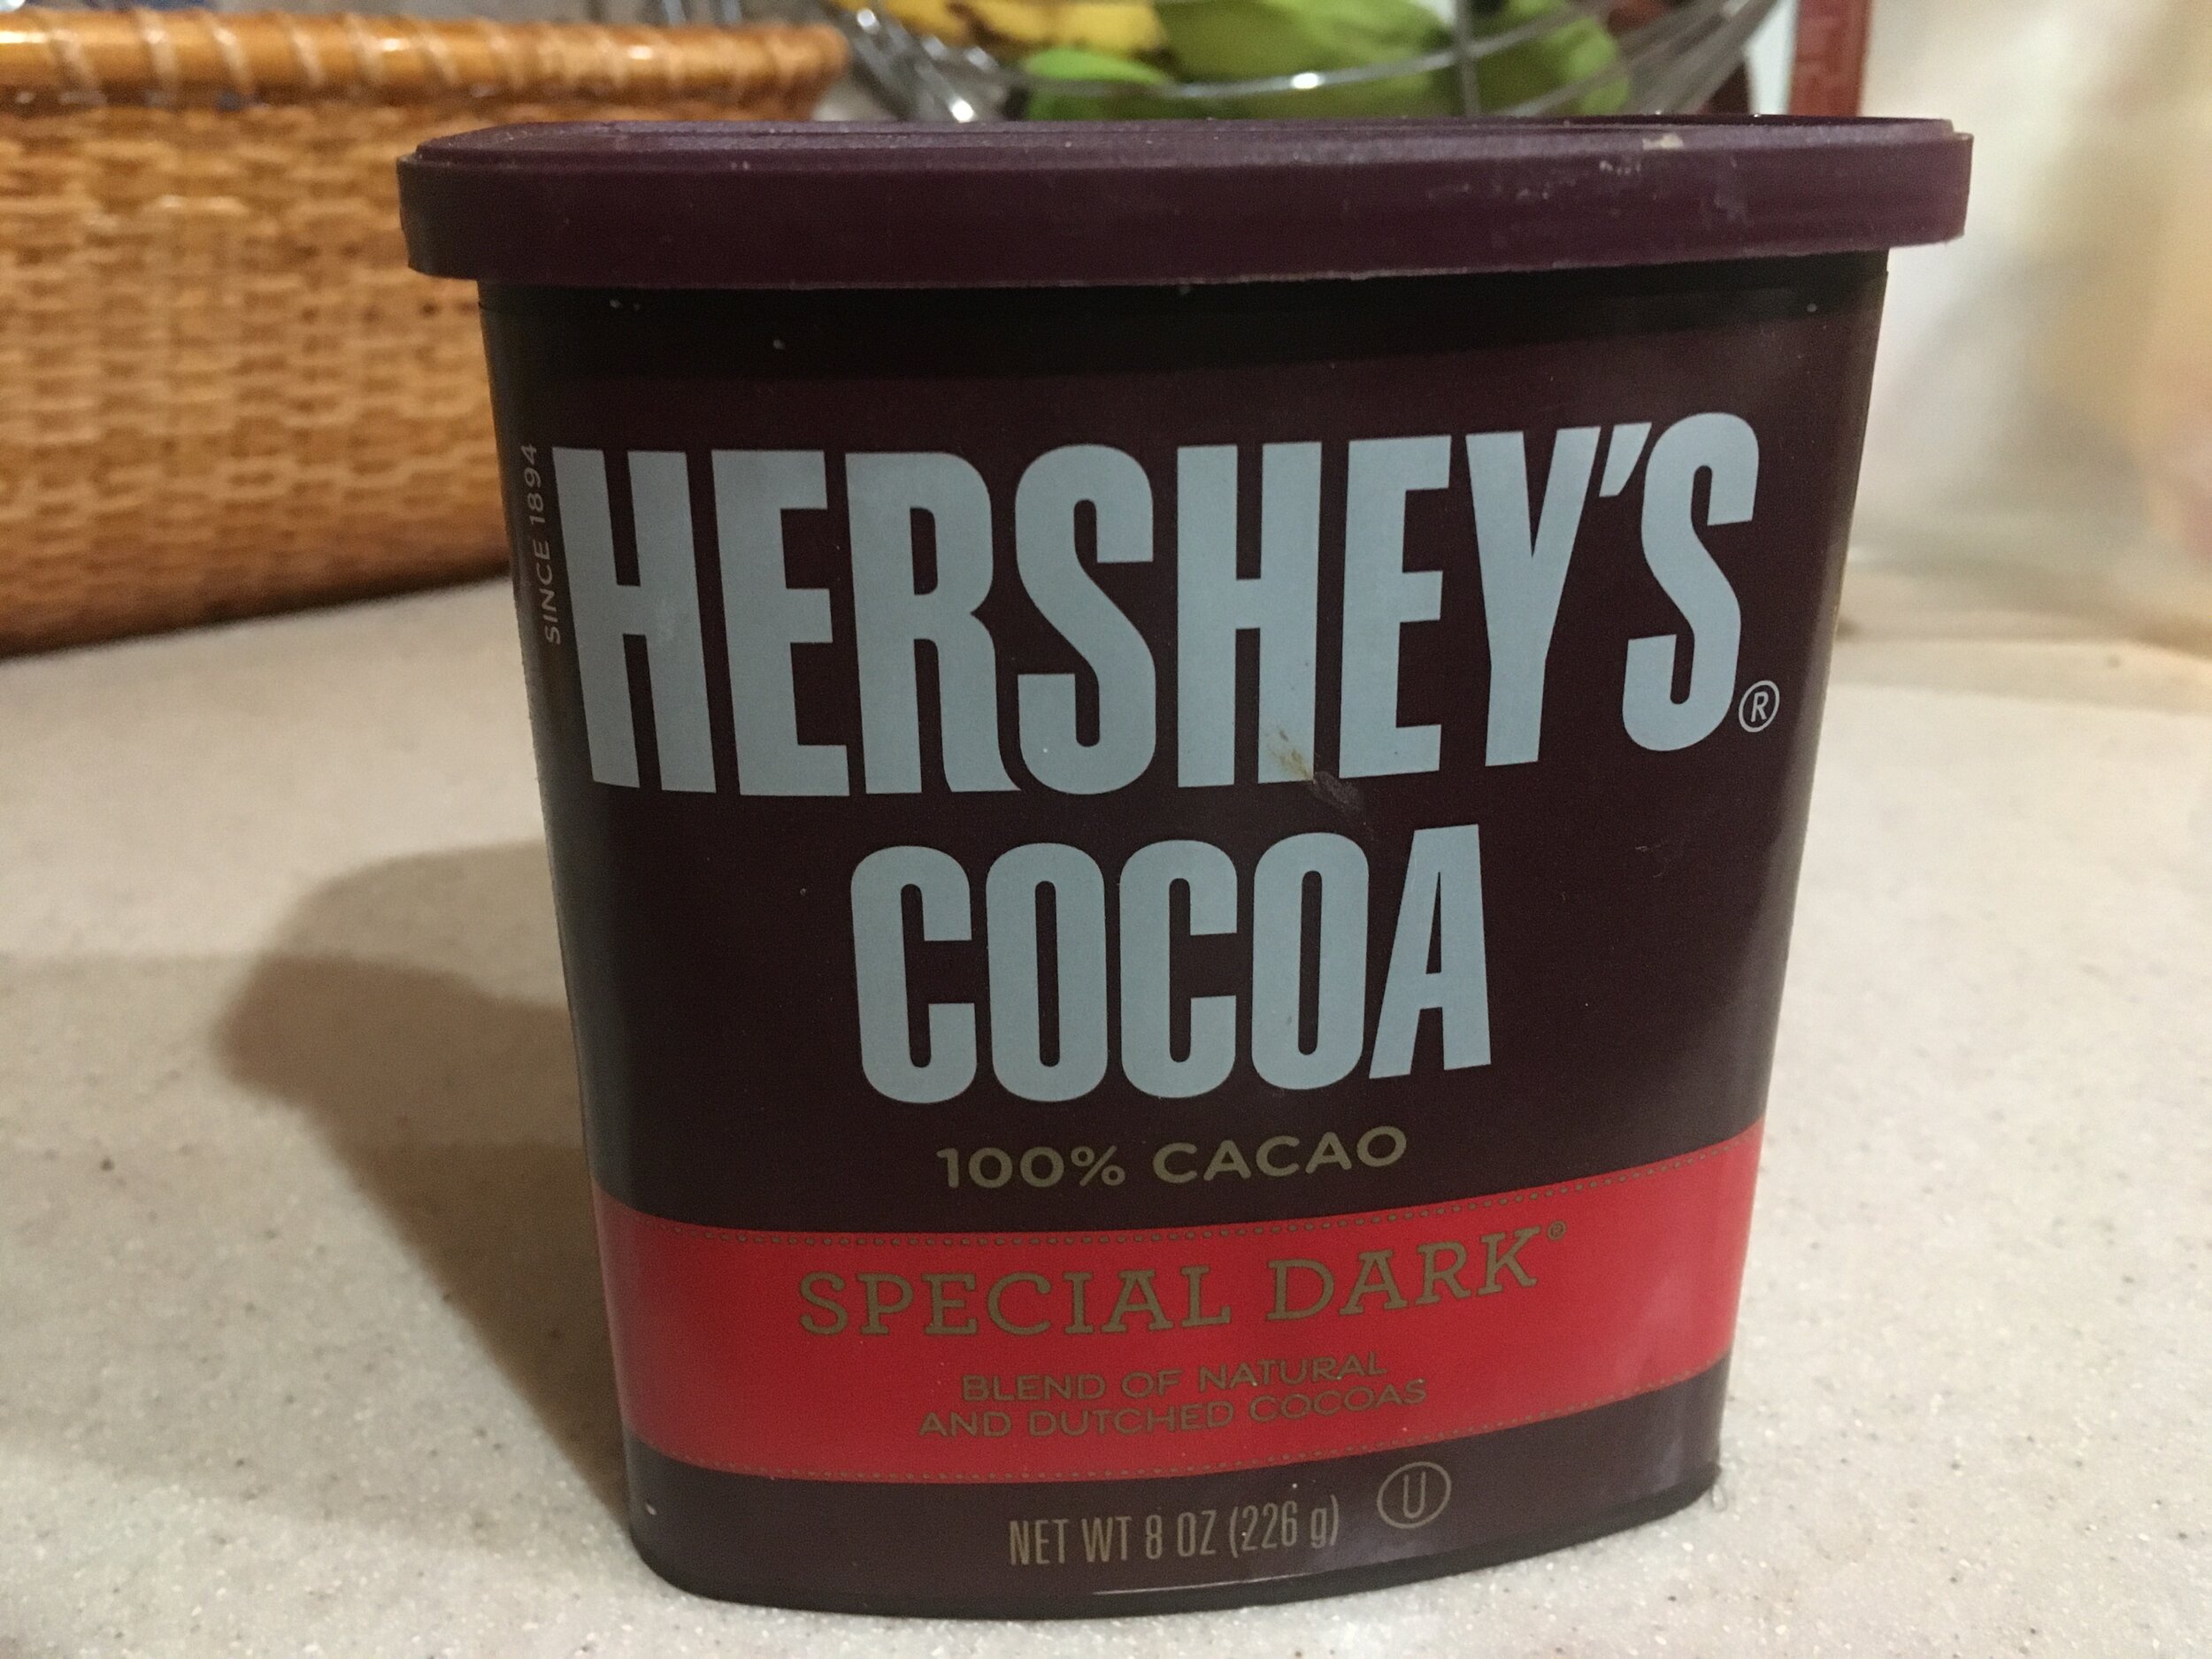
You can make this with special dark chocolate if you want to ramp it up, this is basically a classic American cuisine recipe.
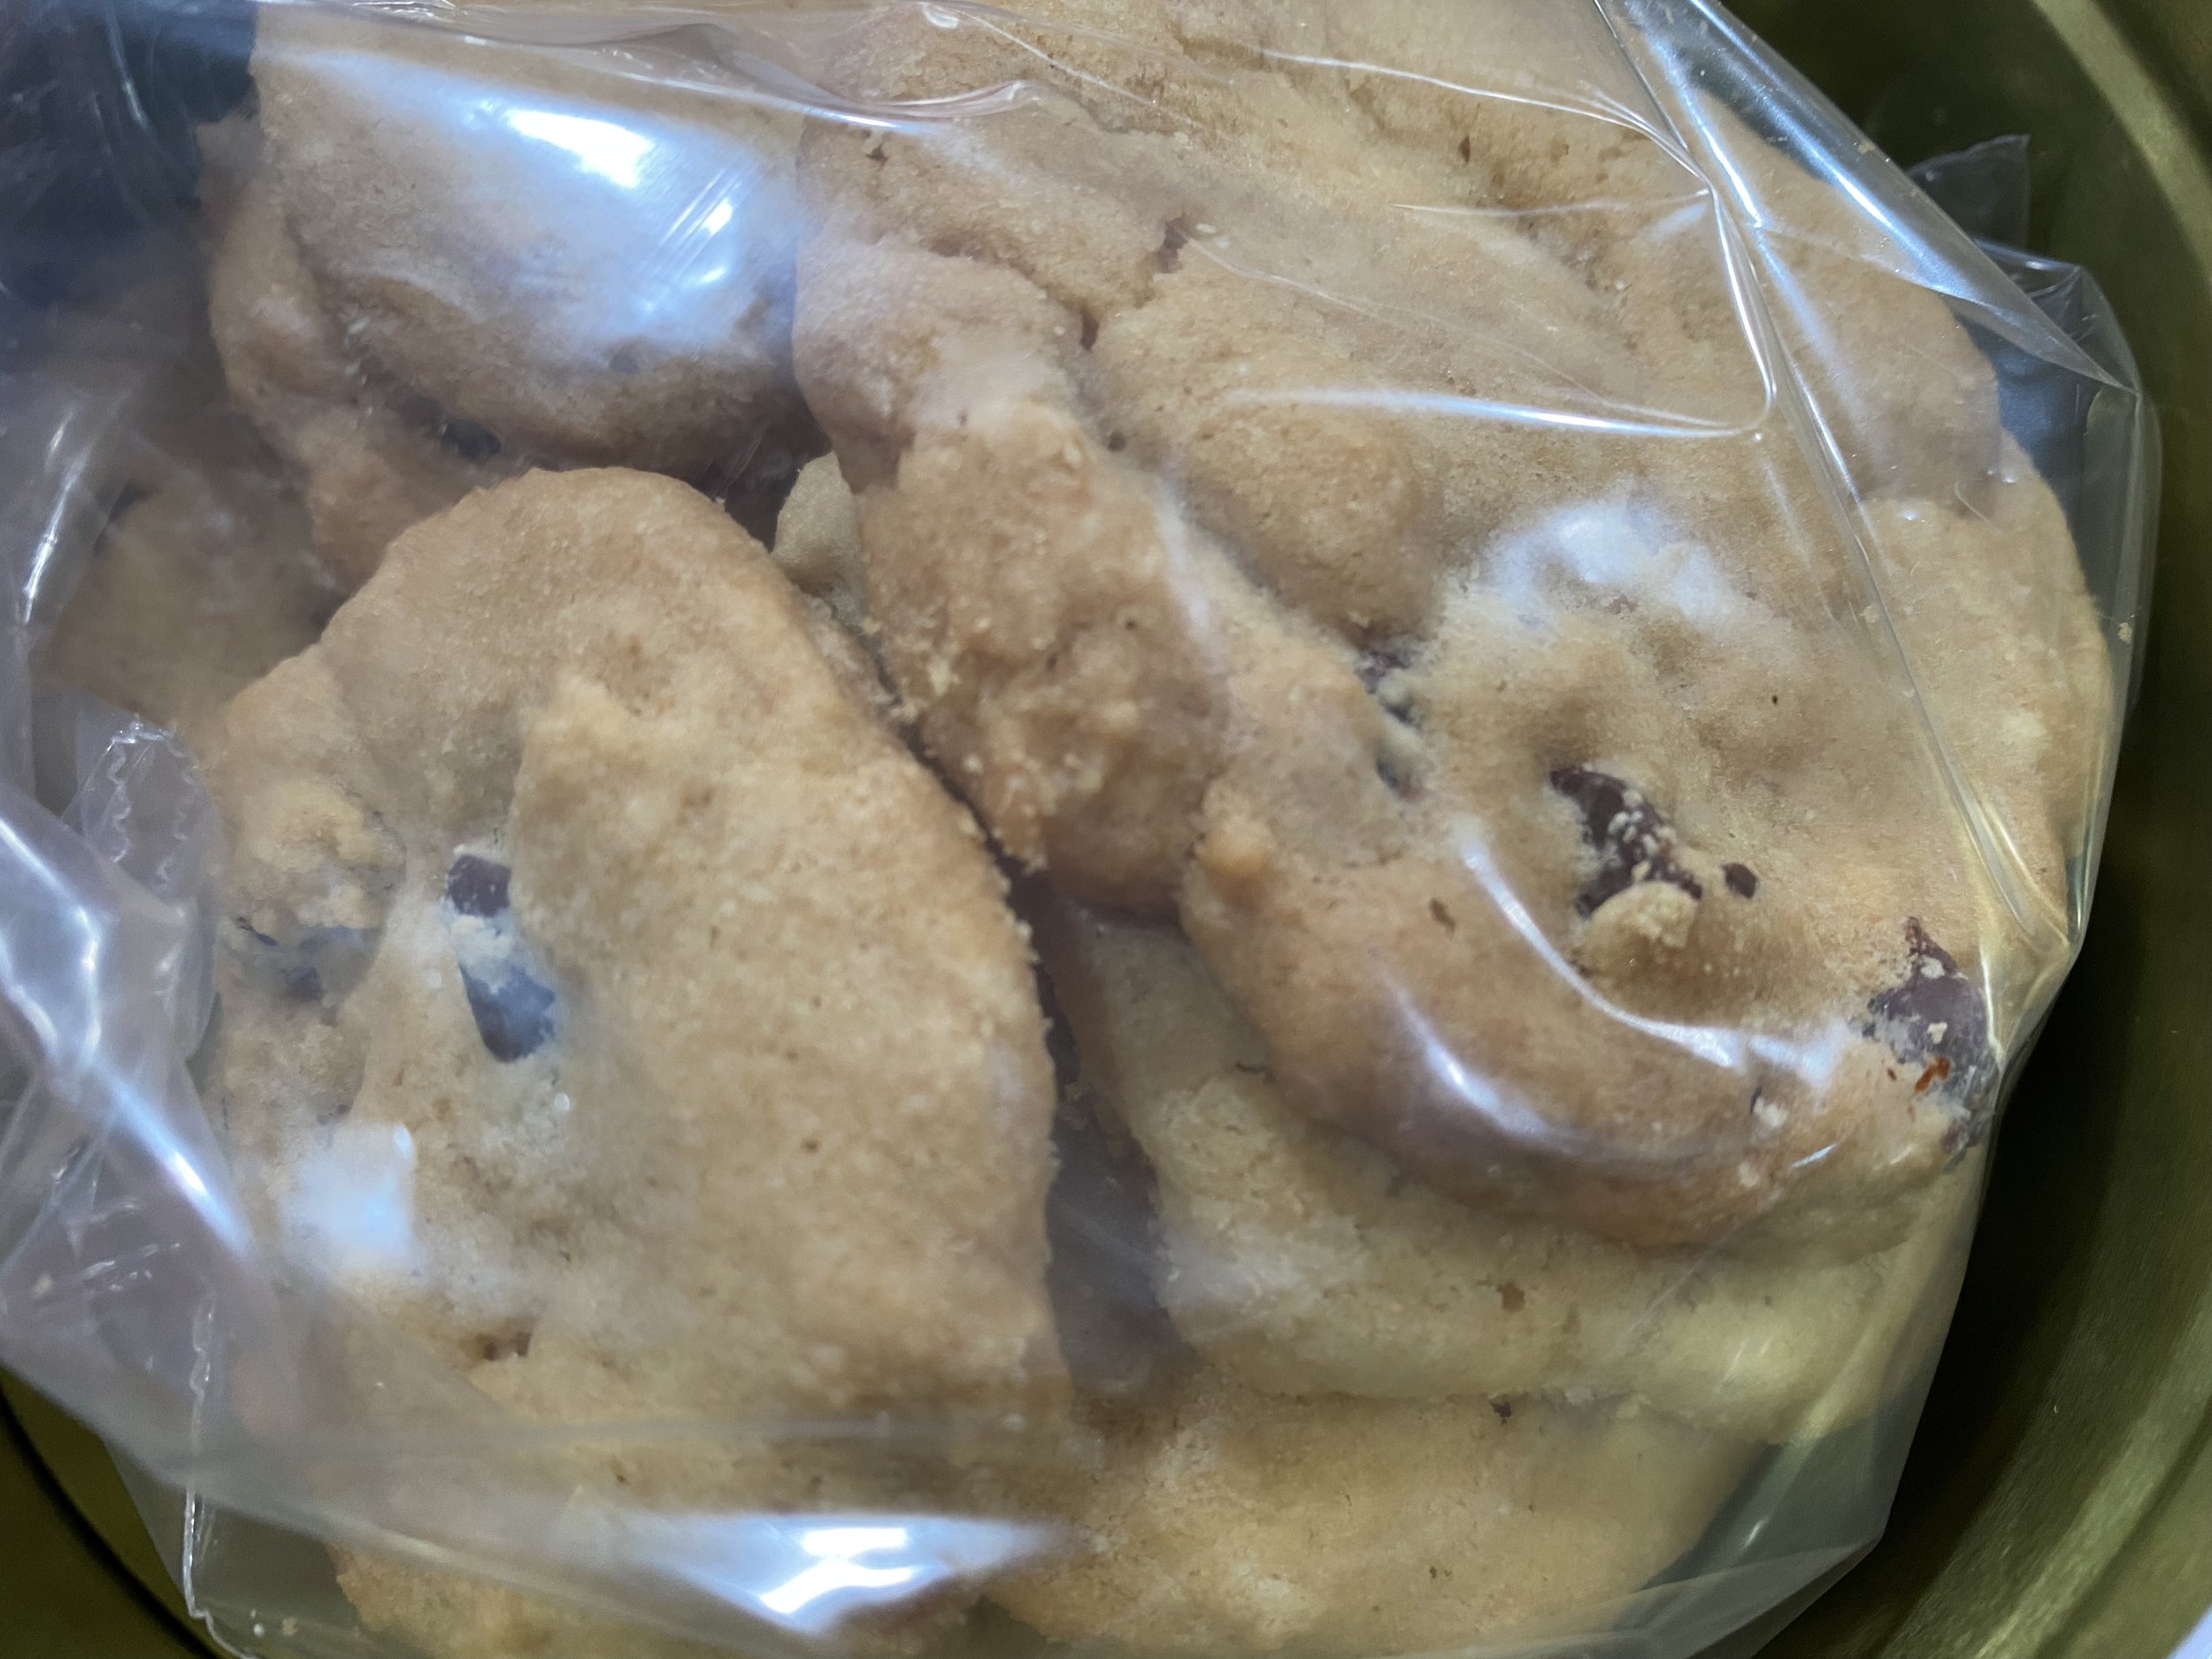
One homemade brownie mix batch ready for wet ingredients. (Photo by Charlotte Ekker Wiggins)
Now if you took a close look at my hand writing on the label, you will know how I came up with this second version of this recipe. Instead of the original 1/2 cup of vegetable oil, I misread the label and made this with 1 cup of vegetable oil, doubling the original recipe.
If you want to make them into little chocolate pies, use 3/14 cup vegetable oil.
I like to bake brownies in cupcake pans, which makes them easier to have in single servings.
This is how the additional vegetable oil changes the brownies, into extra moist brownies with a depressed center.

These are the brownies made with 3/4 cup vegetable oil. (Photo by Charlotte Ekker Wiggins)
I ended up with these tiny pie-looking cupcakes where I can add cut up fresh fruit in the center. Strawberries are my favorites but most berries will work; raspberries are another delicious combination. For the photo I added blueberries.
If you don’t have fruit, serve it with whipped topping or vanilla ice cream.
You can also easily freeze these for later use.
It’s an easy little dessert to dress up for a nice treat at the end of your meal and you can make both from the same brownie mix!
Charlotte